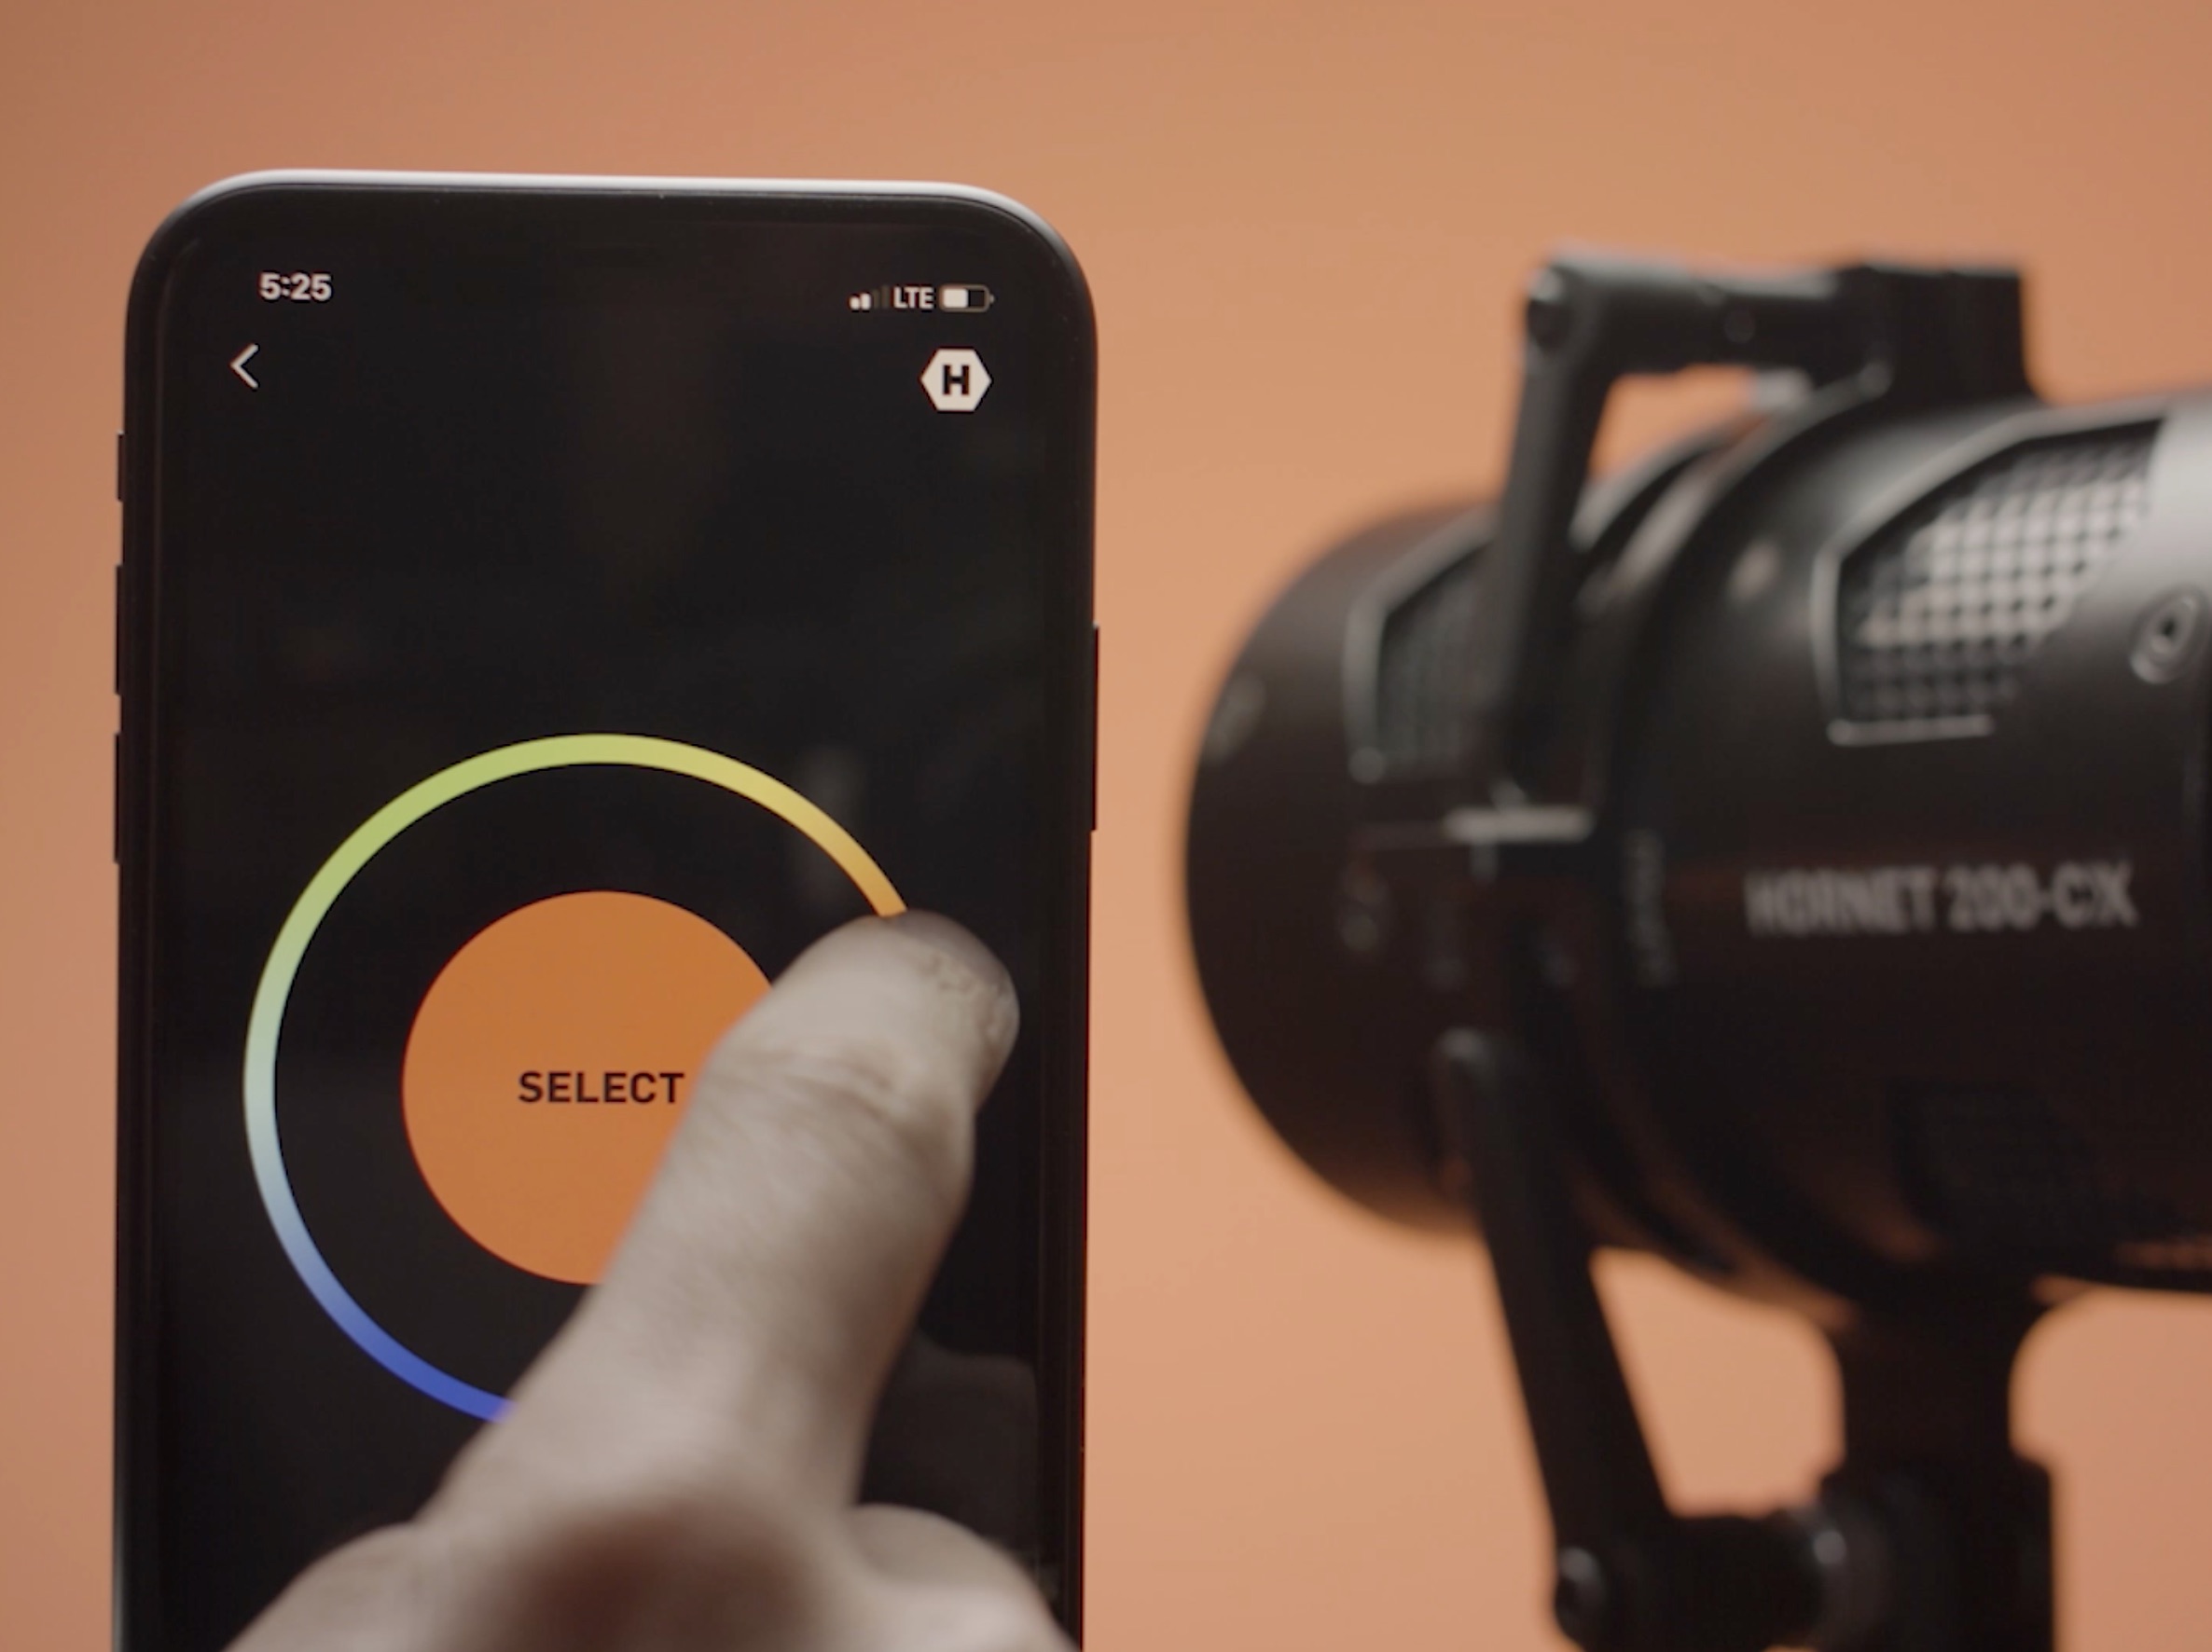
App and Bluetooth Trouble Shooting for the Hornet 200-C and 200-CX
Posted on
Sunday, February 2nd, 2020
To make sure your 200-C and 200-CX are responding properly to the Hive App controls please follow the below steps to ensure the best performance:
200-C or 200-CX App QC
-If the light is a 200-C or 200-CX you may see 2 lights appear per unit in the Lights Menu on the app. Please follow the next steps to link this two internal modules and have your fixture appear as only one light in the App. Note you can only perform these steps on one 200-C at a time, be sure all other Hive LEDs are off, so that no other lights can be detected by the app.
- To begin to link the logic modules internally go to the Settings Menu.
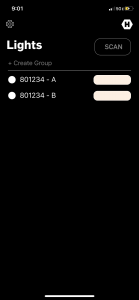
- This can be found by clicking on the gear symbol on the upper left hand side of the Lights Menu opposite the Hive Lighting hexagonal logo.
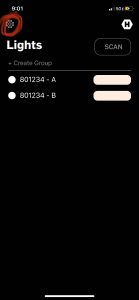
- Once in Settings Menu select “Merge 200-C Modules” under Utilities
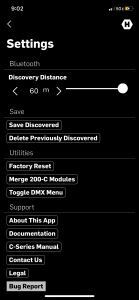
- In Merge menu enter the Serial number of the light in both Module 1 and Module 2 so that their Unique Codes match and are the serial number of the fixture.
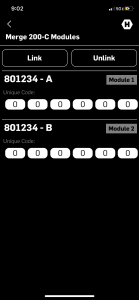
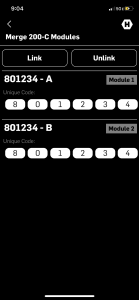
- Press the Link button
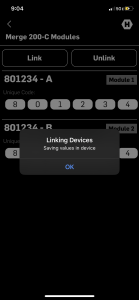
- Return to Light menu
- Scan for the Light and wait for the loading symbol in the upper right of the screen to disappear and be replaced by the SCAN button.
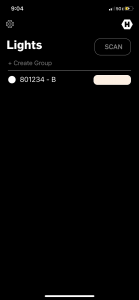
- Select the single Name of the Light (will be one of the two modules names) and test the app by turning the light on and off with the single white button to the left of the lights name.
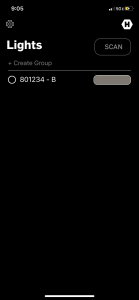
- If it turns on and off fully test full connectivity by moving through each of the four basic controls in the SHOT menu. At this time you can also rename the light as per your preference.


