- PRODUCTS
- CATALOG
- INSPIRATION
- SUPPORT
- CONTACT
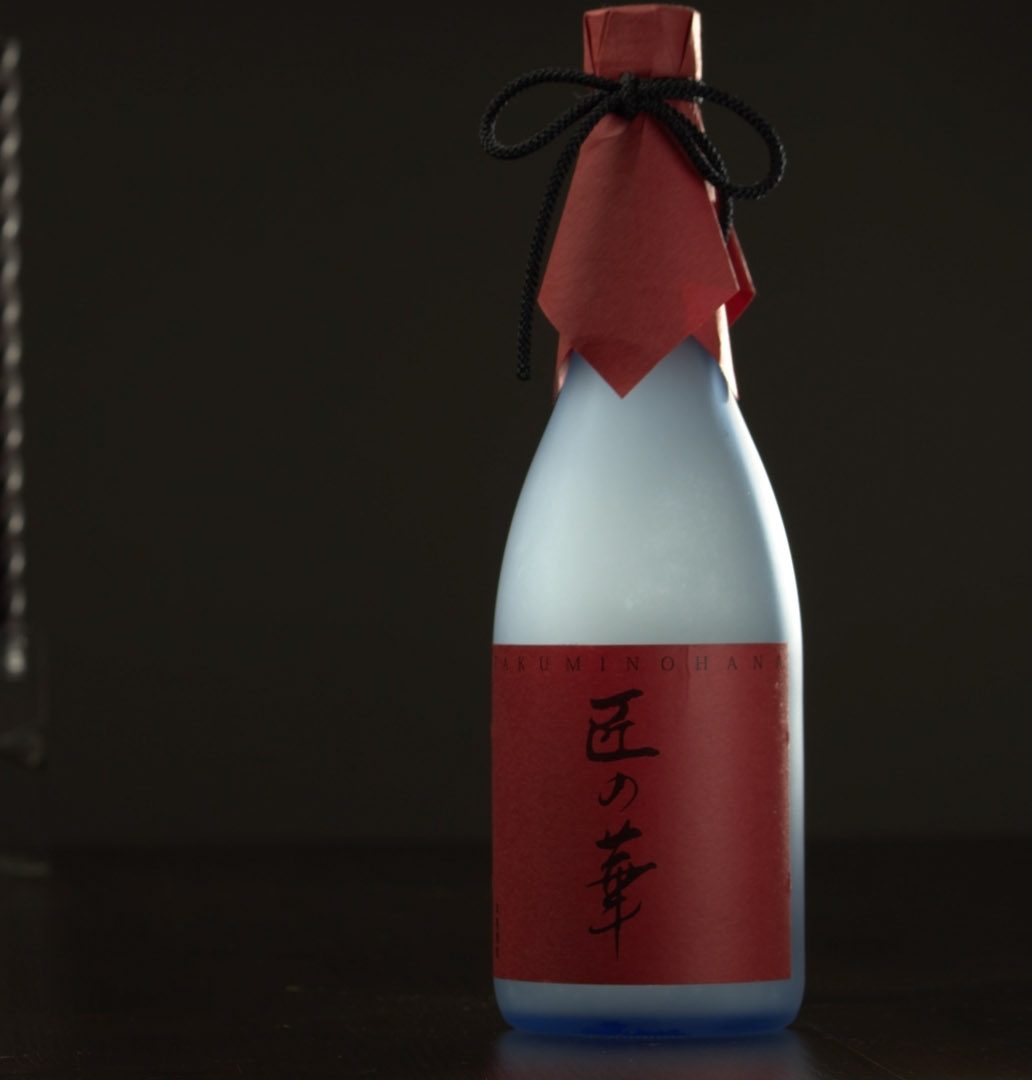
Want to learn how to make any bottle glow brightly without blowing out your frame? This tutorial is going to wade into the deep end of lighting using four lights and four modifiers and some old-school tricks. Read on to learn some of the techniques behind a complex shot like this. Alternately, you can check out the video of Jon breaking this down here.
Items Used:


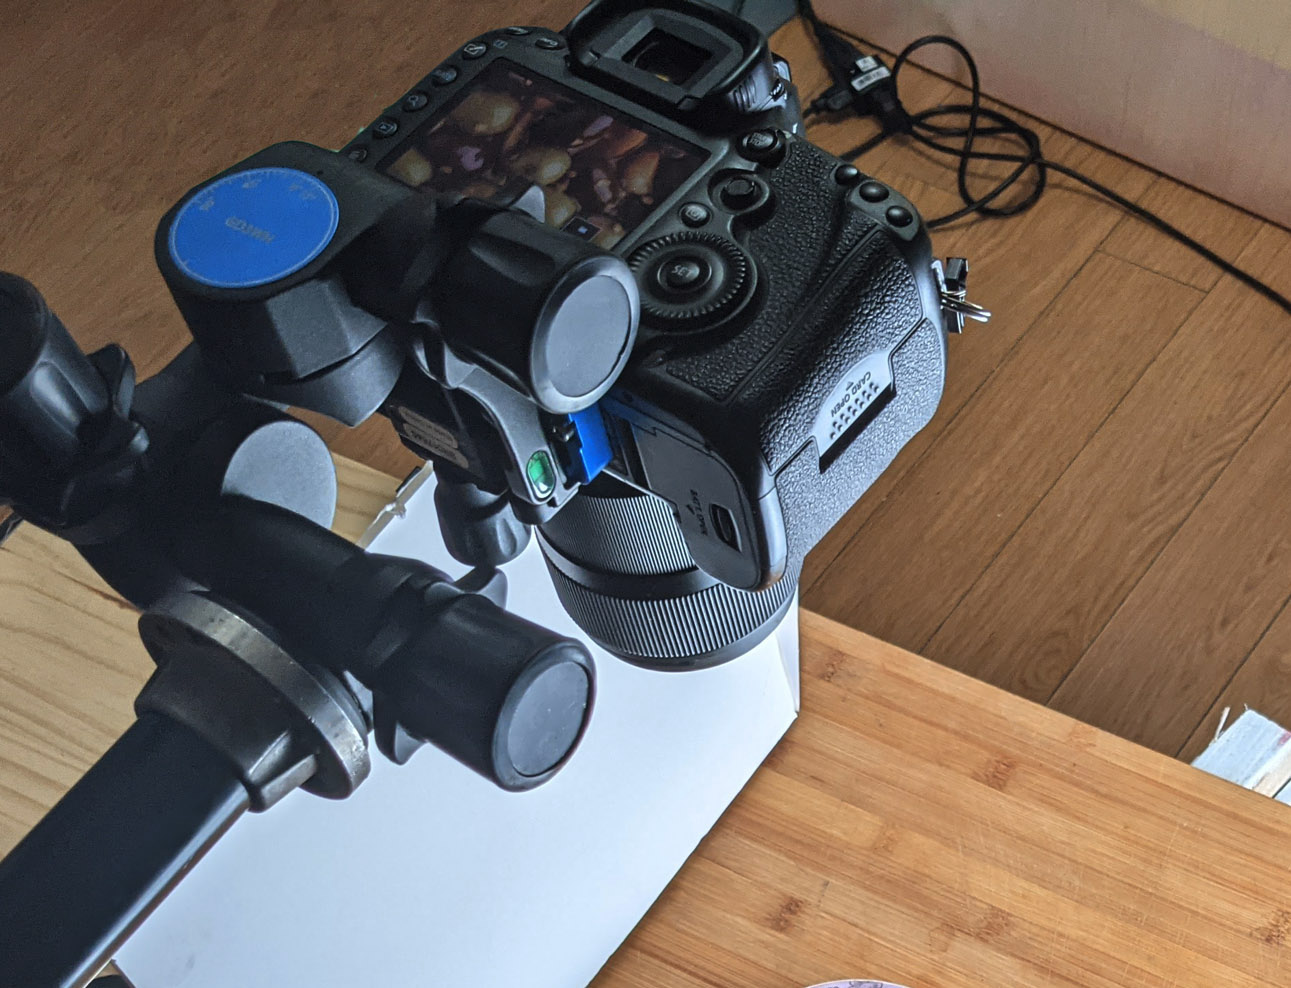
Settings:


Step 1: Set the stage. We’re going to place our subject in the right third of the frame and place some glasses and candles further back. In the final image our hero, the sake bottle, will be the brightest object in the frame and in focus. The glasses and candles will fall out of focus and will be at least a full stop darker. Our composition reinforces our objective of drawing the eye to the subject.
Step 2: Get your glow on. Here we’re using a Wasp 100-C, the Source Four Mini, and some pieces of printer paper to backlight the bottle. A piece of paper is cut into the shape of the bottle and placed just behind the subject. The Wasp 100-C with a Source Four Mini points at the paper just behind the bottle but is cut so that no light spills directly on the bottle itself or anywhere else.
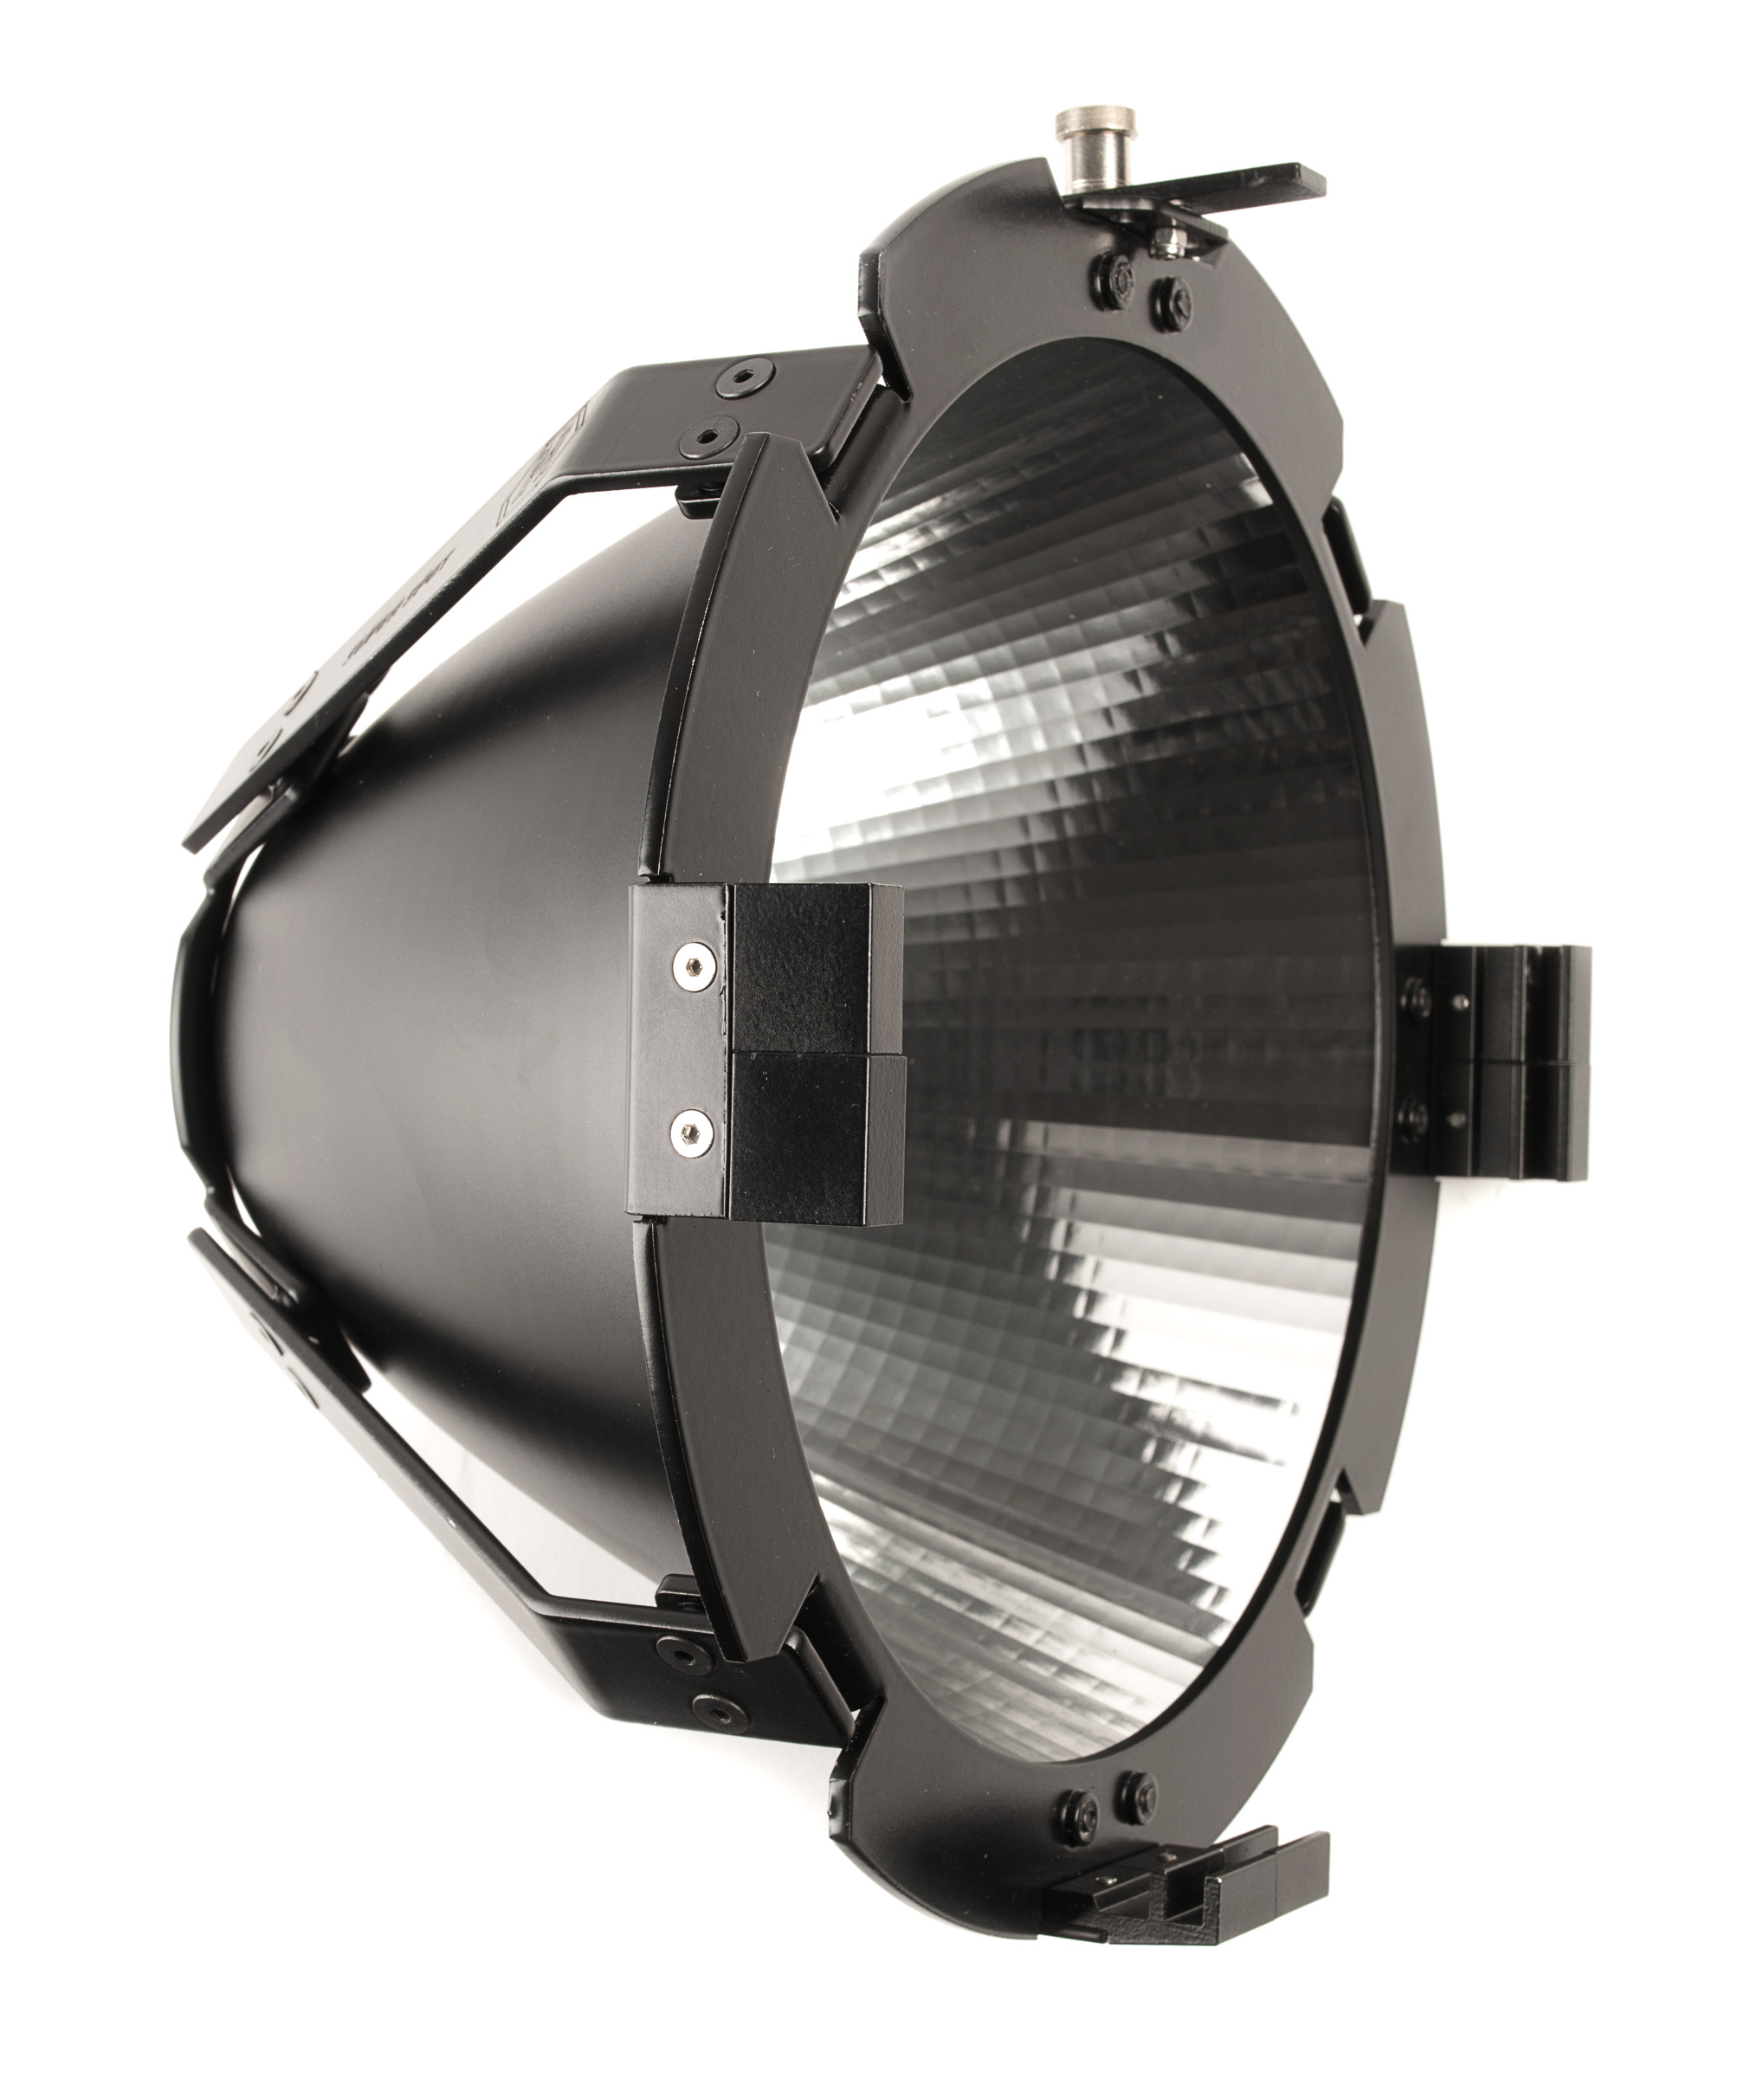
Step 3: Add hard light to the background objects. We’ve added a Wasp 100-C with a Wide Reflector off the right. The reflector’s beam keeps it off of the foreground giving us the ability to adjust the relative brightness.
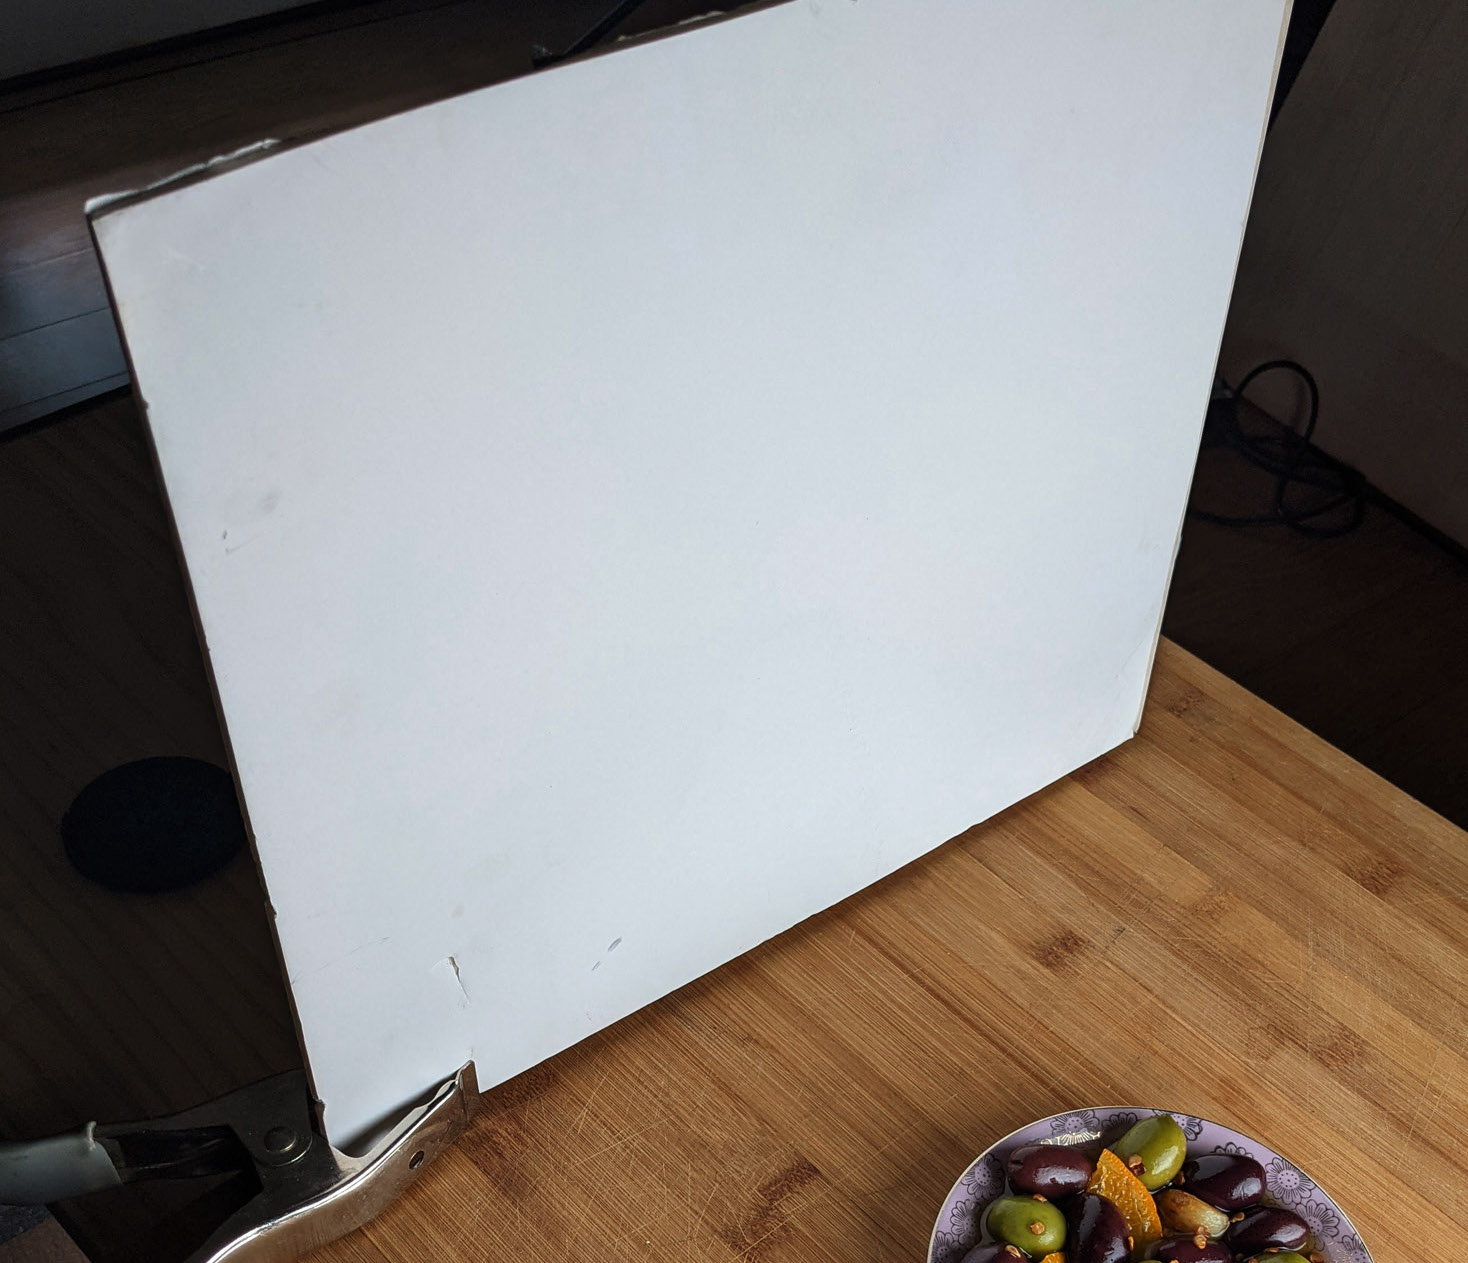
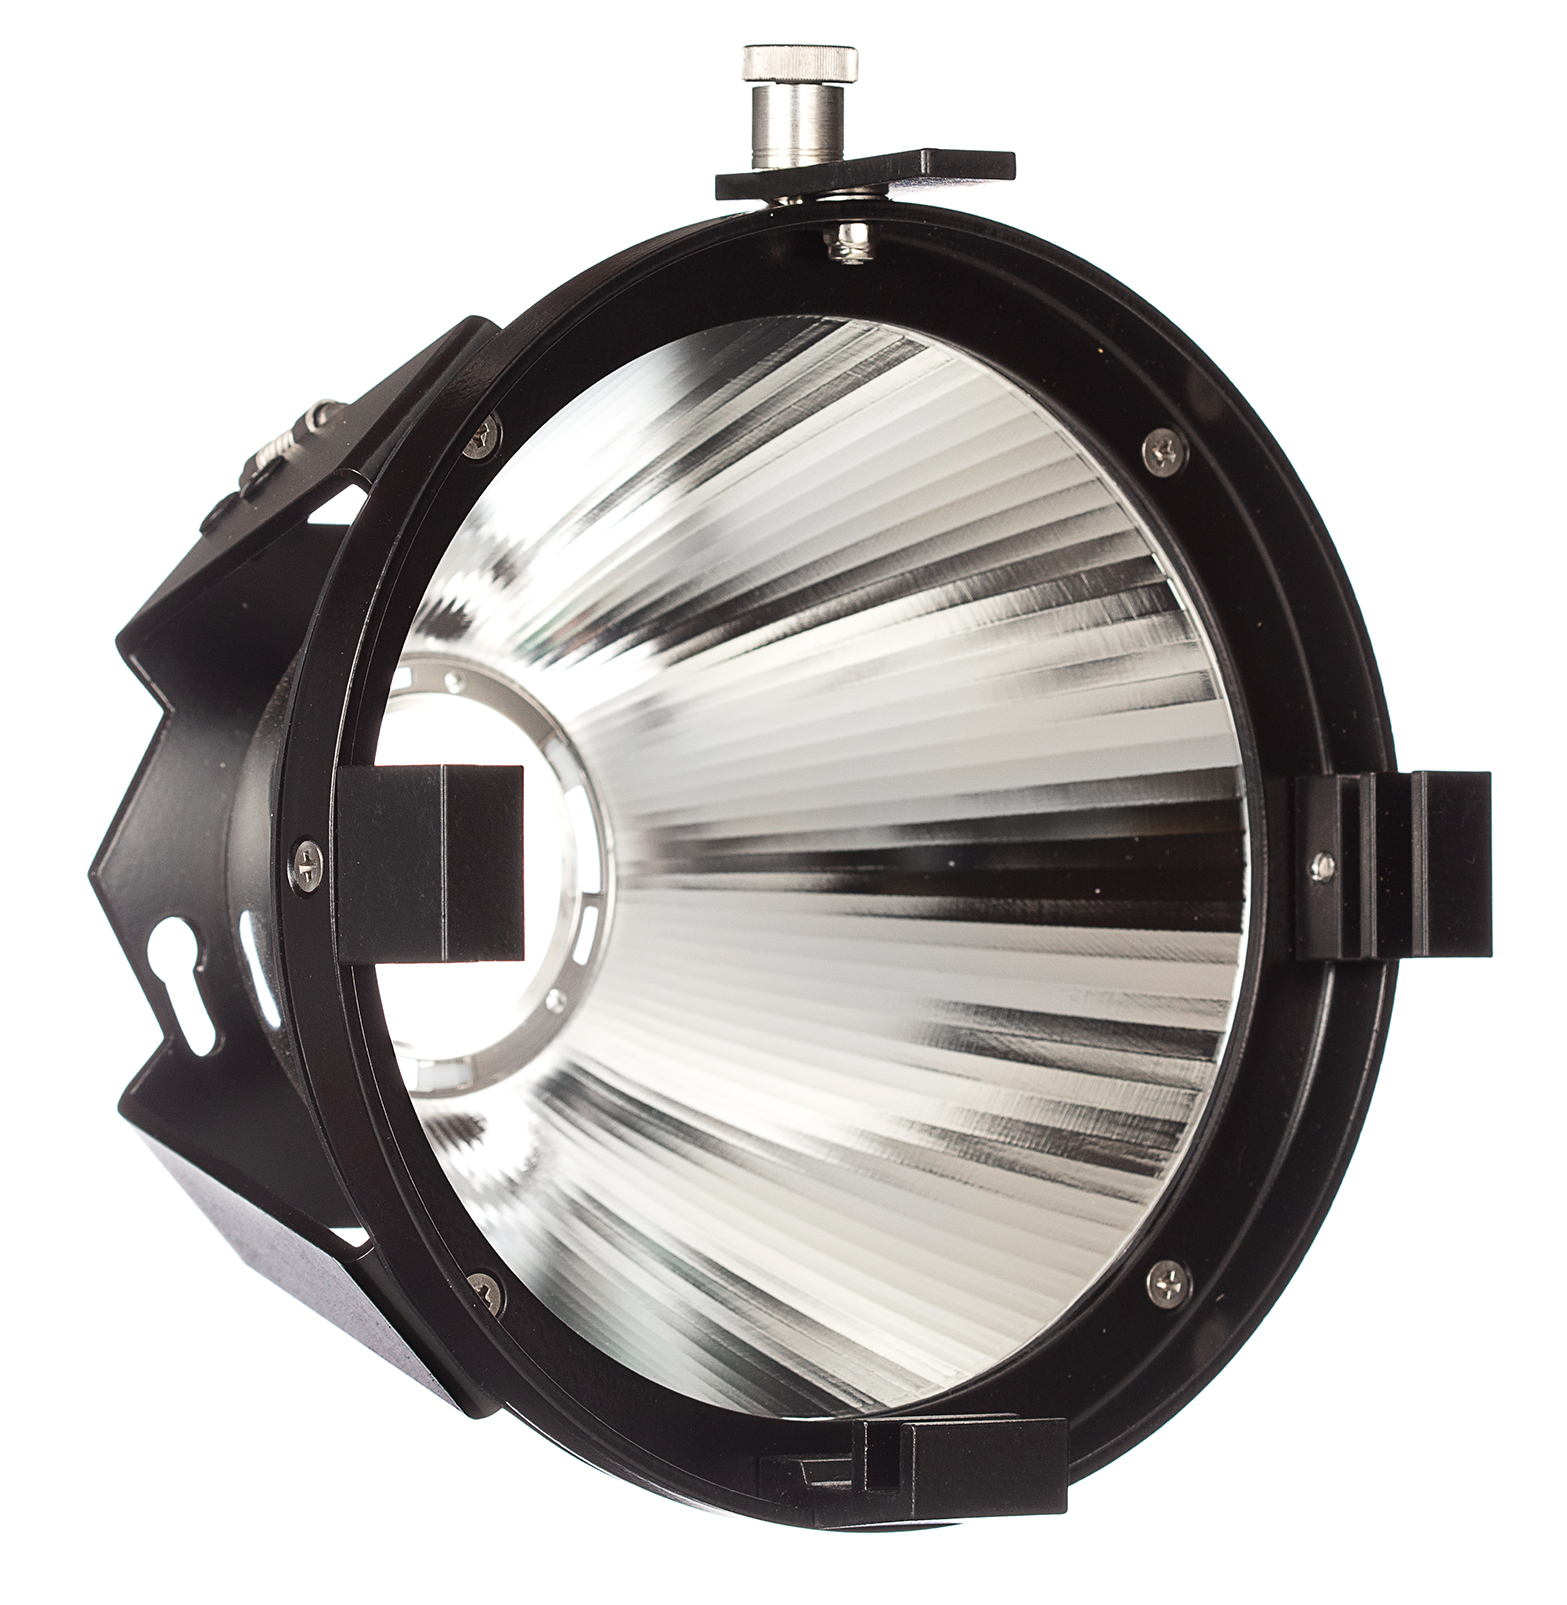
Step 4: Now we’re adding some rim light to the bottle. The image below shows what the frame looks like with just 200-C on. We’ve added some diffusion to half of the Super Spot Reflector to let some light wrap around the bottle a bit. This light is doing the lion’s share of the work in the scene bouncing some light off the paper in the foreground lighting up the bottle and the rest of the scene and producing that hard edge of the bottle (dotted lines).
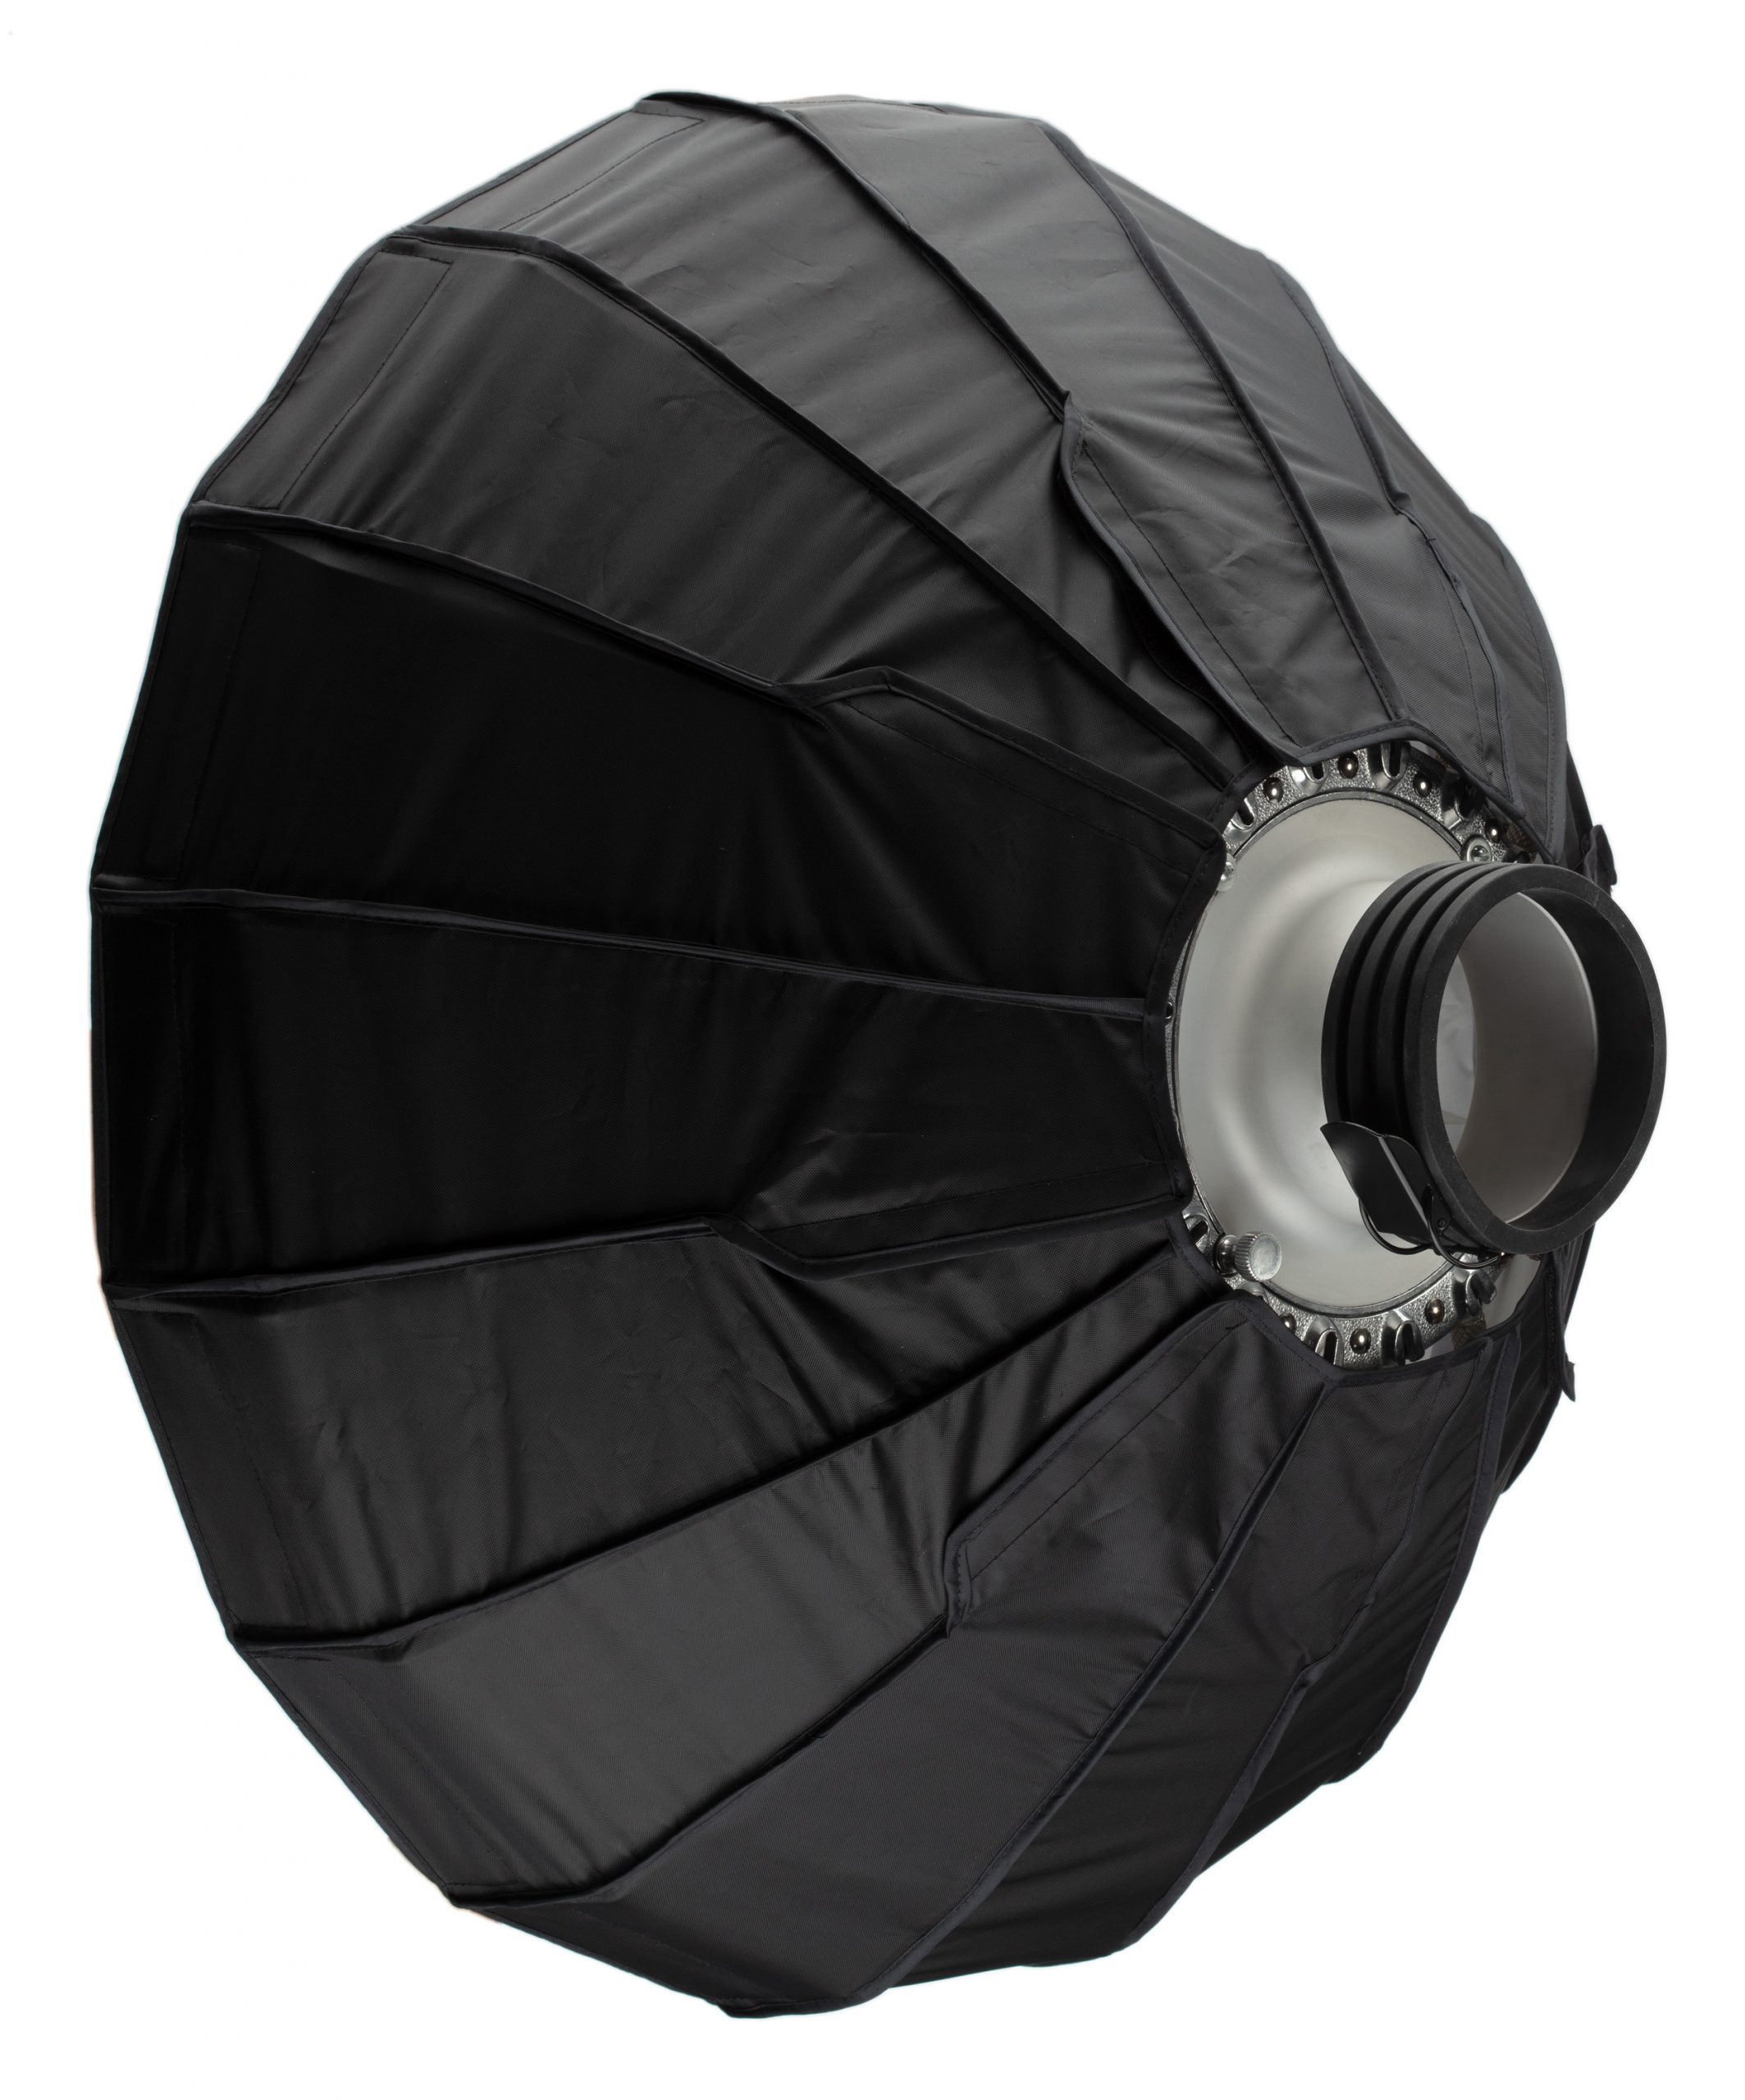
Step 6: Now let’s fill in the unlit side of the bottle and add a bit of light to the table. With the 50-C in a Small Paradome we’re evening out the bottle and filling in the darkness on the label.
Step 7: Balance everything out. At this stage all the lights are on and it is just a matter of tuning the light in the app. Here we can bring up the background by adjusting the 100-C or intensify the frosty glow by turning up the 200-CX.