- PRODUCTS
- CATALOG
- INSPIRATION
- SUPPORT
- CONTACT
The Portable Style Yoke is the most popular yoke. It can be used on all the most common light stands or any standard 5/8-in (16mm) baby pin for versatility and ease of use.
Items Used:
This yoke is also the lightest, most compact and most versatile making it well suited for almost any on set application.
For this demonstration we’re going to mount the yoke on this baby pin plate which is secured to the table. Before mounting any Hive equipment make sure you’re mounting point is solid and stable.
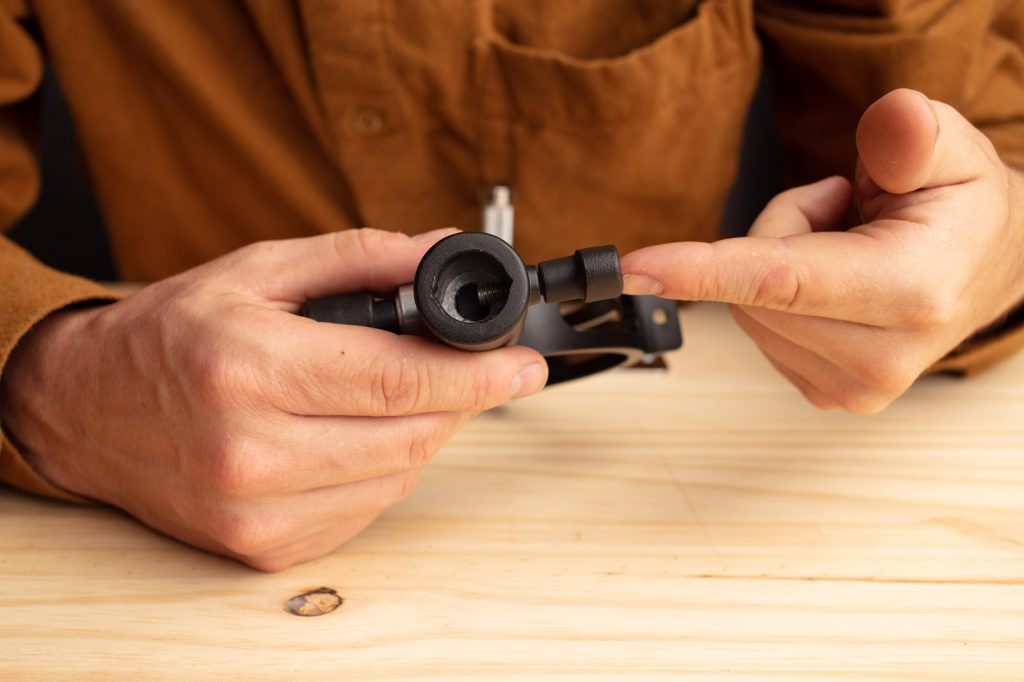
First we need to loosen this knob. This knob is attache to a set screw which presses against the ?” pin to keep the yoke in place.
You can see this yoke was packed with the screw all the way in, to mount securely to the pin we must loosen it first.
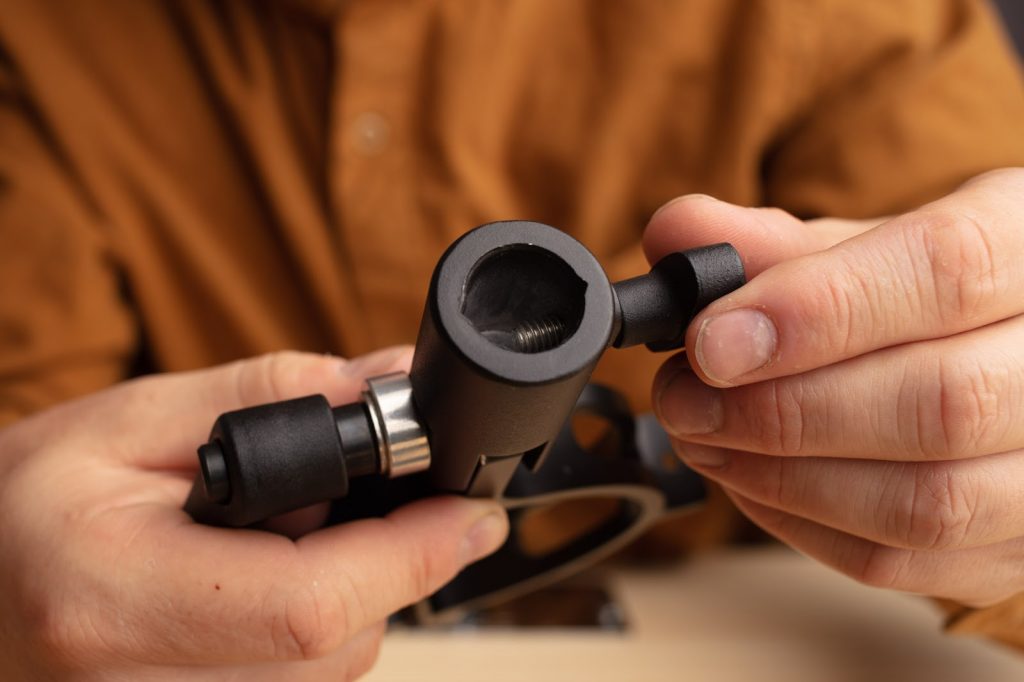
Please note the ?” baby pin MUST pass beyond this set screw to be mounted properly.
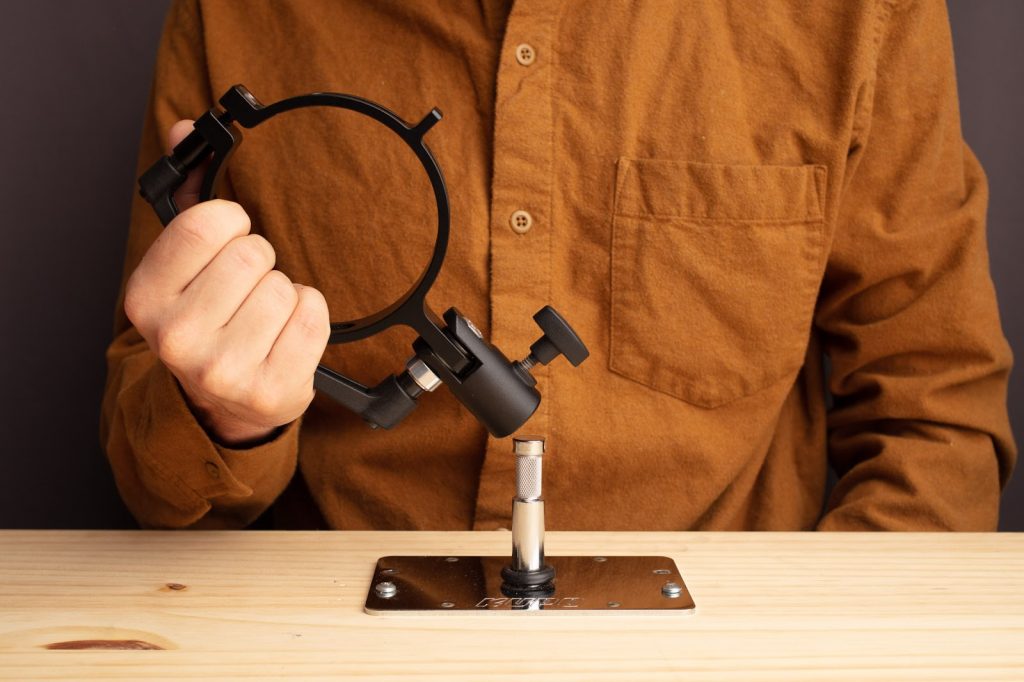
Now just set the yoke on the pin.
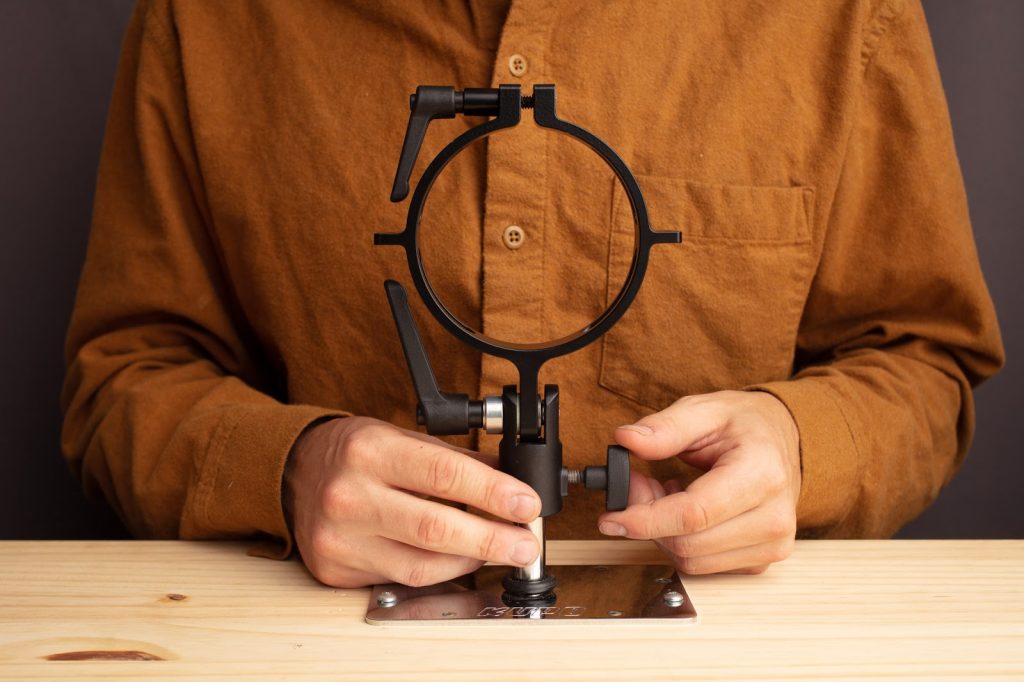
Tighten the set screw with the knob.
Check to see if it is stable before adding the C or CX series light fixture.
Now let’s turn our attention to the first kip handle. This smaller kip handle pinches the yoke and squeezes the fixture when it is tightened. First we need to loosen this up so we can slide our fixture in place.
All C and CX series from the 25 all the way up to the 575 will fit these yokes and are completely interchangeable.
The fixture should slide freely into the yoke. If you’re meeting resistance, loosen the kip handle further.
Keep a hand on the fixture until you’ve completely tightened the kip handle.
It should be snug but there is no need to over-tighten. A half-turn past the point where you first feel resistance should be sufficient.
That’s it! Your fixture is mounted in the studio yoke. Now let’s get into the adjustments.
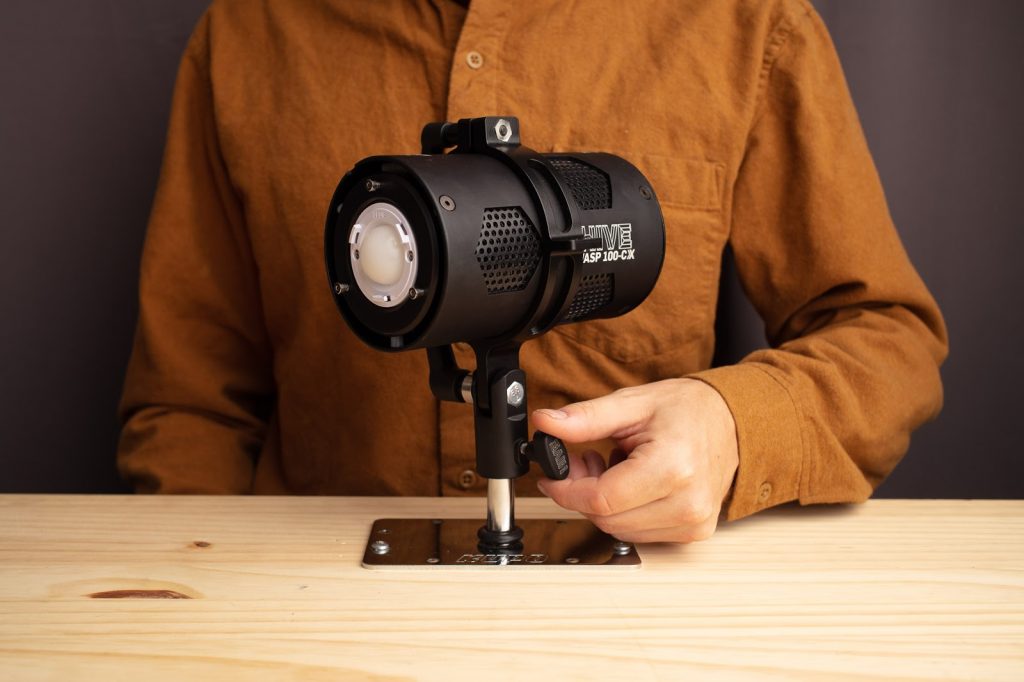
To pan the fixture left to right (x-axis adjustment) loosen the knob to be able to swivel the fixture.
Remember to keep a hand on the light when the set screw is loose.
Once you’ve found the desired orientation of the light, tighten the set screw on the mount to secure the light in position.
Now on to the big kip handle. This will allow us to tilt the light by adjusting the orientation up and down (y-axis).
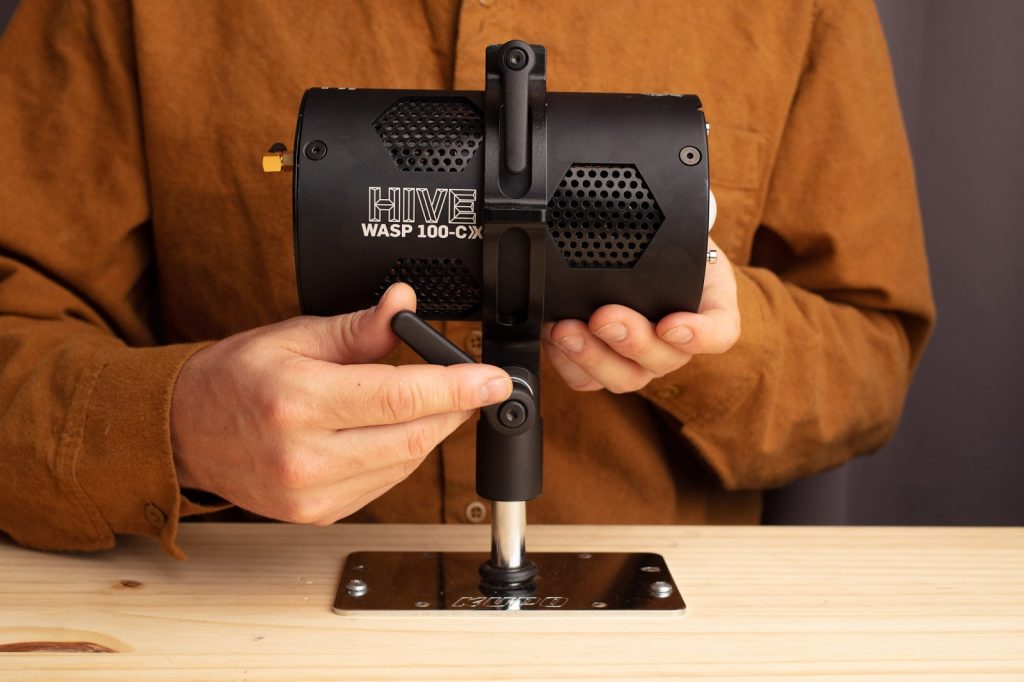
Keep your hand on the fixture while loosening this.
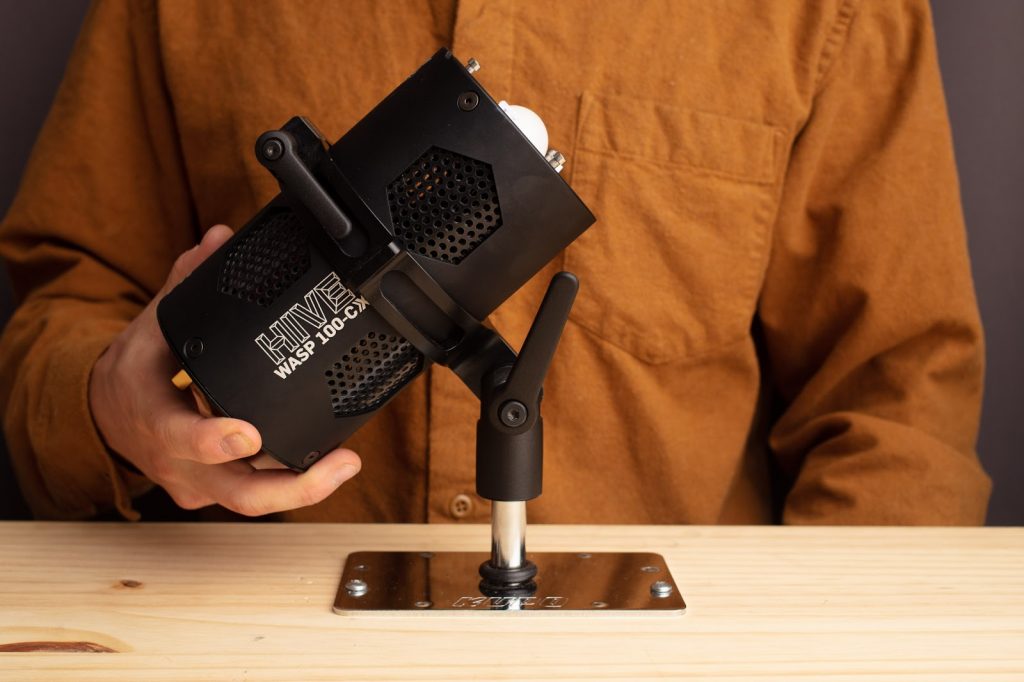
You have a bit more than 180° of range of motion.
Tighten the large kip handle before you let go to lock the light in position.
How tight you need this kip handle depends on the kind of modifier you have on the fixture. If your large softbox is causing the light to sag, just give this a solid turn. It was designed to have variable friction for this purpose.
Speaking of modifiers, some will work better with the fixture protruding from the yoke further. For example, many of the ProFoto™ reflectors that are compatible with Hive C and CX series lights have different qualities when you slide the fixture forward or backward. This can be adjusted with the small kip handle.
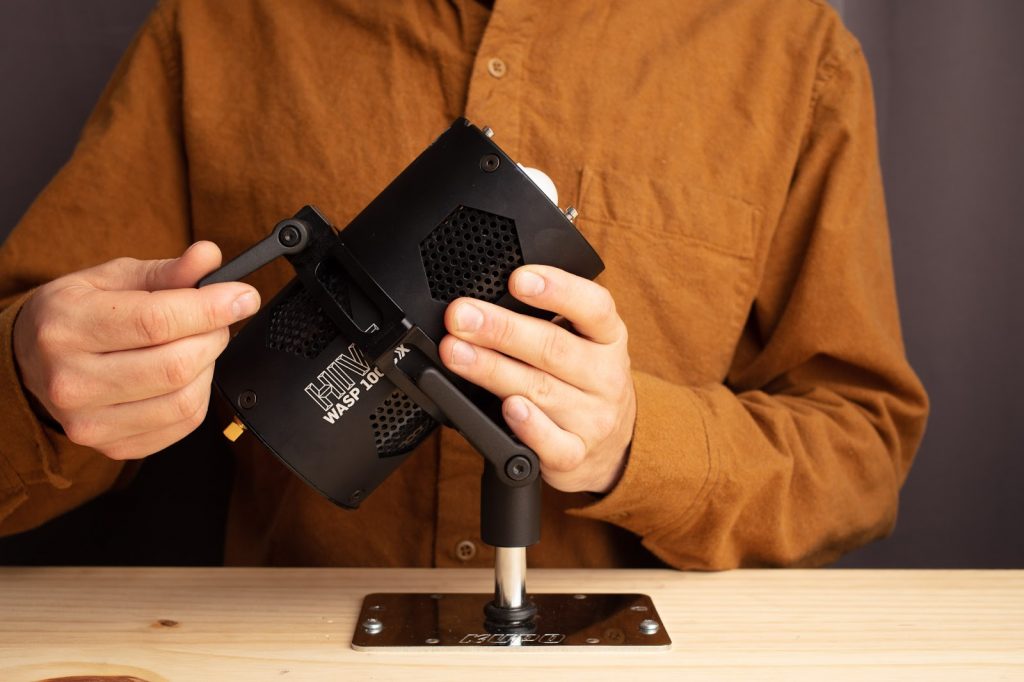
Remember when this kip handle is loose, the light is not secure so keep a hand on the fixture.
This is an extreme example. You will want to find a good balance.
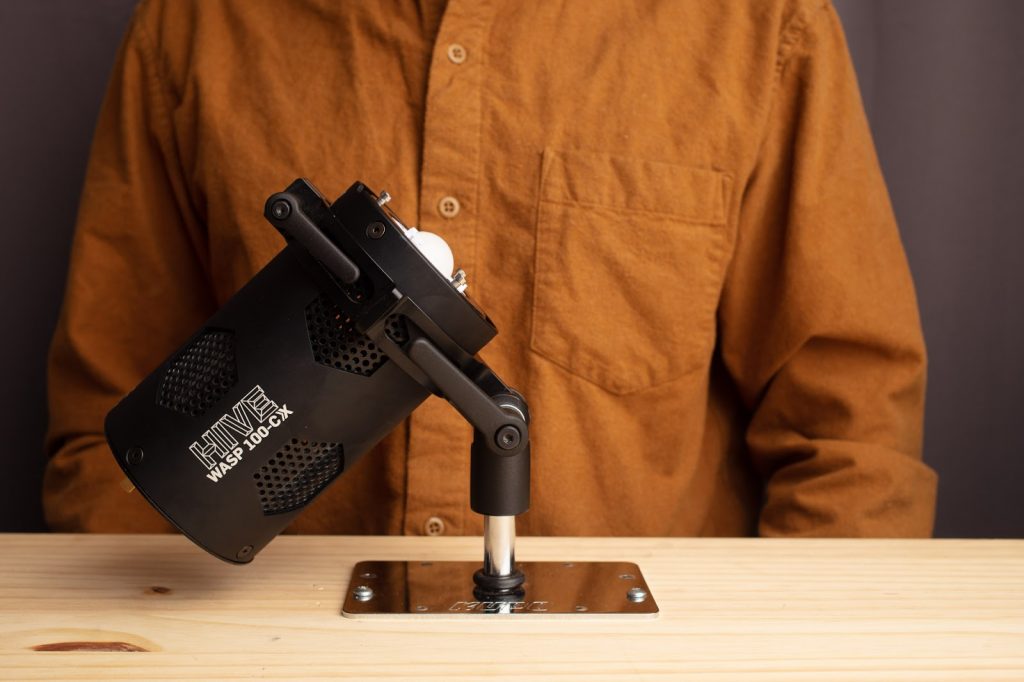
You can also slide the light all the way back for a very low-profile.
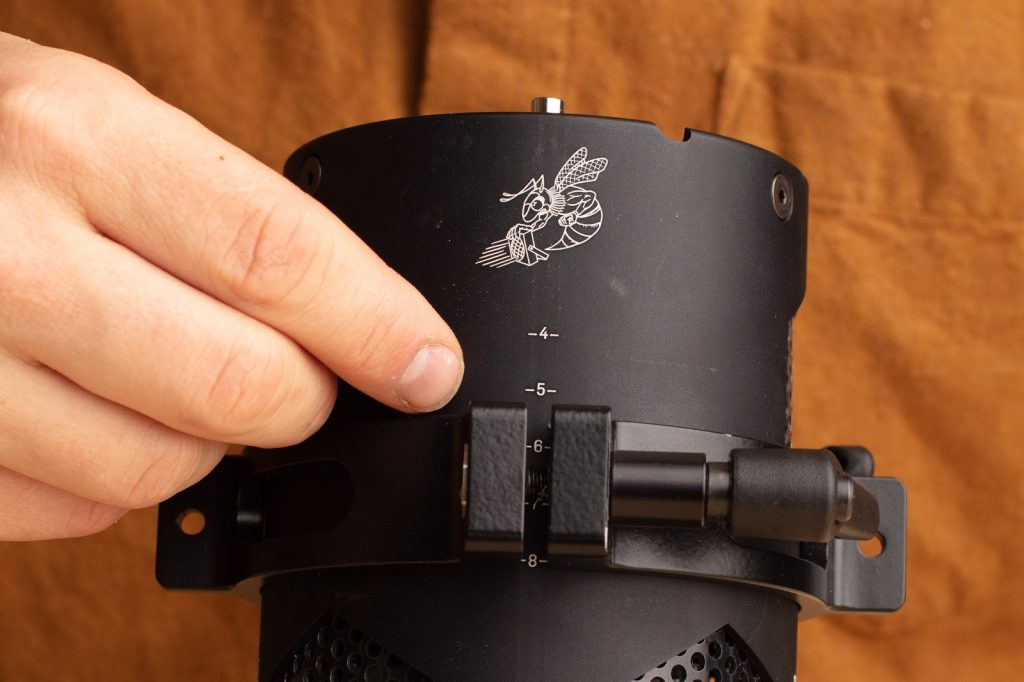
You can use these reference numbers etched onto the fixture to remember your preferred setting.