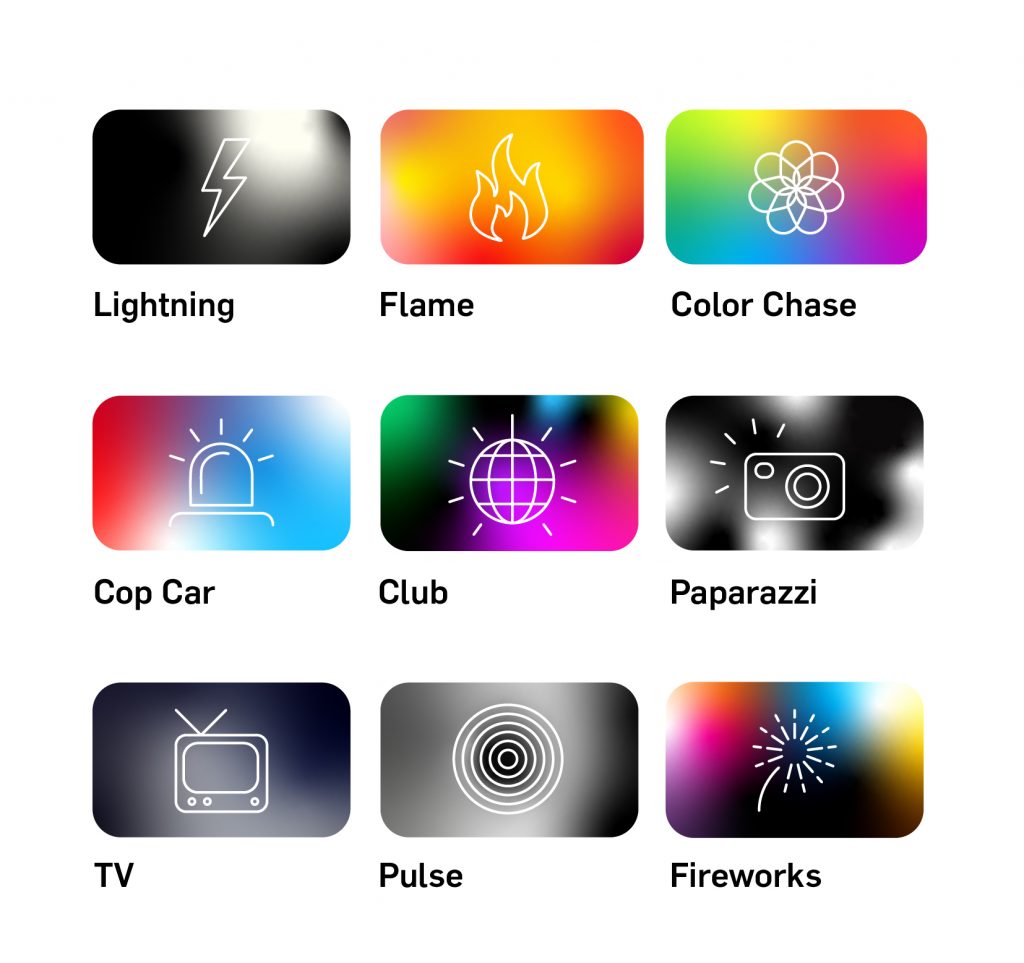
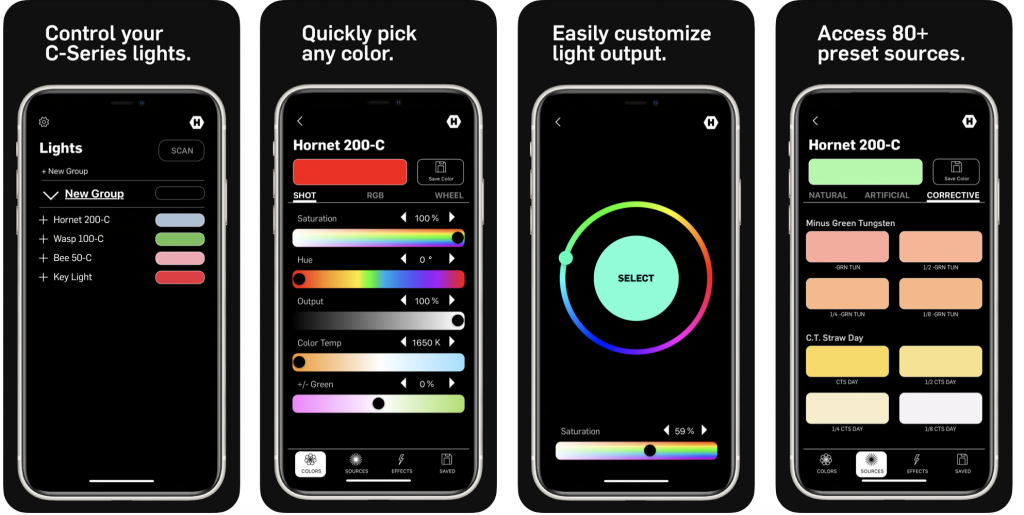
All of Hive Omni-Color LEDs feature preset effects designed to imitate common light sources and lighting scenarios that can be used for video and cinema production. These effects can be accessed via local controls and DMX on Hive’s C-Series lights and via the Hive smartphone App for both C-Series and CX lights.
CX Series Omni-Color Lights:
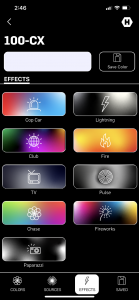
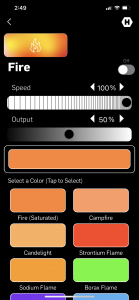
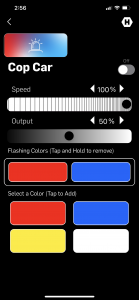
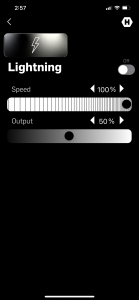
On Hive’s CX lights to use the preset effects, access Hive’s smartphone/device app and enter the EFFECTS menu on the app to select the desired effect and edit the available parameters including speed, color and output level.
C-Series Omni-Color Lights:
Hive’s C-Series LEDs are able to access effects via the Hive App, but are also able to access Effects via the local control Menu system and via DMX controls.
Effects Menu
To access the Effects menu first double click the SELECT knob to access the additional menus screen.
There single click the SELECT knob when the screen reads “MENU 1/5 Effects”.
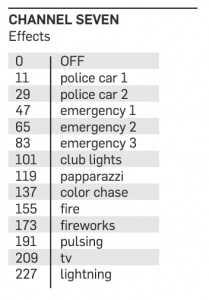
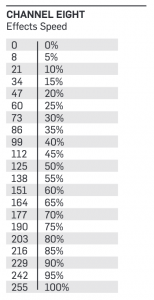
To select different effects turn the SELECT knob to scroll between 8 different effects: Cop Car 1, Cop Car 2, Emergency 1, Emergency 2, Emergency 3, Club Lights, Paparazzi, Color Chase, Fire, Fireworks, Pulsing, TV, Lightning.
The effects can be adjusted either with dimming control or speed control or both dimming and speed control. To adjust the dimming or speed control on any effect turn the ADJUST knob to reach the desired level as indicated on a scale of 1-100%. To toggle between adjusting speed and dimming on an effect with both controls click the select knob once.
To exit the Effects menu to the Additional Menus Screen single click the ADJUST knob.
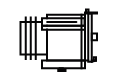
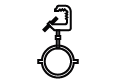
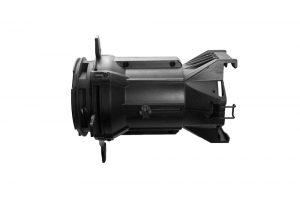
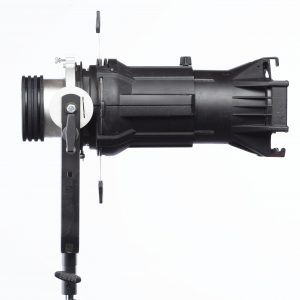
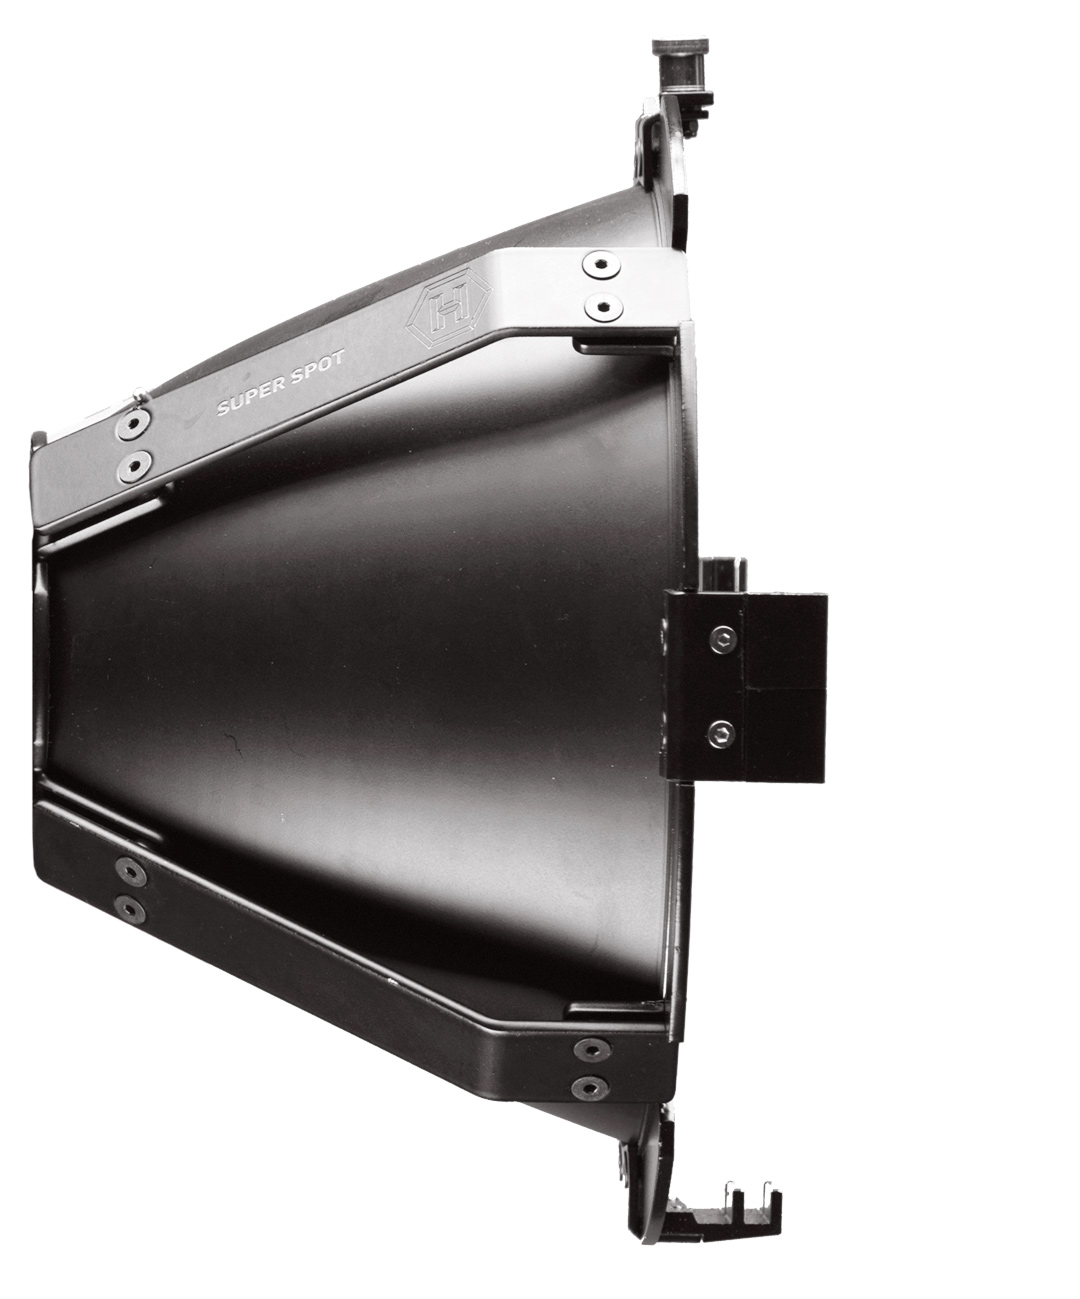
Our DIY kit is a great way to get new value out of your old tungsten “Leko” theatrical style spot light but some assembly is required. This includes everything you need to adapt any full sized ETC® Source Four Barrel or equivalent dimension lens from a theatrical elliptical spot light to be compatible with any Profoto® or Hive Omni-Color LED light. It does NOT however include an S4 barrel.
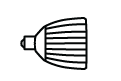
First you will need a Tungsten profile/leko style spot light. Remove the barrel and lens from the fixture:
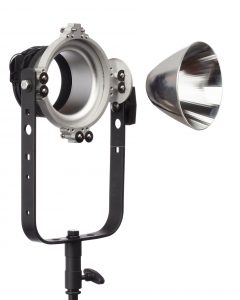
Then your DIY LEKO ADAPTER KIT (SKU: C-S4LA)
Which Includes:
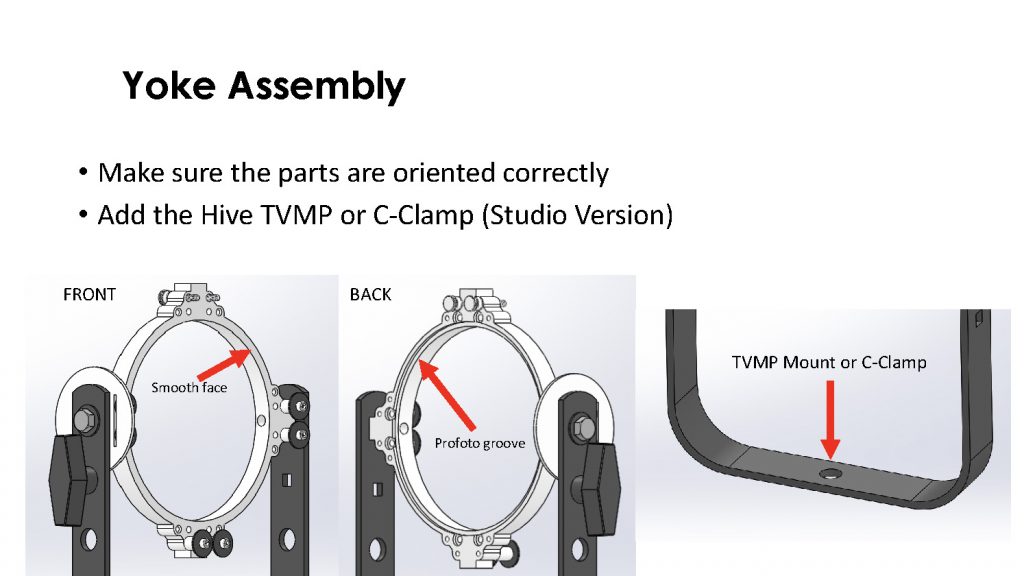
Yoke
Adapter
Reflector
Adapter Hardware
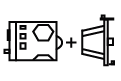
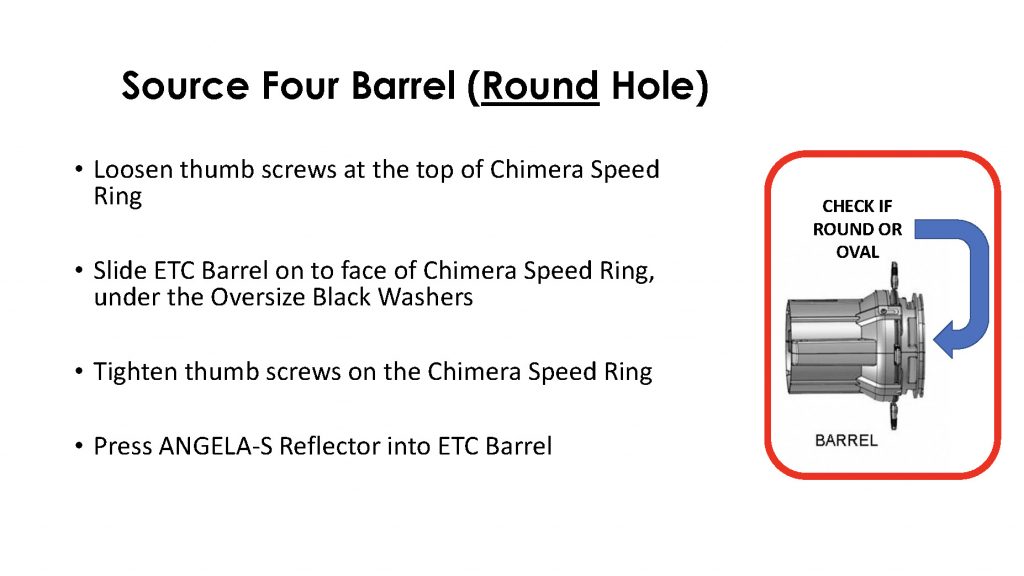
Follow the steps below to assemble your Source 4 Adapter:
When complete you will have Profile/Leko with a Profoto® mount read to be used with any Hive Omni-Color LED!
One of the key features of the new Hive Antenna Remote Control is the ability to access and control it from secondary remote devices. This control device can be an additional Hive Antenna, a smart phone, tablet or desktop computer. Basic device requirement is internet access and the ability to add the third party software Team Viewer. If you are using two Hive Antenna Remote Controllers this software is already loaded onto the device.
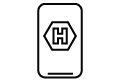
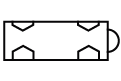
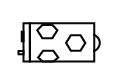
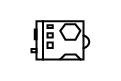
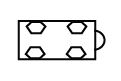
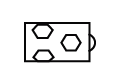
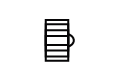
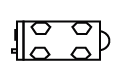
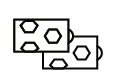
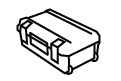
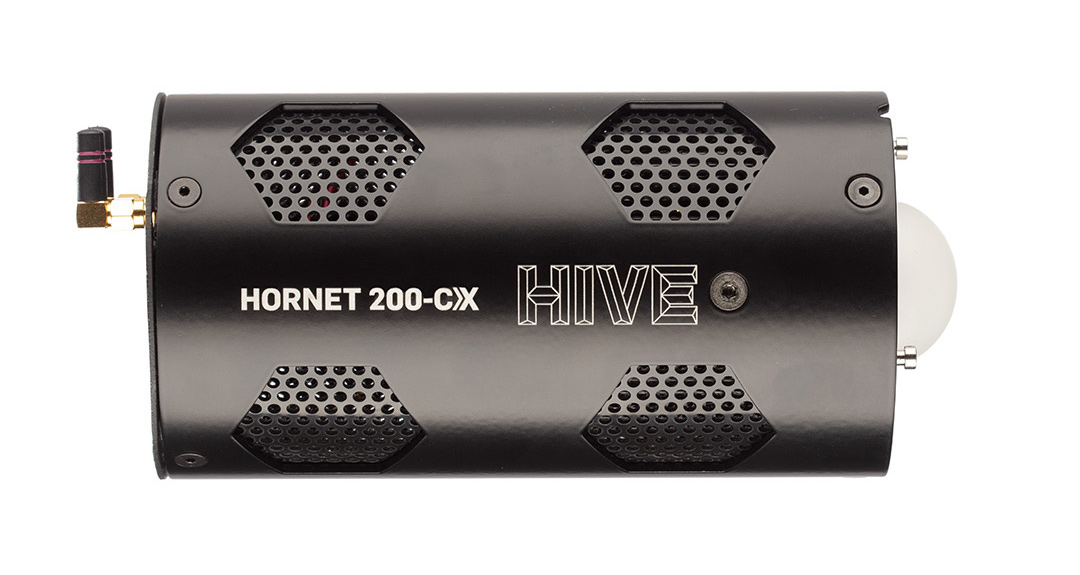
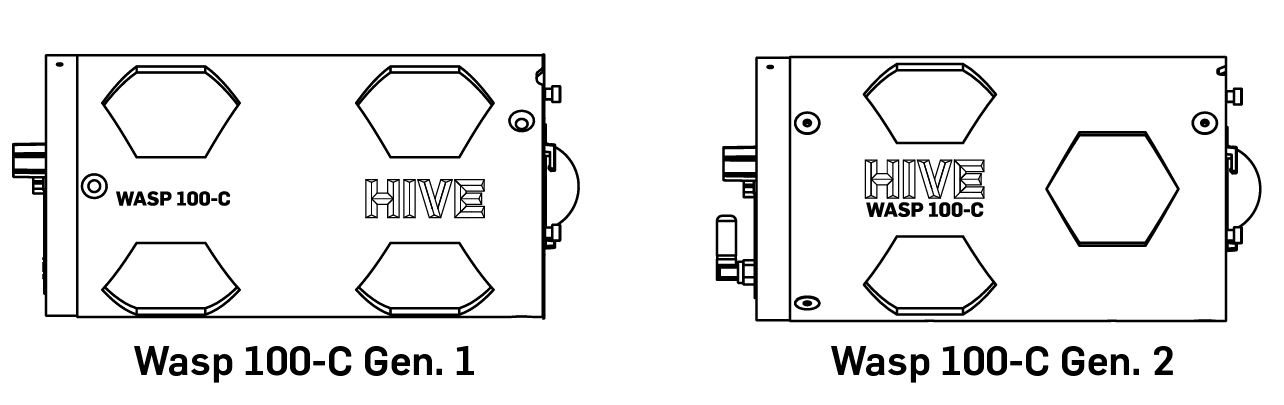
The second Generation of the Wasp 100-C introduced wireless DMX, a smaller & lighter body, and additional mounting points. First see if you have an CMRX Antenna on the backcap which would indicate you’re using second generation 100-C. To double check, another way to way to separate the two is the vent screen configuration on the side of the fixture.
– A four hole configuration means you own Gen. 1
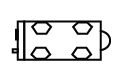
– A three hole configuration means you own Gen. 2.
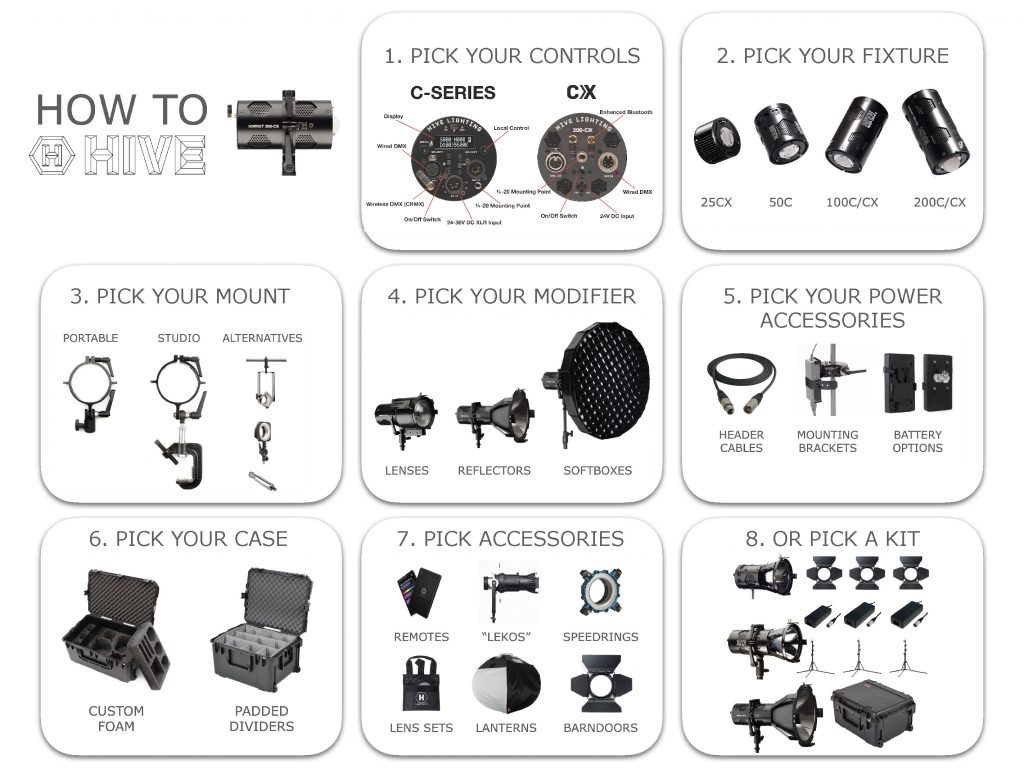
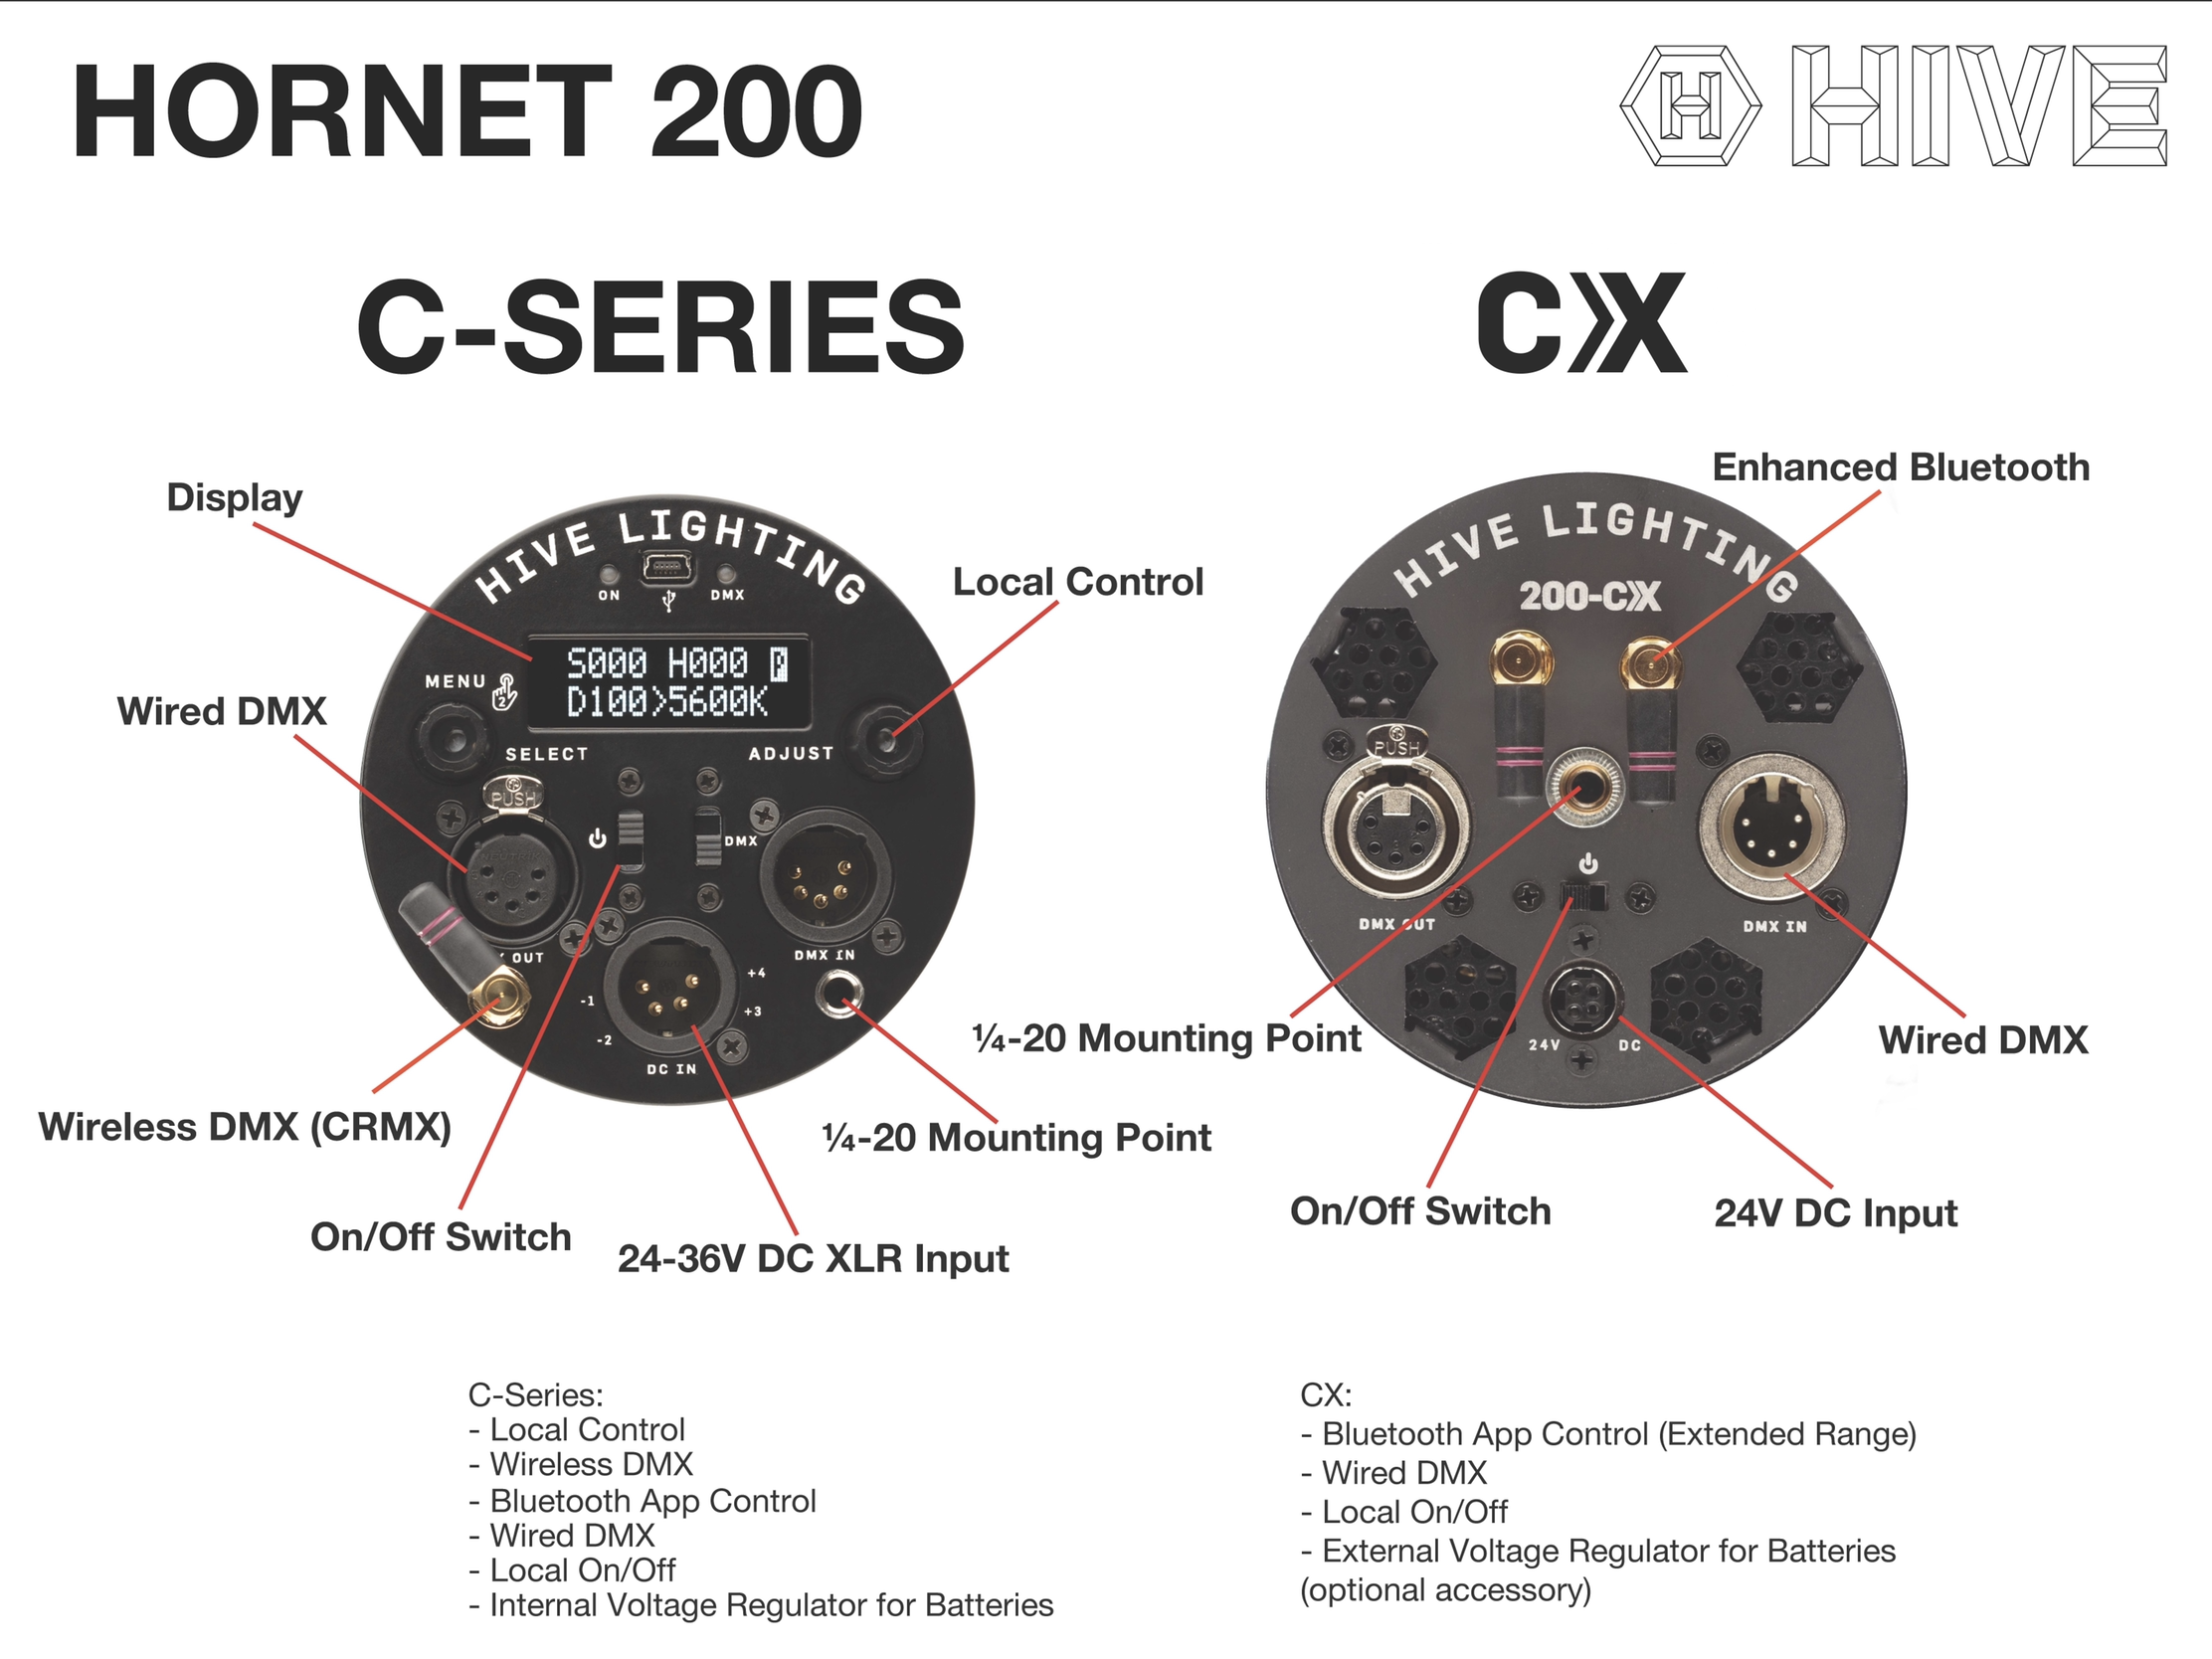
The CX-Series is a more affordable version of Hive’s popular C-Series. Both utilize the same omni-color full-spectrum technology, output, and durable built. However, the control options vary.
C-Series
– Local Controls – Wireless DMX – Bluetooth App Control – Wired DMX – Internal voltage regulator for batteries – Local On/Off
CX-Series
– Extended Range Bluetooth App Control – Wired DMX – Local On/Off – Requires external voltage regulator for batteries
To access the Profiles menu first double click the SELECT knob to access the additional menus screen. There single click the SELECT knob when the screen reads “MENU 3/5 Profiles”.
Select Photo profile and double press the SELECT knob to exit.
Troubleshooting Hive Shot App Connection:
Start by “forgetting” light by swiping left on the name in the Light Menu.
Then exit and close the SHOT app entirely.
Restart app and re-scan for light. Wait until the SCAN button returns to ensure the light is fully synced.
Then test turning the light on and off with the white button to the left of the name of the light in the Lights Menu.
If there is still no response attempt a factory reset
The Factory Reset can be found in the Settings Menu indicated by the gear symbol on the upper left hand side of the Lights Menu
Select the Factory Reset, and if prompted the password is Lumos123.
Then exit and close the SHOT app entirely.
Restart app and re-scan for light. Wait until the SCAN button returns to ensure the light is fully synced and test connectivity by entering the SHOT menu and adjusting levels.
For lights purchased before January 2019, if the above doesn’t work please try an alternate version of resetting the lights and your app for Bluetooth via an App from one of our engineering partners that we contract with to build the logic module that drives our lights. They also have an app that is designed for their architectural products that will recognize our models as well. You can try to see if this will control the lights, please download the following application and then follow the instructions:
Connect DMX Board: Connect your DMX512-compliant device to the fixture via the DMX “In” Socket on the right side of the Control Panel
Engage DMX Mode: Flip the DMX Mode On/Off Switch to the up position, the DMX indicator light will turn on. You are now in DMX mode and can use a DMX board to control the light.Your digital display will register value changes via the connected DMX board.
Adjust Starting Address: You will also notice that there is a fifth symbol when in DMX mode – “A”. This indicates the light’s starting address, and its value determines which controls on the DMX board are used to operate the light. The starting address can be any value between 1 and 512. Selecting the one you want can be achieved in two different ways via the control panel’s Right Dial:
Coarse Adjustment: Turn the right dial in either direction to change the address’ value in increments of 10.
Fine Adjustment: Press the right dial in slightly, then continue to press in while turning in either direction to change the value by increments of 1.
NOTE: Any values for S, H, D & C that have been provided by the DMX board will persist even after the DMX board has been unplugged. Conversely, if the controls on the DMX board are adjusted post-separation and then the board is reconnected, the light will overwrite the previous ones.
Connect DMX Board: Connect your DMX512-compliant device to the fixture via the XLR DMX “In” Socket on the right side of the Back Plate of the light.
Engage DMX Mode: Once a DMX512-compliant device is attached to a CX light it will immediately respond to any signals sent by the DMX board.
Note: All CX lights are NOT CRMX enabled and will not respond to Wireless DMX unless additional hardware like a CRMX antenna is attached to the light.
Note: All CX lights only offer 4 Channel control (Output -1, Color Temp – 2, Saturation – 3, Hue -4) and default to DMX address 001 when shipped.
Adjust Starting Address: There are two ways to adjust the starting address of a CX light, either through an RDM enabled DMX board or via the Hive SHOT app for Android or iOS.
RDM: RDM stands for remote device management and allows you to adjust the address of the CX fixture remotely. You need an RDM-enabled DMX controller, and you’ll need fixtures that are RDM compatible and compliant, all Hive CX lights are RDM compatible and compliant. Please note if you use DMX splitters, these will also need to be RDM-enabled and compliant as well. Once connected to an RDM-enabled DMX controller please follow the specific instructions of this controller for adjusting the DMX address for your CX light fixture.
APP: The Hive SHOT app for iOS or Android allows you to adjust the starting DMX address for any CX fixture. Adjust this by entering the SETTINGS menu on your App. Select TOGGLE DMX MENU and then enable the DMX menu by adjusting the slider to turn the menu on. You can then access this menu on the bottom right hand corner of the SHOT app. Once accessed you can adjust the address of the selected light.