GETTING THE MOST OUT OF HIVE’S VERSATILE SYSTEM IS EASY IF YOU FOLLOW THESE SIMPLE STEPS:

GETTING THE MOST OUT OF HIVE’S VERSATILE SYSTEM IS EASY IF YOU FOLLOW THESE SIMPLE STEPS:

+
=
HIVE IS EFFECTS:
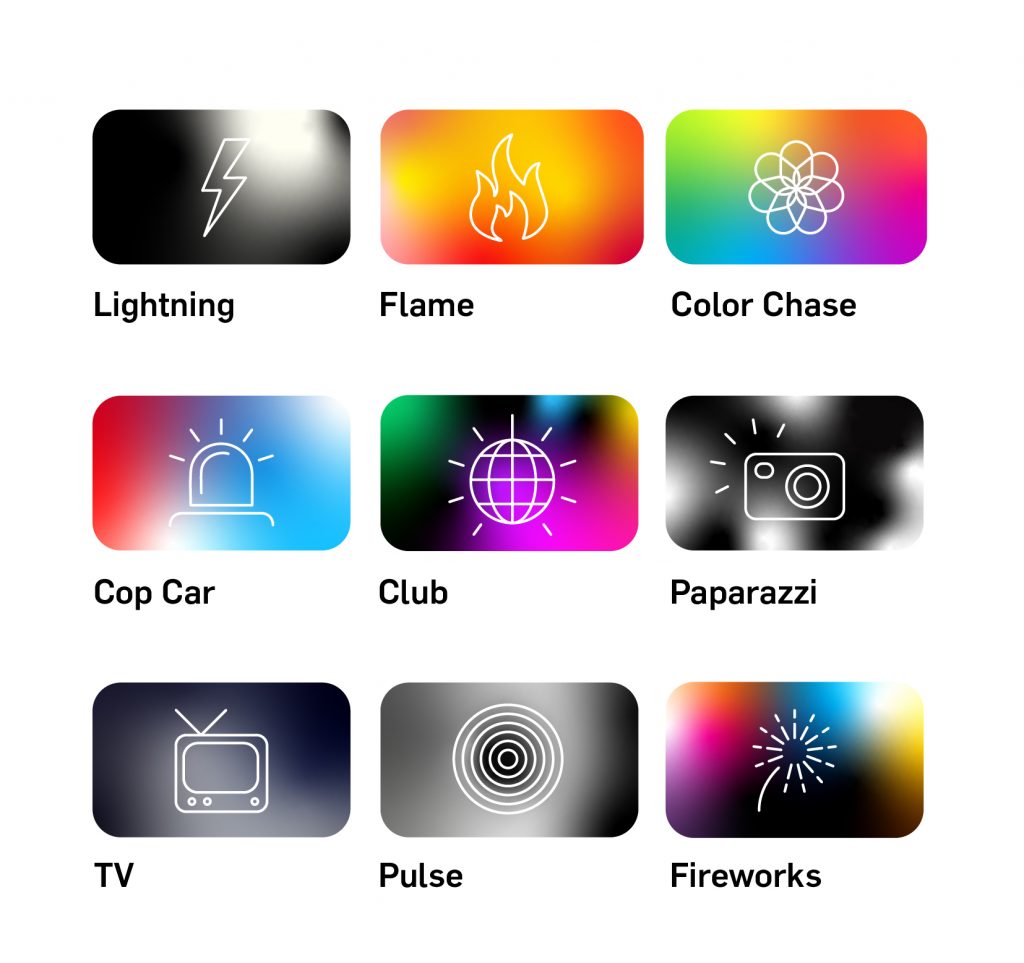
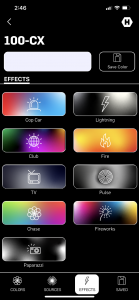
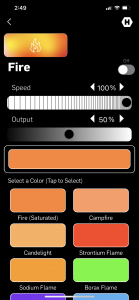
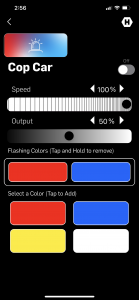
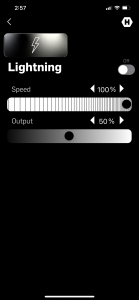
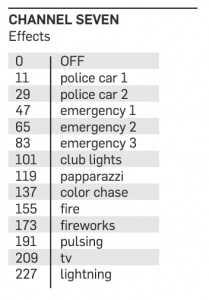
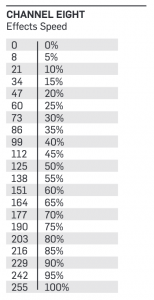
All of Hive Omni-Color LEDs feature preset effects designed to imitate common light sources and lighting scenarios that can be used for video and cinema production. These effects can be accessed via local controls and DMX on Hive’s C-Series lights and via the Hive smartphone App for both C-Series and CX lights.
CX Series Omni-Color Lights:
On Hive’s CX lights to use the preset effects, access Hive’s smartphone/device app and enter the EFFECTS menu on the app to select the desired effect and edit the available parameters including speed, color and output level.
C-Series Omni-Color Lights:
Hive’s C-Series LEDs are able to access effects via the Hive App, but are also able to access Effects via the local control Menu system and via DMX controls.
Effects Menu
Via DMX:
FX+ DMX MODE Channels:
BATTERY POWER FOR HIVE LEDS:
All of Hive’s Omni-Color LEDs offer options to be run off of a battery. However each fixture has certain, power and voltage requirements that must be met by the battery selected. When considering what battery will work with your Hive light it is important to identify the voltage and wattage of your battery to ensure it can provide enough power for your Omni-Color LED. Depending on the voltage and power requirements certain batteries may not work, others may require additional accessories like and external voltage regulator or dual battery plate system. Below is a guide that will hopefully answer any questions you may have about running Hive Lights on battery.
C-SERIES OMNI-COLOR LEDS:
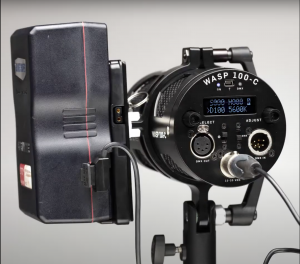
All C-Series lights are Direct Current Voltage electronics which makes them easy to run directly off batteries. They all have 4 – pin XLR sockets wired with pin 1 ( – )DCV In and pin 4 (+) DCV in, which is standard pin wiring on most cinema cameras.
Bee 50-C: The Bee 50-C is a 12VDC fixture with an acceptable voltage range of 12-18VDC input. We recommend 12VDC, 14.4VDC, 14.8VDC batteries with 60Wh or higher output. Hive offers a single V-Mount or Gold-Mount Bracket which can accept the above battery voltages. This battery plate can be mounted to the yoke itself or to a pole, stand or rigged to a grid and connects power to the light using a D-Tap or P-Tap to 4 pin XLR cable.
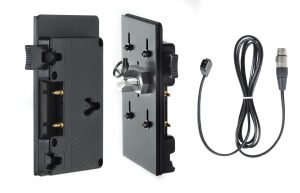
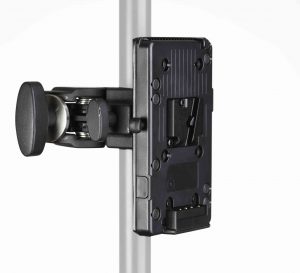
Wasp 100-C: The Wasp 100-C is a 19VDC fixture with an acceptable voltage range of 12-20V DC input. We recommend 14.4VDC batteries with 90Wh or higher output. Hive offers a single V-Mount or Gold-Mount Bracket which can accept the above battery voltages. This battery plate can be mounted to the yoke itself or to a pole, stand or rigged to a grid and connects power to the light using a D-Tap or P-Tap to 4 pin XLR cable.
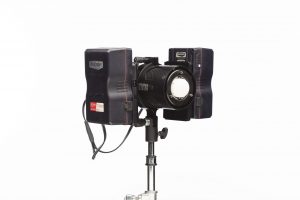
Hornet 200-C: A single V-Mount or Gold-Mount Bracket can work for the Hornet 200-C, but you need to use 26V or 28V Batteries. These are available from a variety of battery manufacturers. 14.4V Batteries can also be used with the Hornet 200-C, but you will need additional accessories to increase the voltage required. There are two options, one is to use the Hornet 200-C Voltage Regulator this allows the 200-C to be run on a single 14.4V battery as long as the battery has more than 150Wh of power. The second option allows two 14.4V batteries in series so they reach 28.8V. This can be done with 2X of our V-Mounts or Gold-Mounts and a custom Hive Dual Battery Y-Cable.
Mounting Plate and Battery Cable SKUS From Hive for Hornet 200-C:
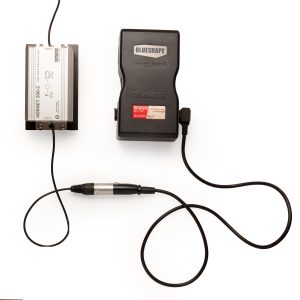
Hive sells both V-mount and Gold Mount battery plate kits. The Dual Battery Y-Cable is also available separately.
CX OMNI-COLOR LEDS:
All CX lights from Hive are also Direct Current Voltage electronics but require an external voltage regulator to operate on battery.
Wasp 100-CX:
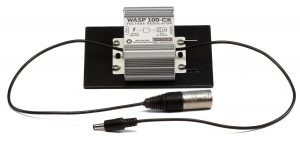
The Wasp 100-CX is a 24VDC but with the Wasp 100-CX Voltage Regulator the light is compatible with any 10-20VDC, 75Wh or greater battery with adapter to 4pin XLR. Hive offers a single V-Mount or Gold-Mount Bracket which can accept the above battery voltages. This battery plate can be mounted to the yoke itself or to a pole, stand or rigged to a grid and connects power to the voltage regulator using a D-Tap or P-Tap to 4 pin XLR cable.
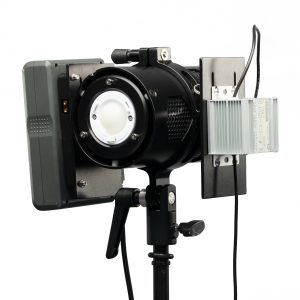
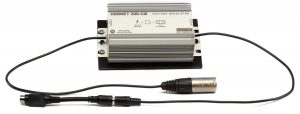
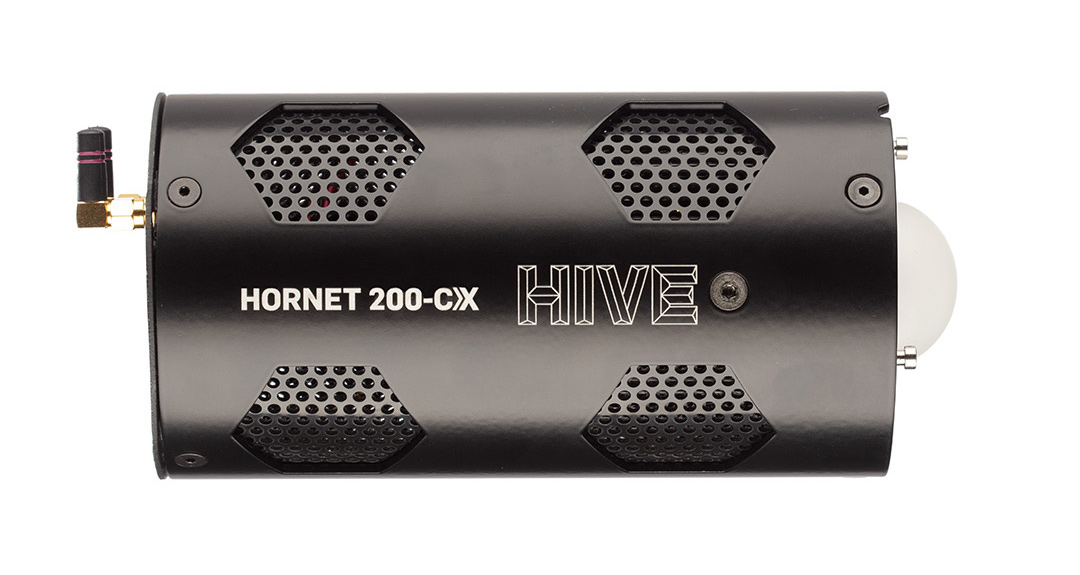
Hornet 200-CX:
The Hornet 200-CX is a 24VDC but with the Hornet 200-CX Voltage Regulator the light is compatible with any 10-20VDC, 150Wh or greater battery with adapter to 4pin XLR. Hive offers a single V-Mount or Gold-Mount Bracket which can accept the above battery voltages. This battery plate can be mounted to the yoke itself or to a pole, stand or rigged to a grid and connects power to the voltage regulator using a D-Tap or P-Tap to 4 pin XLR cable.
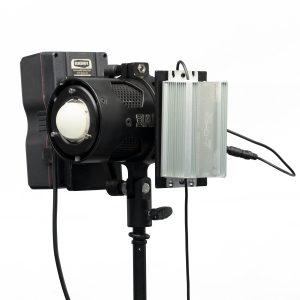
Mounting Plate and Battery Cable SKUS From Hive for Hornet 200-CX when paired with Voltage Regulator:
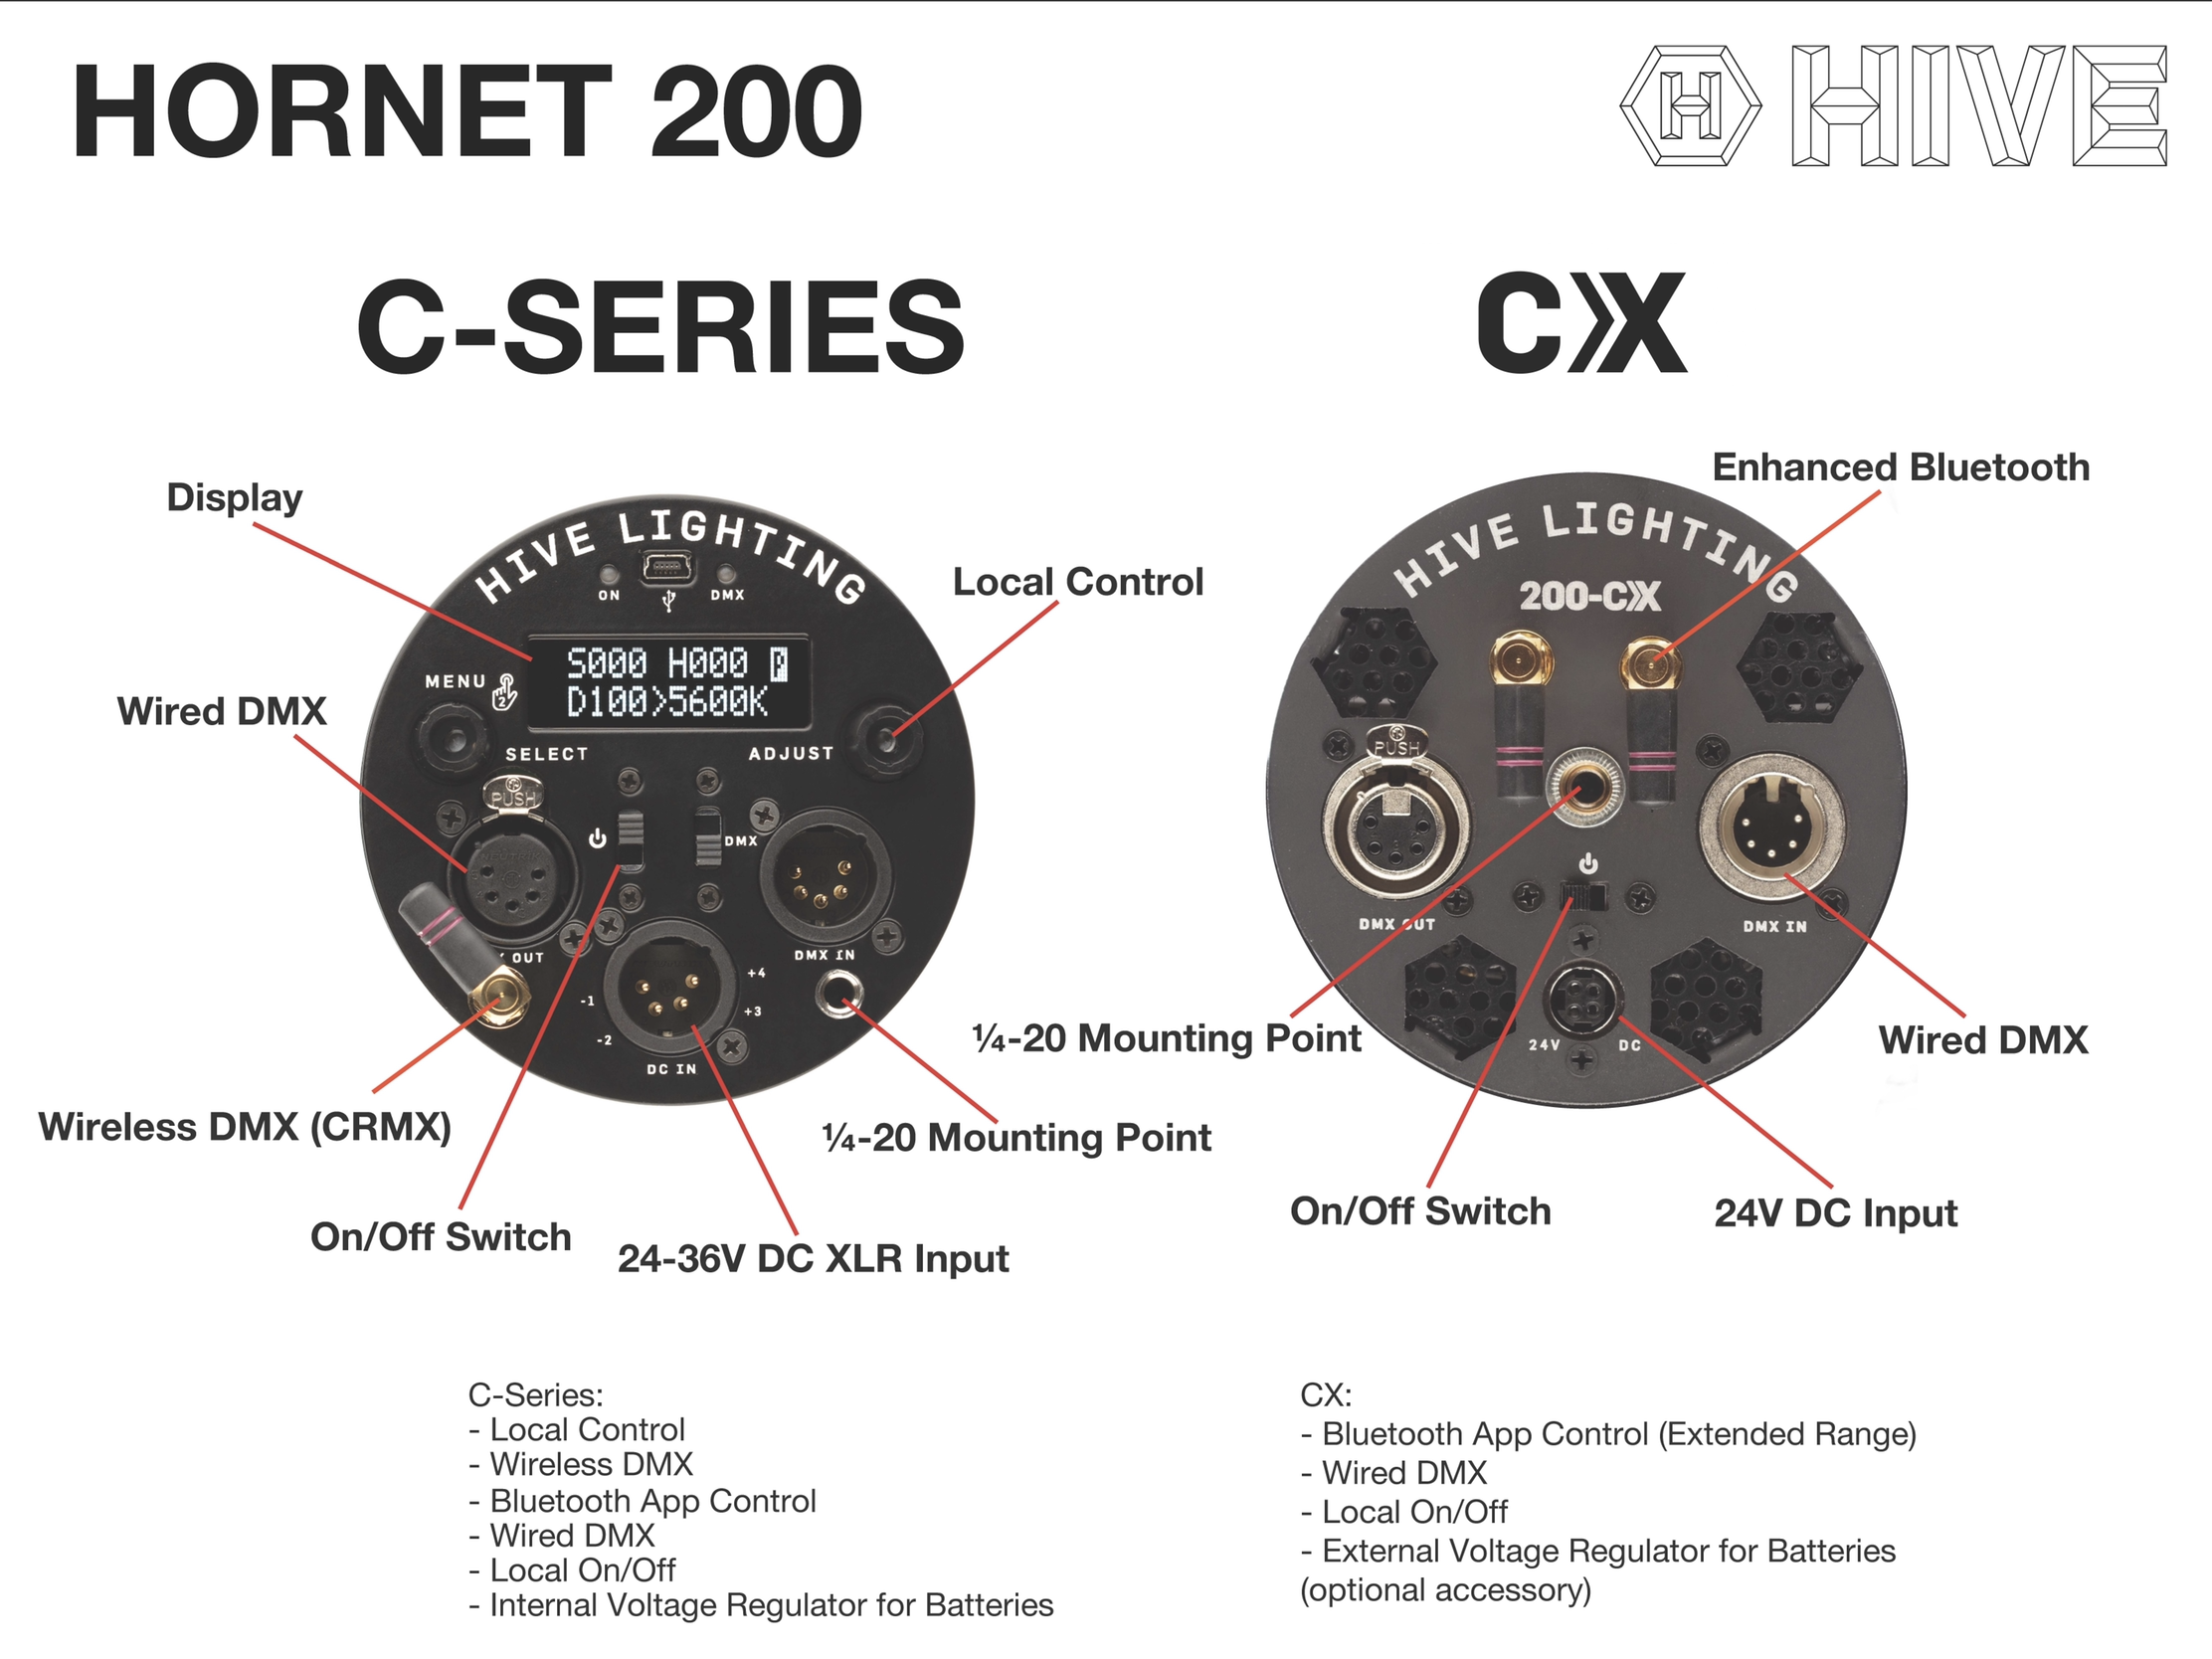
The CX-Series is a more affordable version of Hive’s popular C-Series. Both utilize the same omni-color full-spectrum technology, output, and durable built. However, the control options vary.
– Local Controls
– Wireless DMX
– Bluetooth App Control
– Wired DMX
– Internal voltage regulator for batteries
– Local On/Off
– Extended Range Bluetooth App Control
– Wired DMX
– Local On/Off
– Requires external voltage regulator for batteries
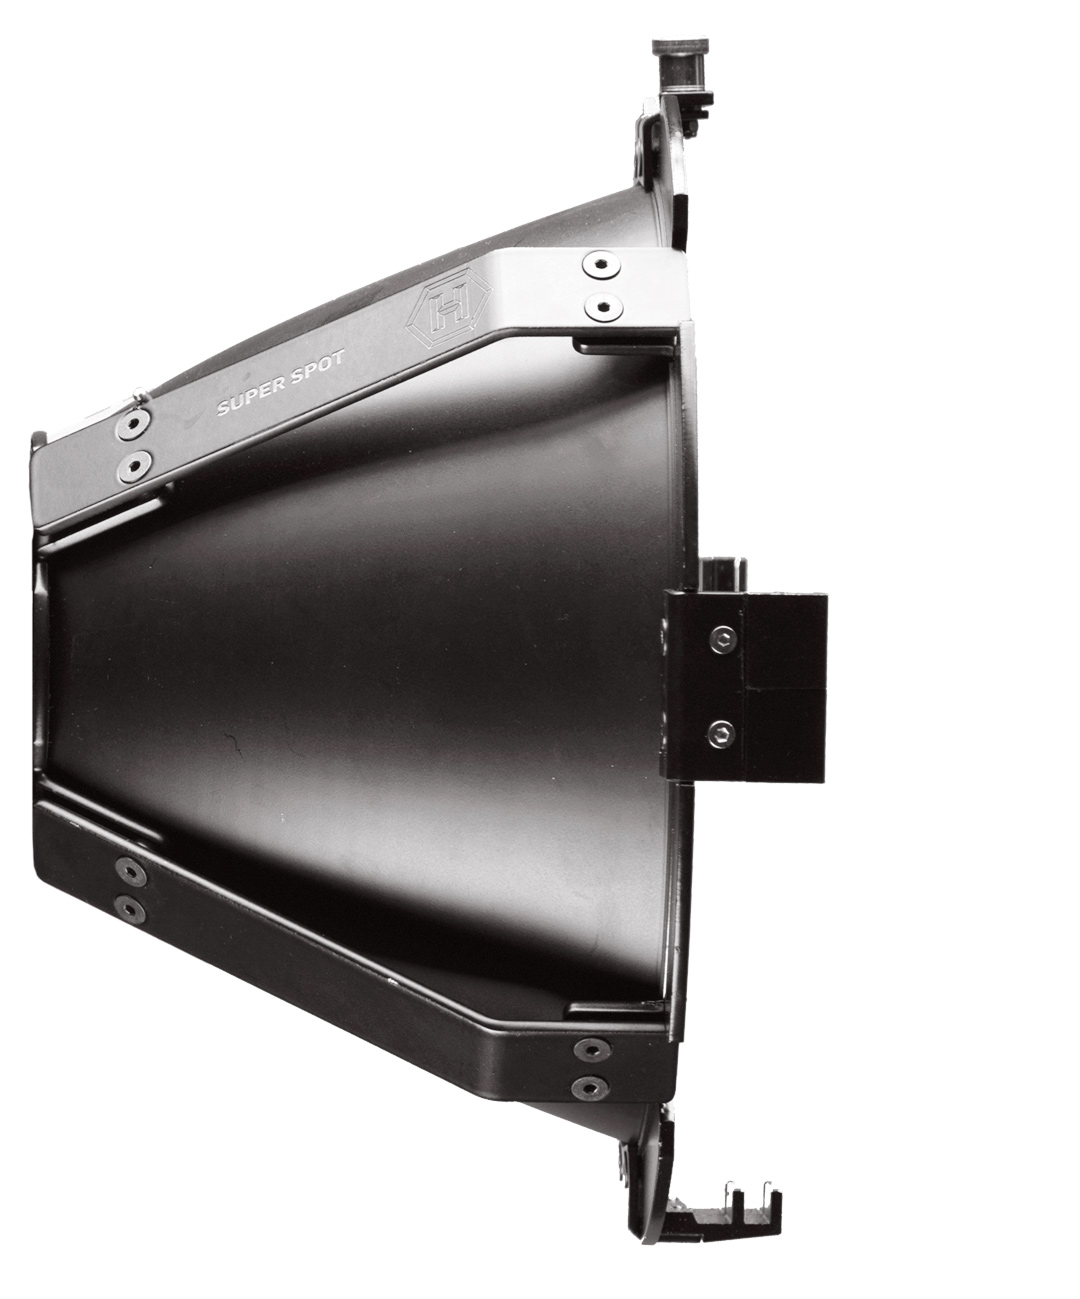
HIVE DIY KIT TURNS PROFOTO® & HIVE INTO PROFILE SPOT LIGHTS
Our DIY kit is a great way to get new value out of your old tungsten “Leko” theatrical style spot light but some assembly is required. This includes everything you need to adapt any full sized ETC® Source Four Barrel or equivalent dimension lens from a theatrical elliptical spot light to be compatible with any Profoto® or Hive Omni-Color LED light. It does NOT however include an S4 barrel.
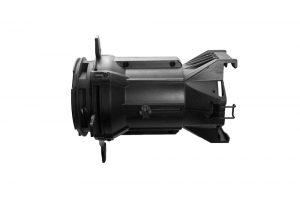
First you will need a Tungsten profile/leko style spot light. Remove the barrel and lens from the fixture:
Then your DIY LEKO ADAPTER KIT (SKU: C-S4LA)
Which Includes:
Follow the steps below to assemble your Source 4 Adapter:
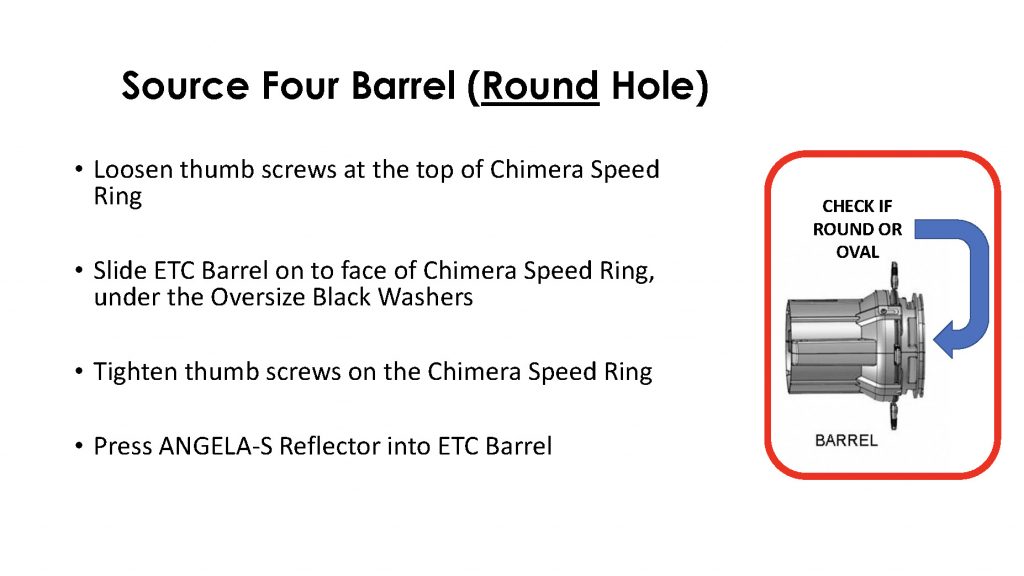
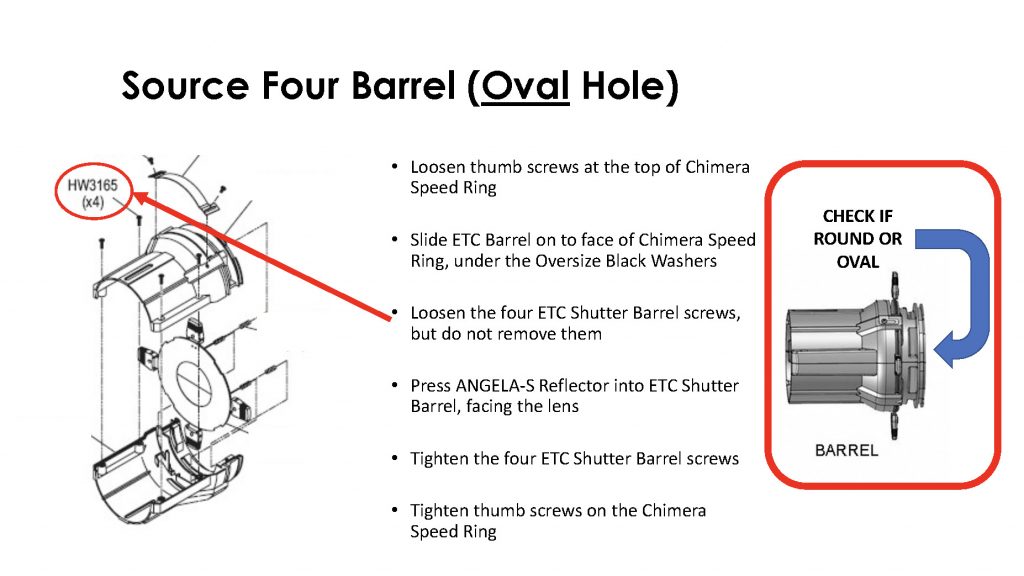
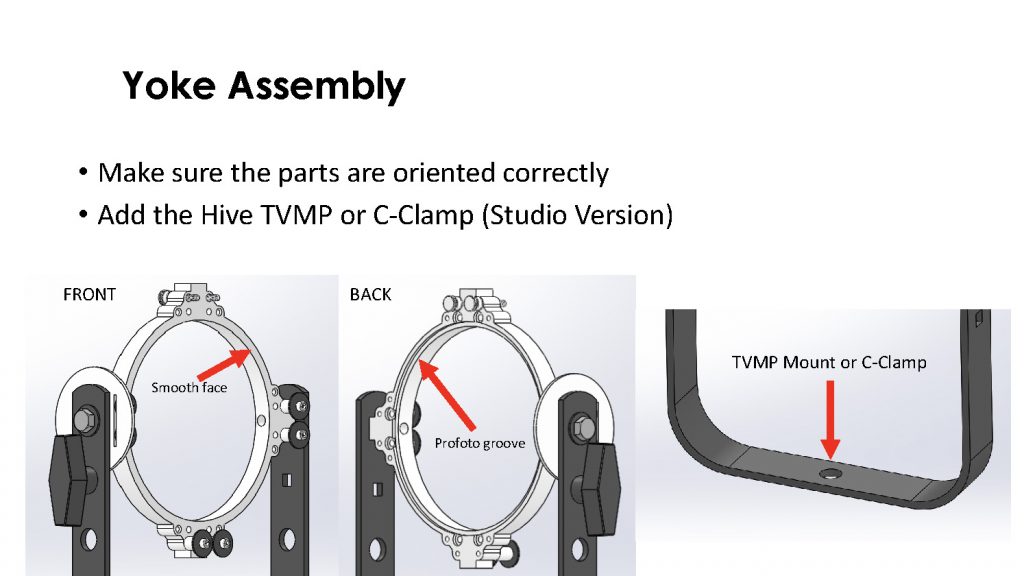
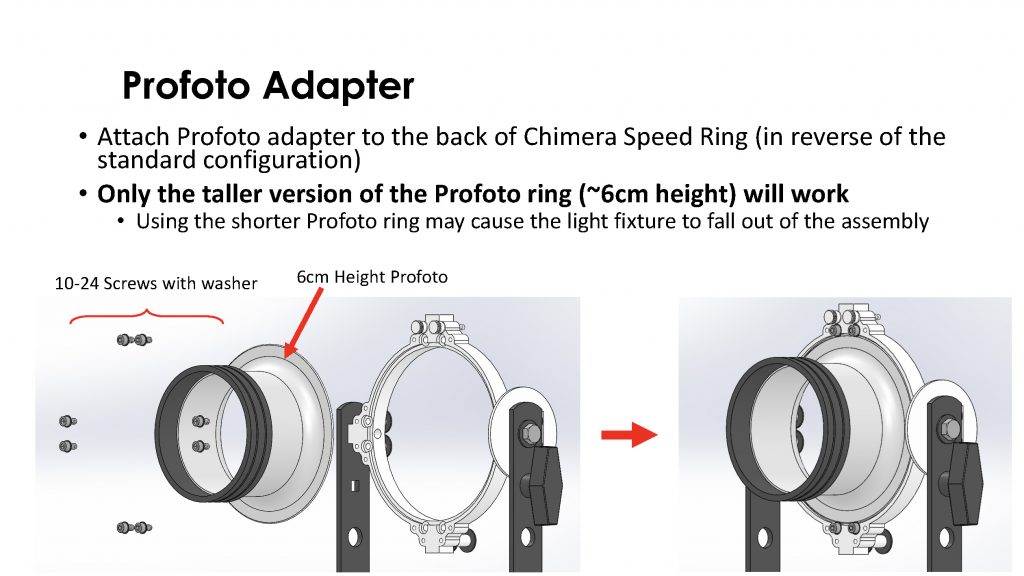
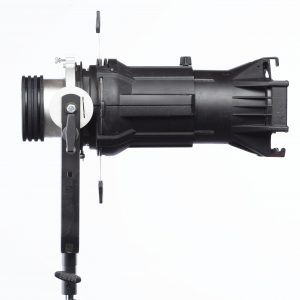
When complete you will have Profile/Leko with a Profoto® mount read to be used with any Hive Omni-Color LED!
Similar to most pieces of technology, many problems with Hive LED’s can be solved by following some simple steps:
Troubleshooting LED Fixture:
If using a C-Series Head (50-C, 100-C, 200-C), please try the following:
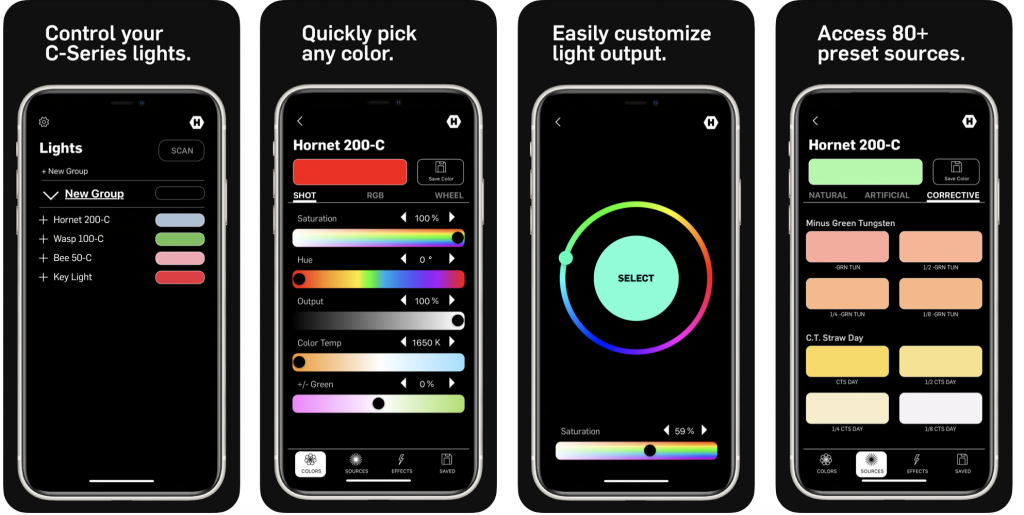
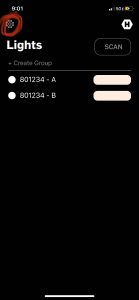
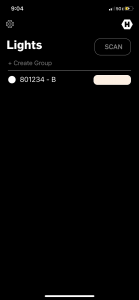
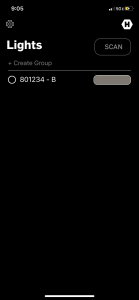
Troubleshooting Hive Shot App Connection:
Still having trouble? Reach out to one of our Service Centers or contact us directly at support@hivelighting.com or 310 773 4362.

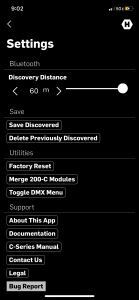
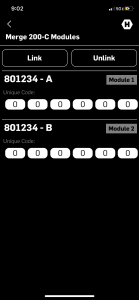
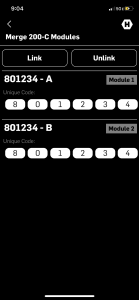
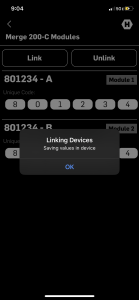
Connect DMX Board: Connect your DMX512-compliant device to the fixture via the DMX “In” Socket on the right side of the Control Panel
Engage DMX Mode: Flip the DMX Mode On/Off Switch to the up position, the DMX indicator light will turn on. You are now in DMX mode and can use a DMX board to control the light.Your digital display will register value changes via the connected DMX board.
Adjust Starting Address: You will also notice that there is a fifth symbol when in DMX mode – “A”. This indicates the light’s starting address, and its value determines which controls on the DMX board are used to operate the light. The starting address can be any value between 1 and 512. Selecting the one you want can be achieved in two different ways via the control panel’s Right Dial:
NOTE: Any values for S, H, D & C that have been provided by the DMX board will persist even after the DMX board has been unplugged. Conversely, if the controls on the DMX board are adjusted post-separation and then the board is reconnected, the light will overwrite the previous ones.
Learn More about CMRX Here
Learn About Hive’s DMX Channels Here
Connect DMX Board: Connect your DMX512-compliant device to the fixture via the XLR DMX “In” Socket on the right side of the Back Plate of the light.
Engage DMX Mode: Once a DMX512-compliant device is attached to a CX light it will immediately respond to any signals sent by the DMX board.
Note: All CX lights are NOT CRMX enabled and will not respond to Wireless DMX unless additional hardware like a CRMX antenna is attached to the light.
Note: All CX lights only offer 4 Channel control (Output -1, Color Temp – 2, Saturation – 3, Hue -4) and default to DMX address 001 when shipped.
Adjust Starting Address: There are two ways to adjust the starting address of a CX light, either through an RDM enabled DMX board or via the Hive SHOT app for Android or iOS.
RDM: RDM stands for remote device management and allows you to adjust the address of the CX fixture remotely. You need an RDM-enabled DMX controller, and you’ll need fixtures that are RDM compatible and compliant, all Hive CX lights are RDM compatible and compliant. Please note if you use DMX splitters, these will also need to be RDM-enabled and compliant as well. Once connected to an RDM-enabled DMX controller please follow the specific instructions of this controller for adjusting the DMX address for your CX light fixture.
APP: The Hive SHOT app for iOS or Android allows you to adjust the starting DMX address for any CX fixture. Adjust this by entering the SETTINGS menu on your App. Select TOGGLE DMX MENU and then enable the DMX menu by adjusting the slider to turn the menu on. You can then access this menu on the bottom right hand corner of the SHOT app. Once accessed you can adjust the address of the selected light.