


Wireless DMX (CRMX) on the C-Series
Posted on
Tuesday, February 4th, 2020
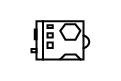
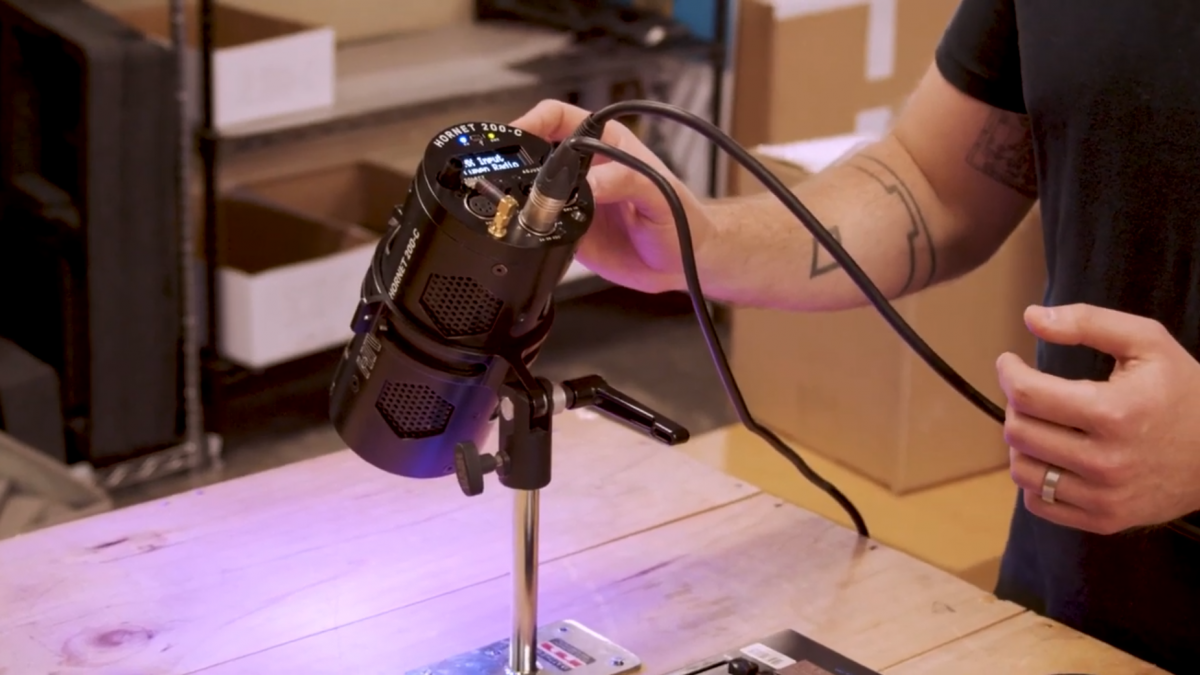
- Engage DMX Mode: Flip the DMX Mode On/Off Switch to the up position, causing the DMX indicator light to turn on. This light tells you that you are now in DMX mode and can use a DMX board or CRMX transmitter to control the light.
- To Select Lumen Radio from the DMX input menu:
- Double click the selection knob to enter the DMX menu.
- Once the DMX menu is open single click the selection knob to select DMX input.
- Rotate the selection knob to select between CRMX and Local Wire. Select CRMX for wireless control, then single click the selection knob to exit to the main DMX menu double click to exit the menu.
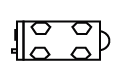
- When you have successfully selected LumenRadio the DMX menu will now read CRMX on the OLED display on the back of the C-Series fixture.
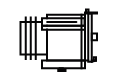
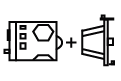
- Link your LumenRadio transmitter. To successfully use wireless DMX with the C-Series lights, you must have a LumenRadio (CRMX) enabled transmitter connected to your DMX controller.
- To link your transmitter:
- Ensure the antenna is connected.
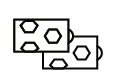
- Power on the transmitter and receiver(s).
- Ensure that the RF Link indicators on all receivers are off to indicate that the receiver(s) are ready to be linked (If necessary, follow the unlink procedure).
- On the transmitter, press and release the link button.
- The transmitter will search for any unlinked receivers. Its RF Link indicator will flash for 10 seconds and normal operation will resume.
- The RF Link indicator will change to a steady on-state on successfully linked receivers.
- To Unlink from a LumenRadio transmitter select:
- Double click the selection knob to enter the DMX menu.
- Once the DMX menu is open single click the selection knob to select linking.
- Click the selection knob to unlink, then confirm unlink.