- PRODUCTS
- CATALOG
- INSPIRATION
- SUPPORT
- CONTACT
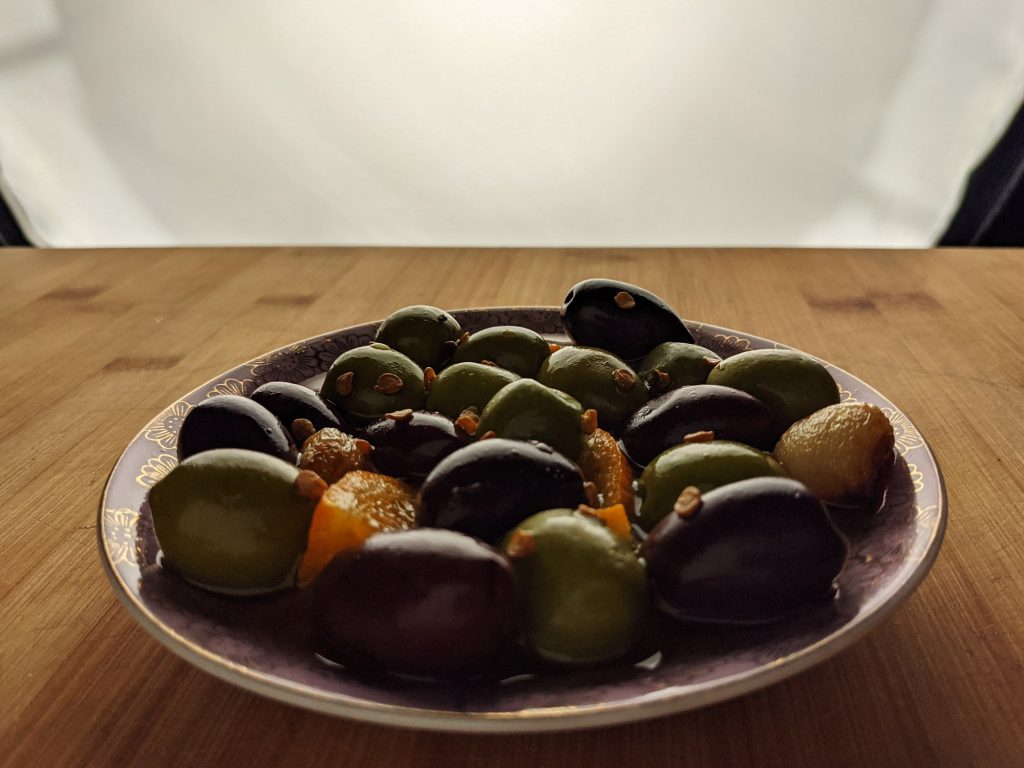
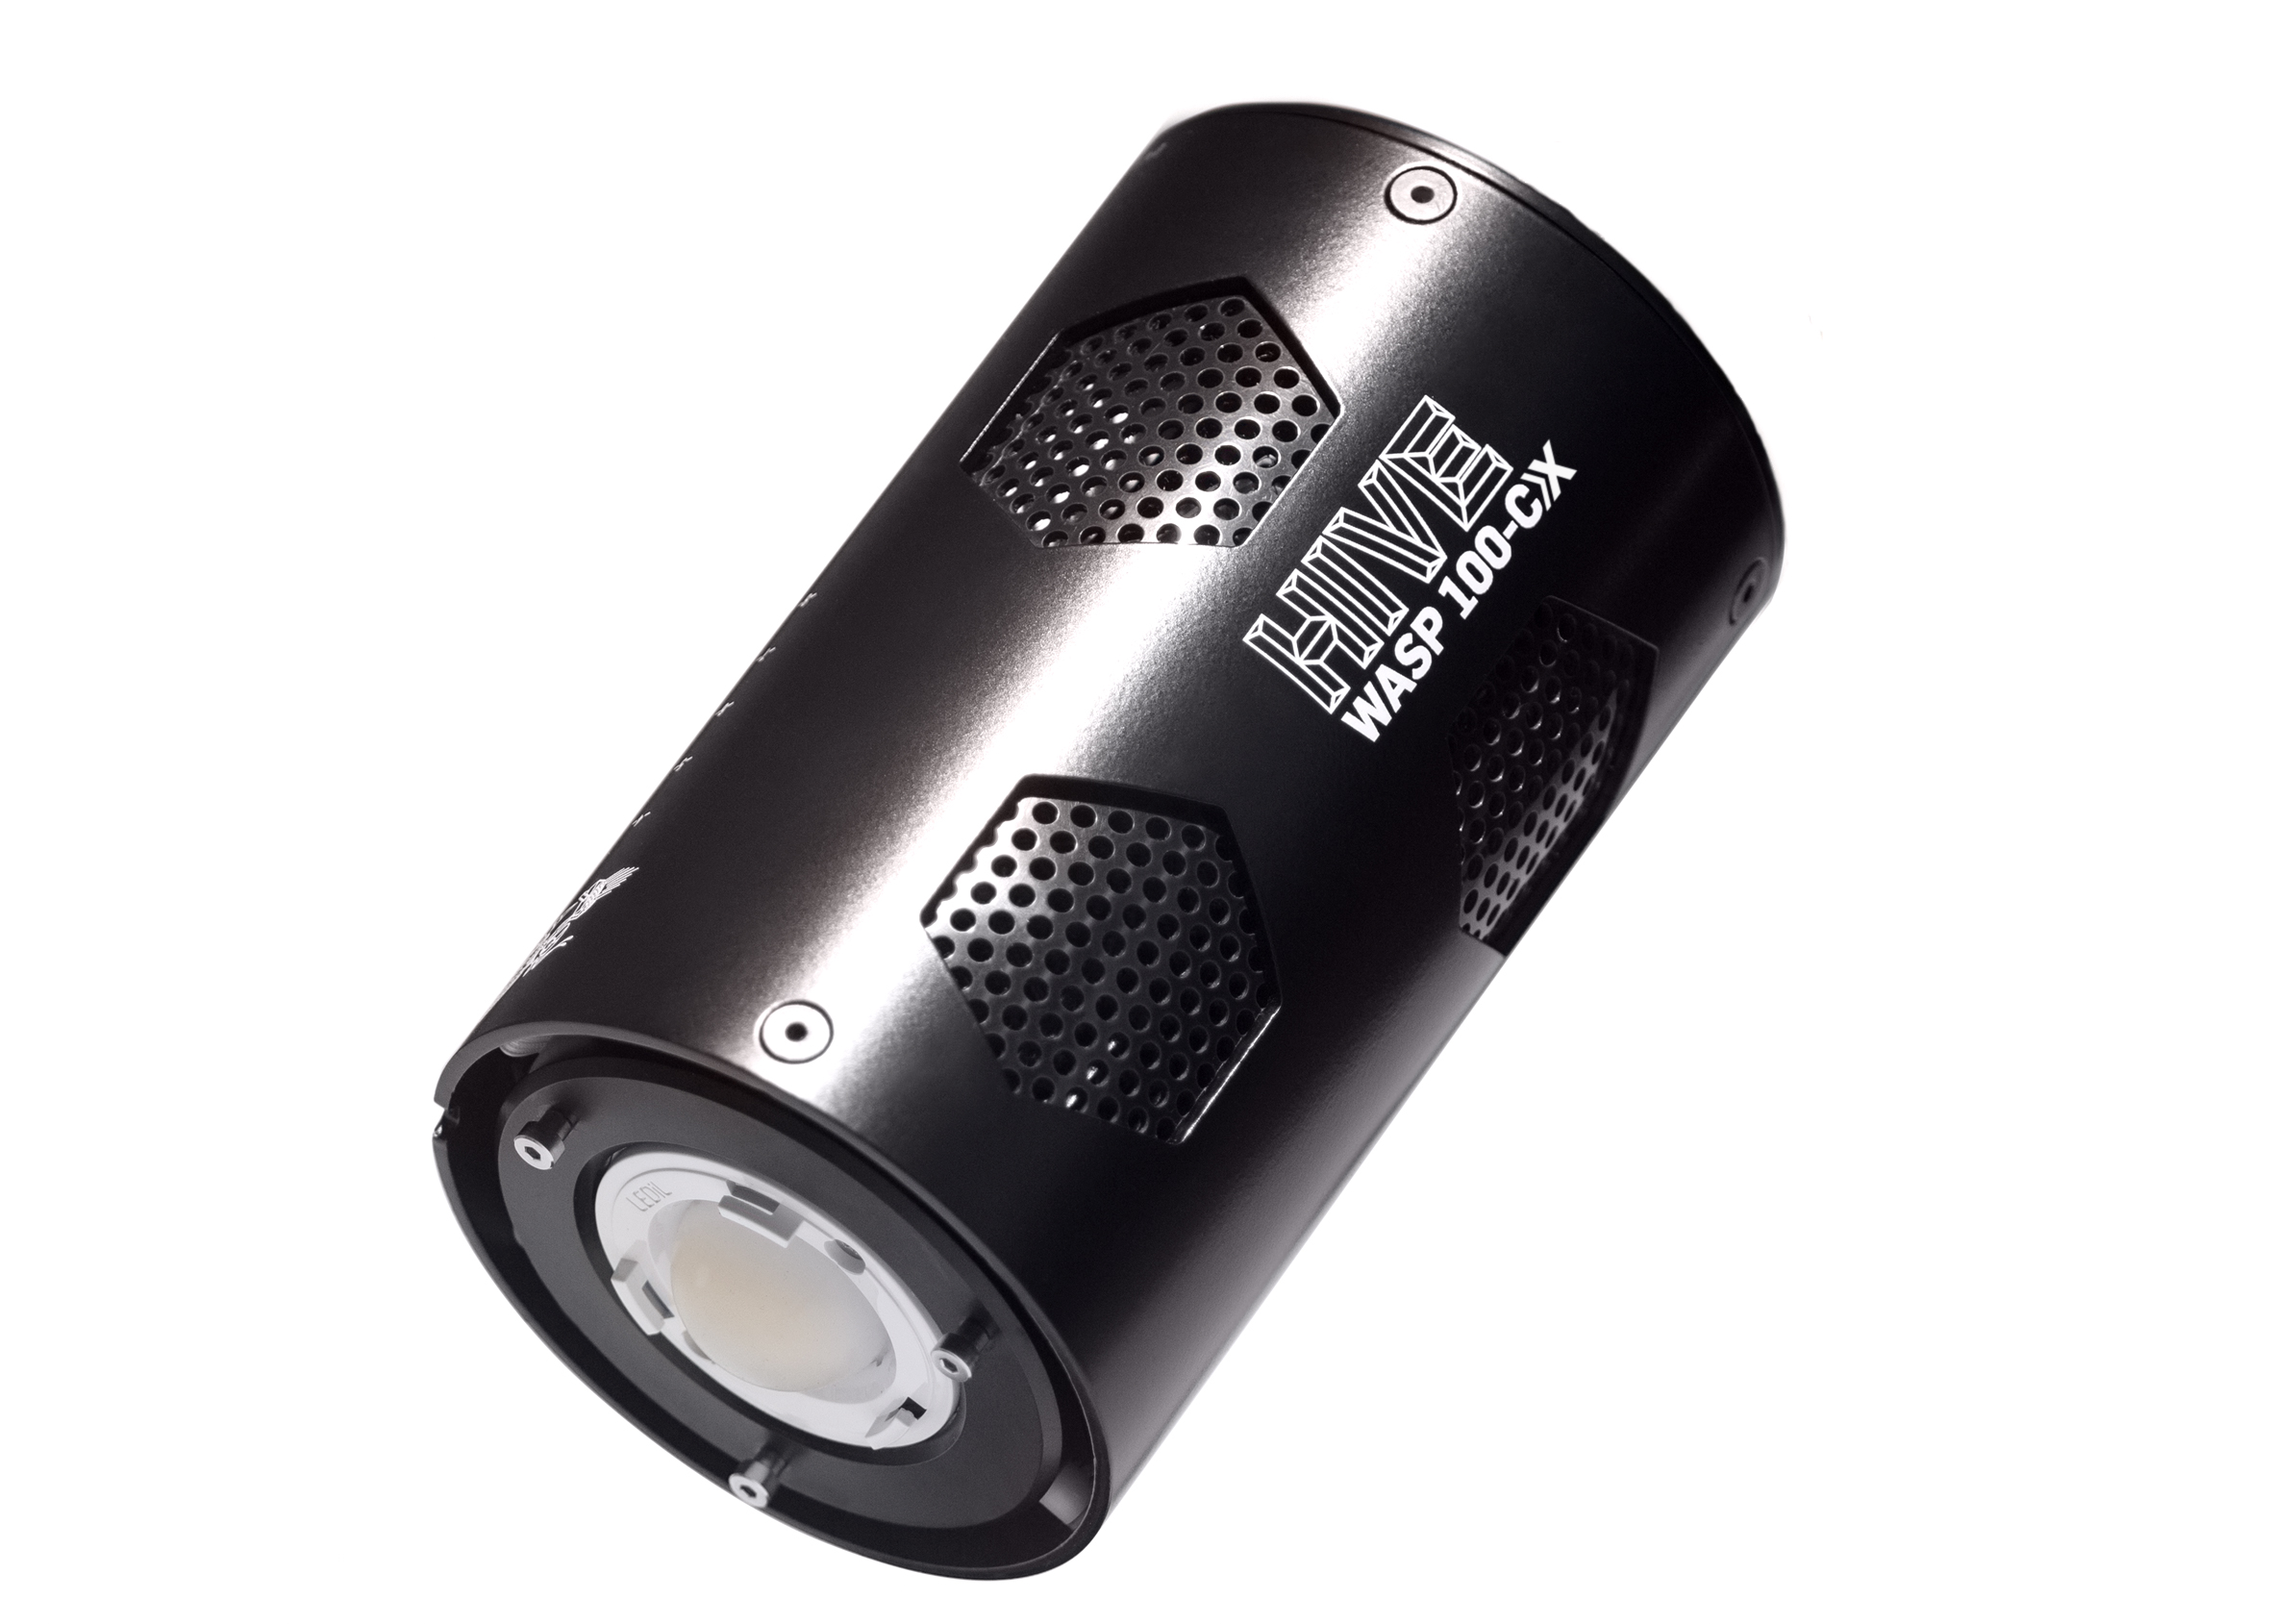
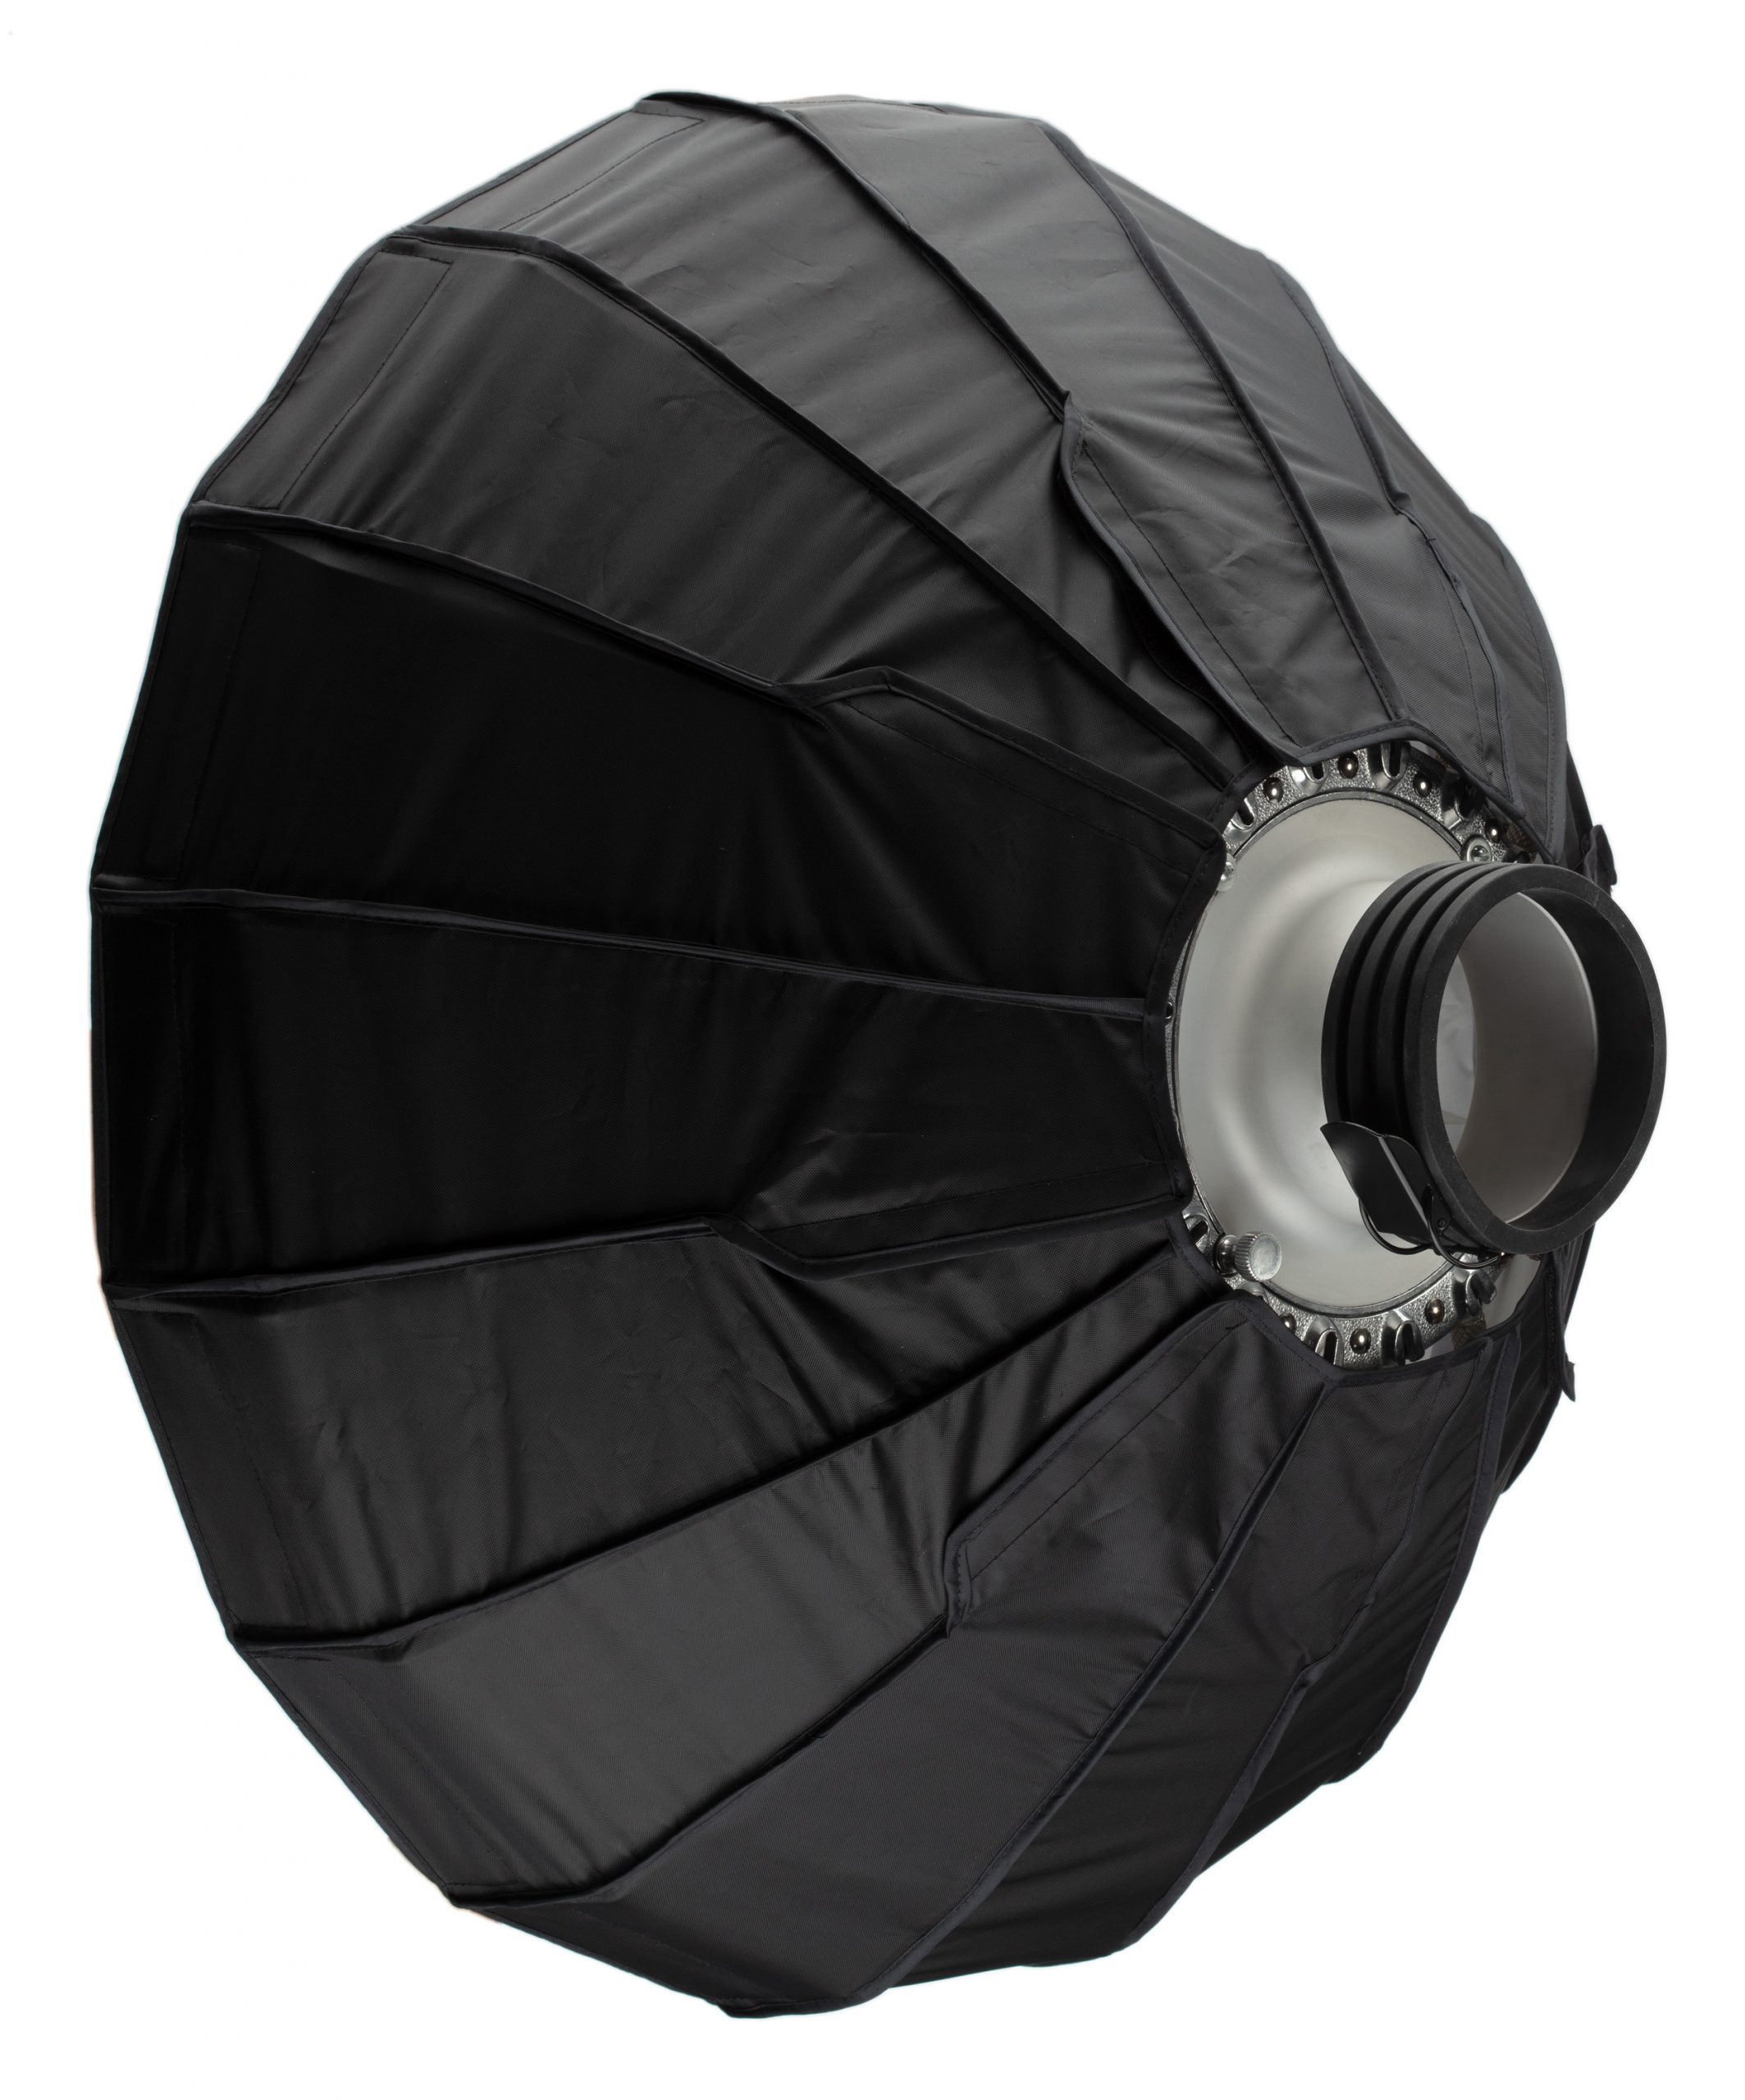
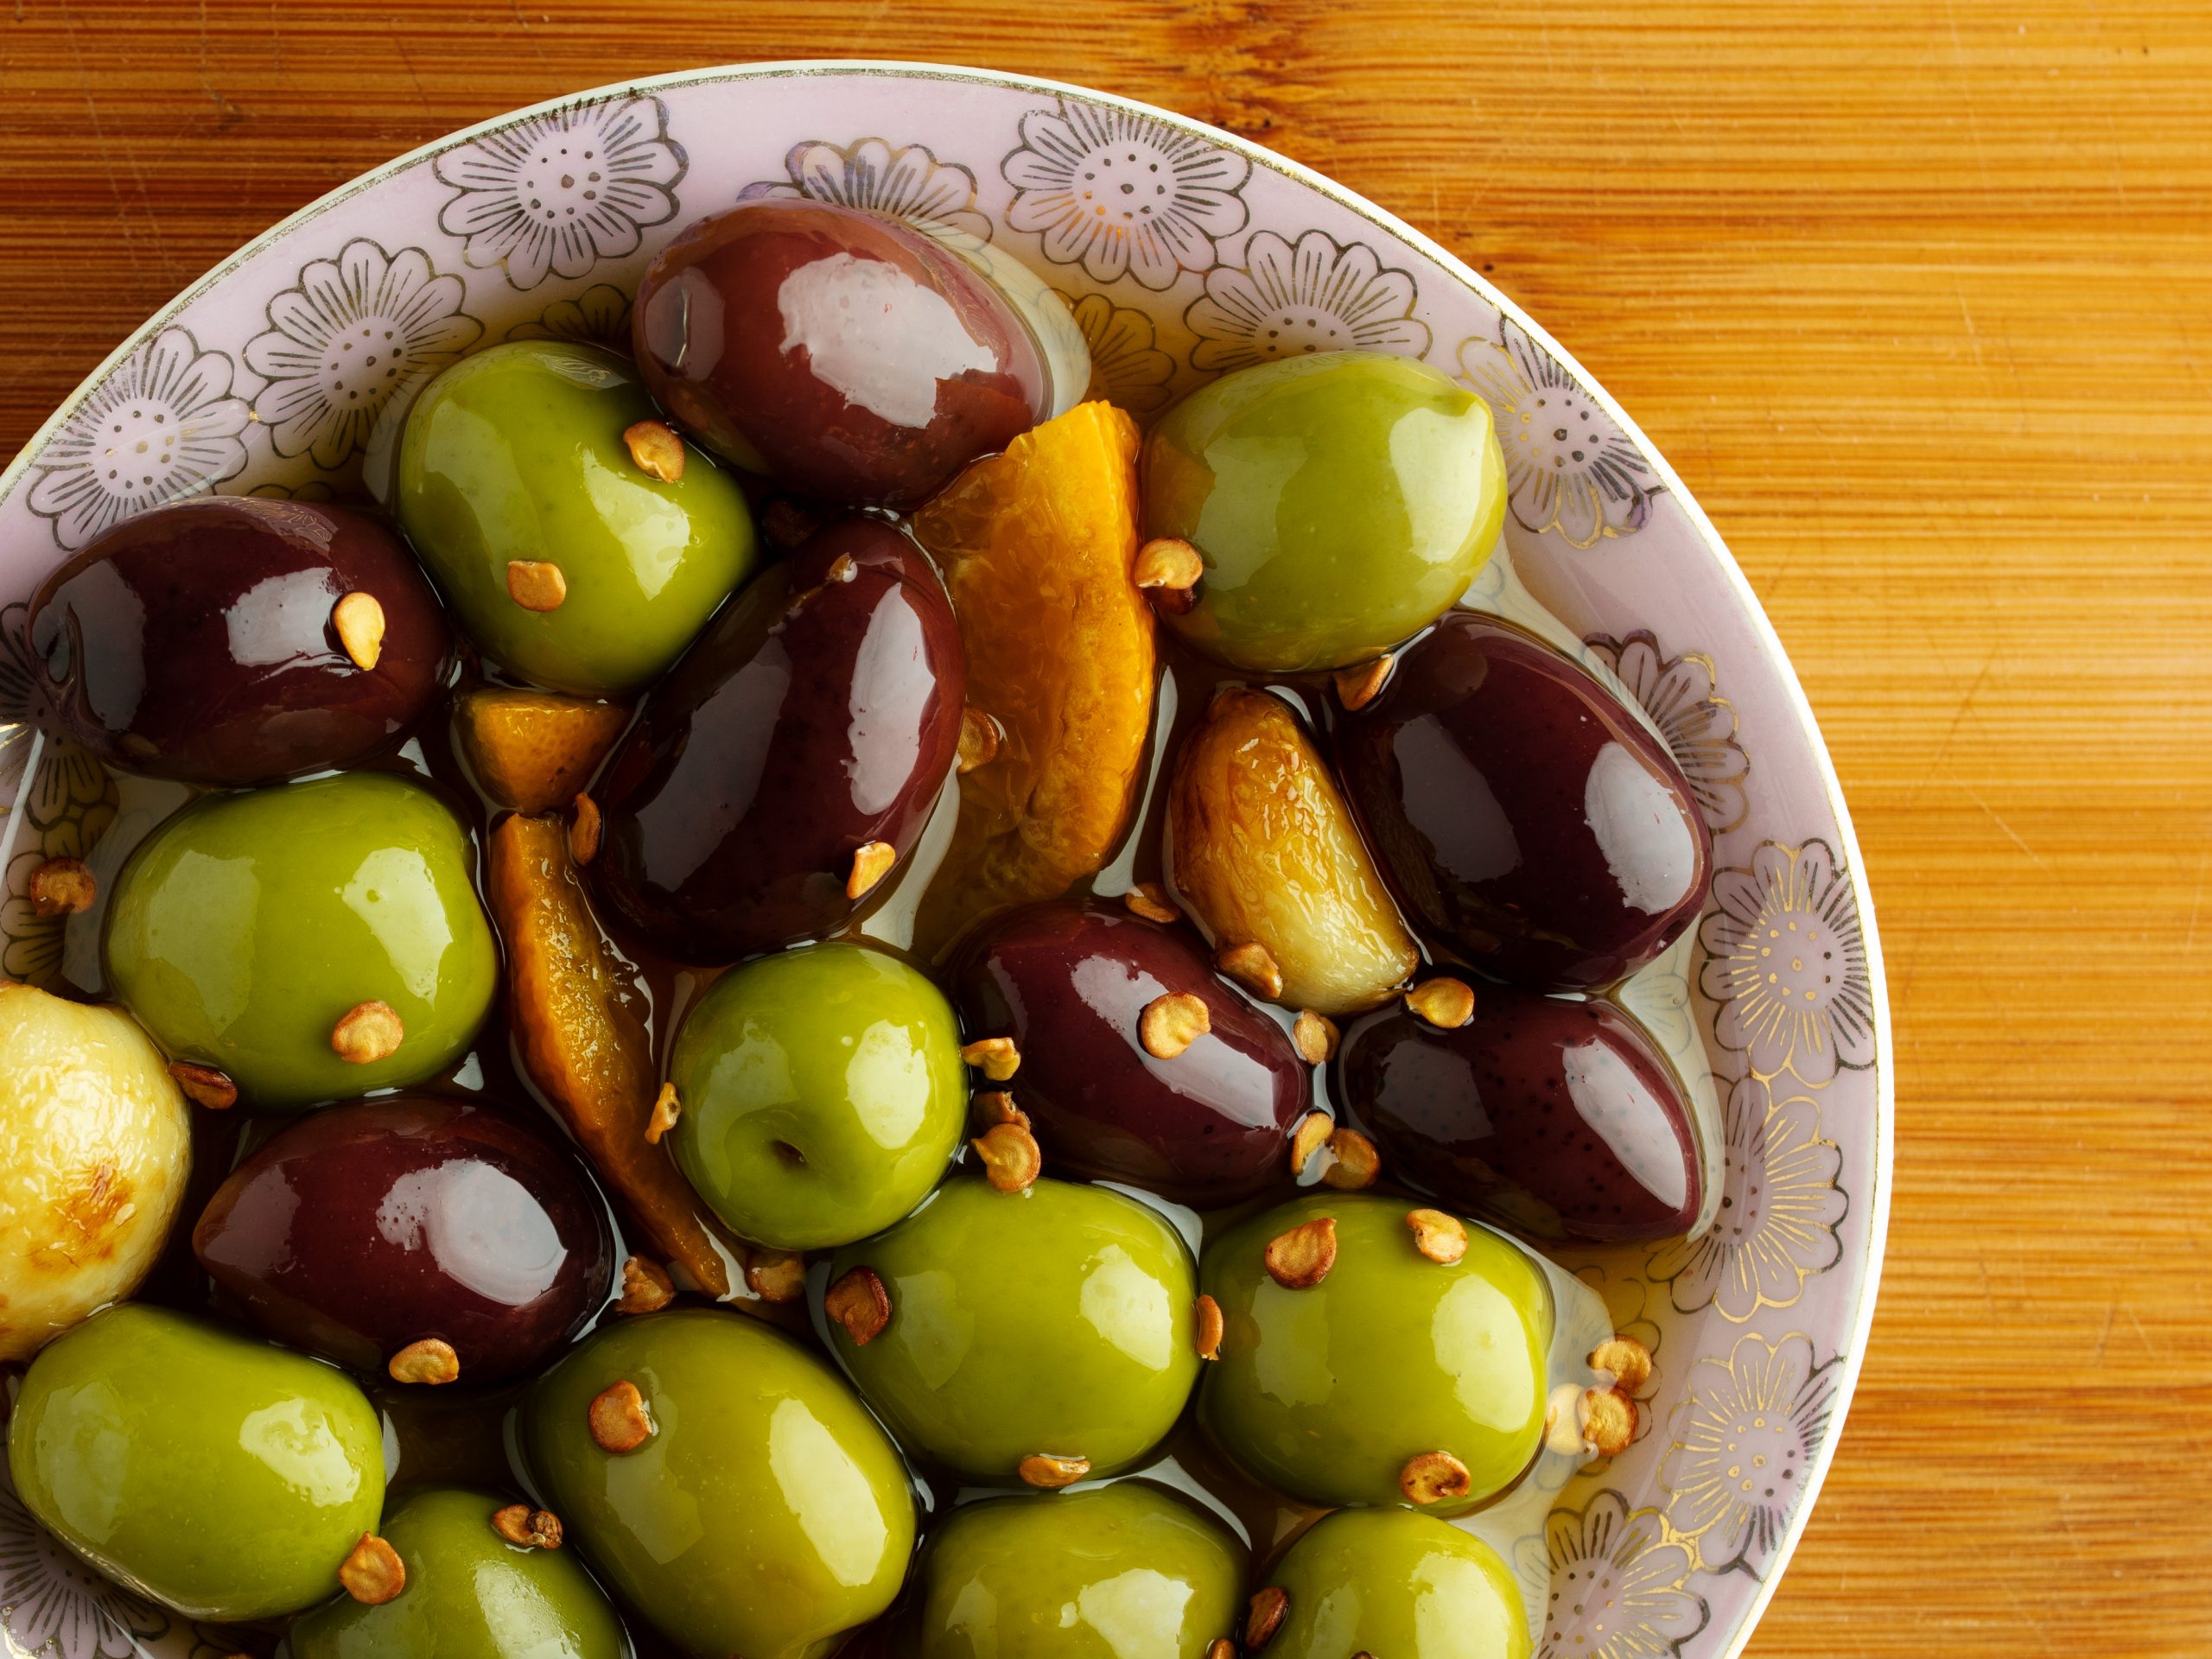
Do you want to create images that make your food look delicious? What can you do with just one light? Turns out, a lot. In this tutorial we’ll show you how to use a Wasp 100-CX and a small Paradome to produce a glossy, inviting look.
Items Used:
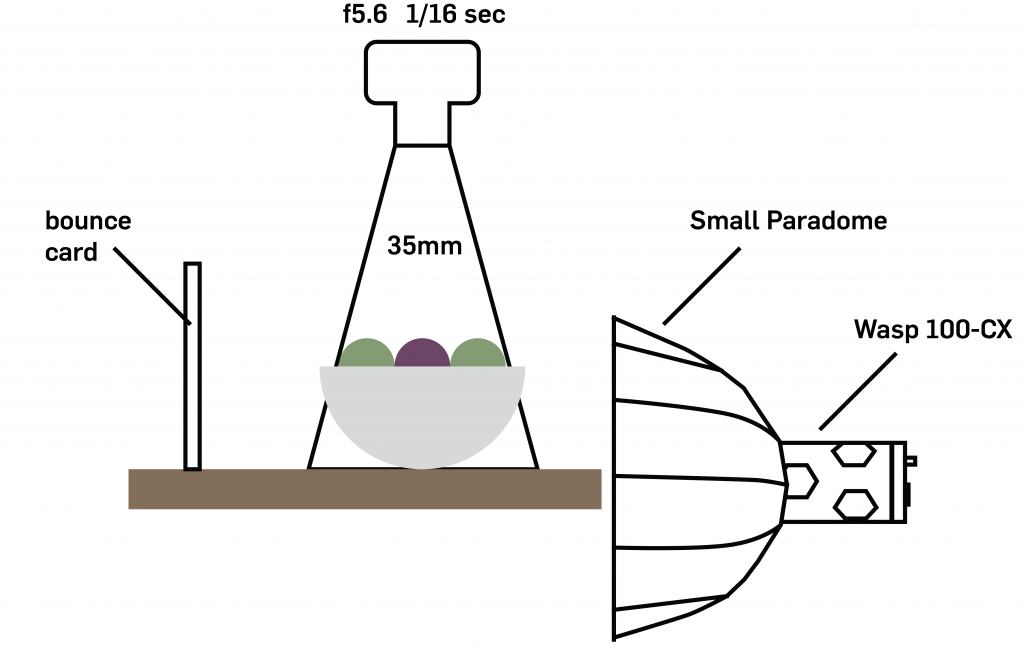
Settings:


Step 1: Turn off the lights! NO, not that light, all the other lights, the first step is getting rid of any stray or extraneous light (overheads, desk lamps, windows, etc.) we can’t begin to light until the room is dark. In our case we closed the blinds and turned off the overhead light. A good way to tell if the room is dark enough is to take a photo at your desired f-stop. If the shot is nearly dark with little detail, you’re set.
Step 2: Connect the Wasp 100-CX to your Hive App and set your camera and the light to the same color temperature. We shot this at 5600K.
Step 3: Position the light, in this case the Wasp 100-CX, and Paradome as close to the subject as you can while staying out of your frame and illuminating the subject completely.
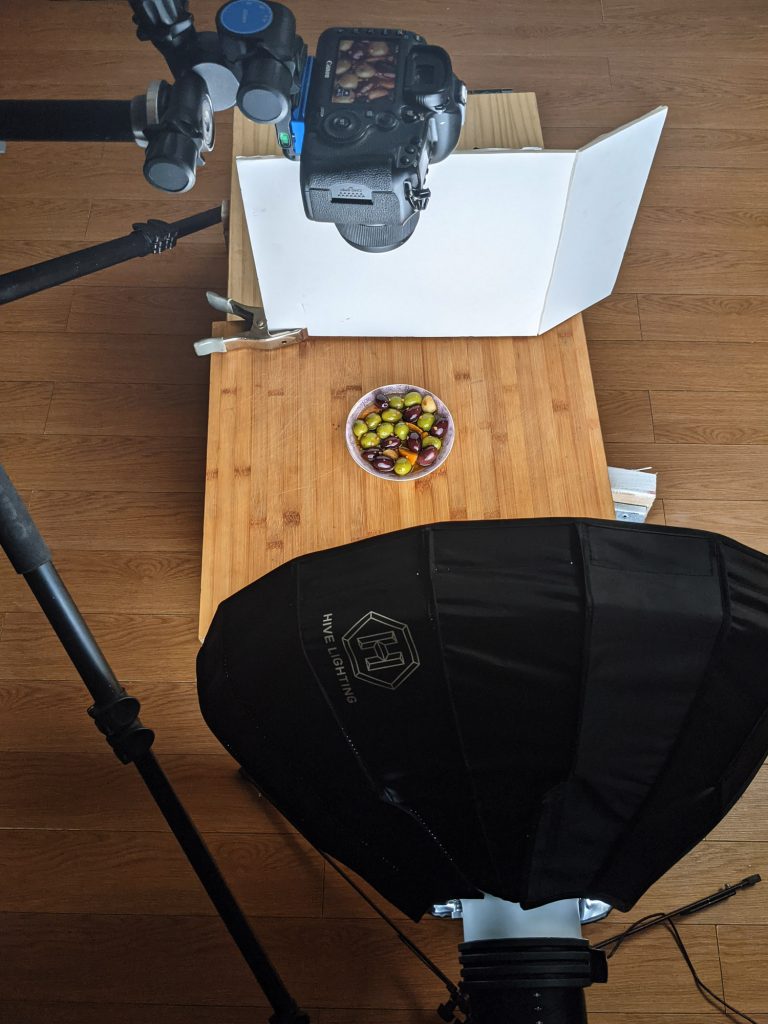
The closer the paradome is to the subject the larger the proportional light source is to the subject. This will create a softer more diffuse light producing the effect referred to colloquially as “wrap” when the light appears to curve or “wrap” around the subject hiding some of the directionality of the source and creating diffused shadows with soft edges.
Step 4: Creating your desired reflection will help you bring contrast to your image and shape to the subject. The closer the 100-CX and the Paradome are, the larger the reflections will be. The Paradome is peaking up just over the cutting board and pointing straight across the bowl. You can clearly see the round catch lights on the olives. We chose the Paradome modifier because we wanted a round reflection that would complement the shape of the olives.
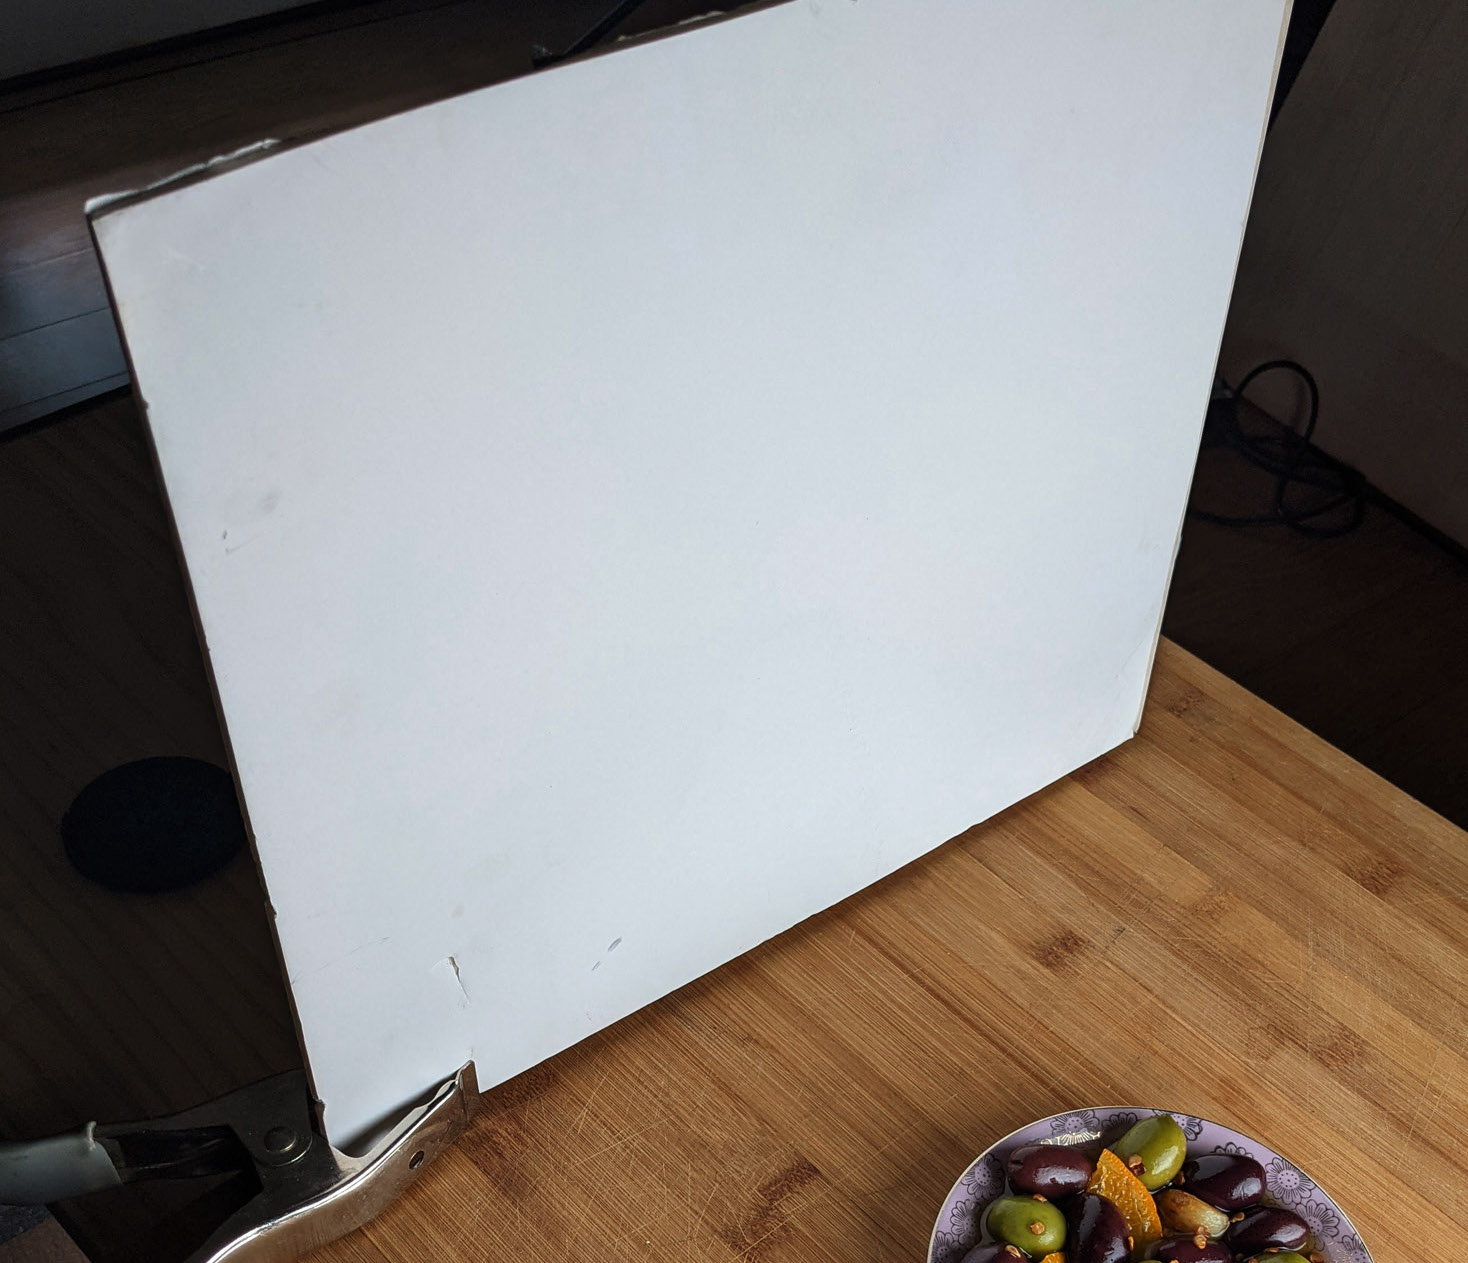
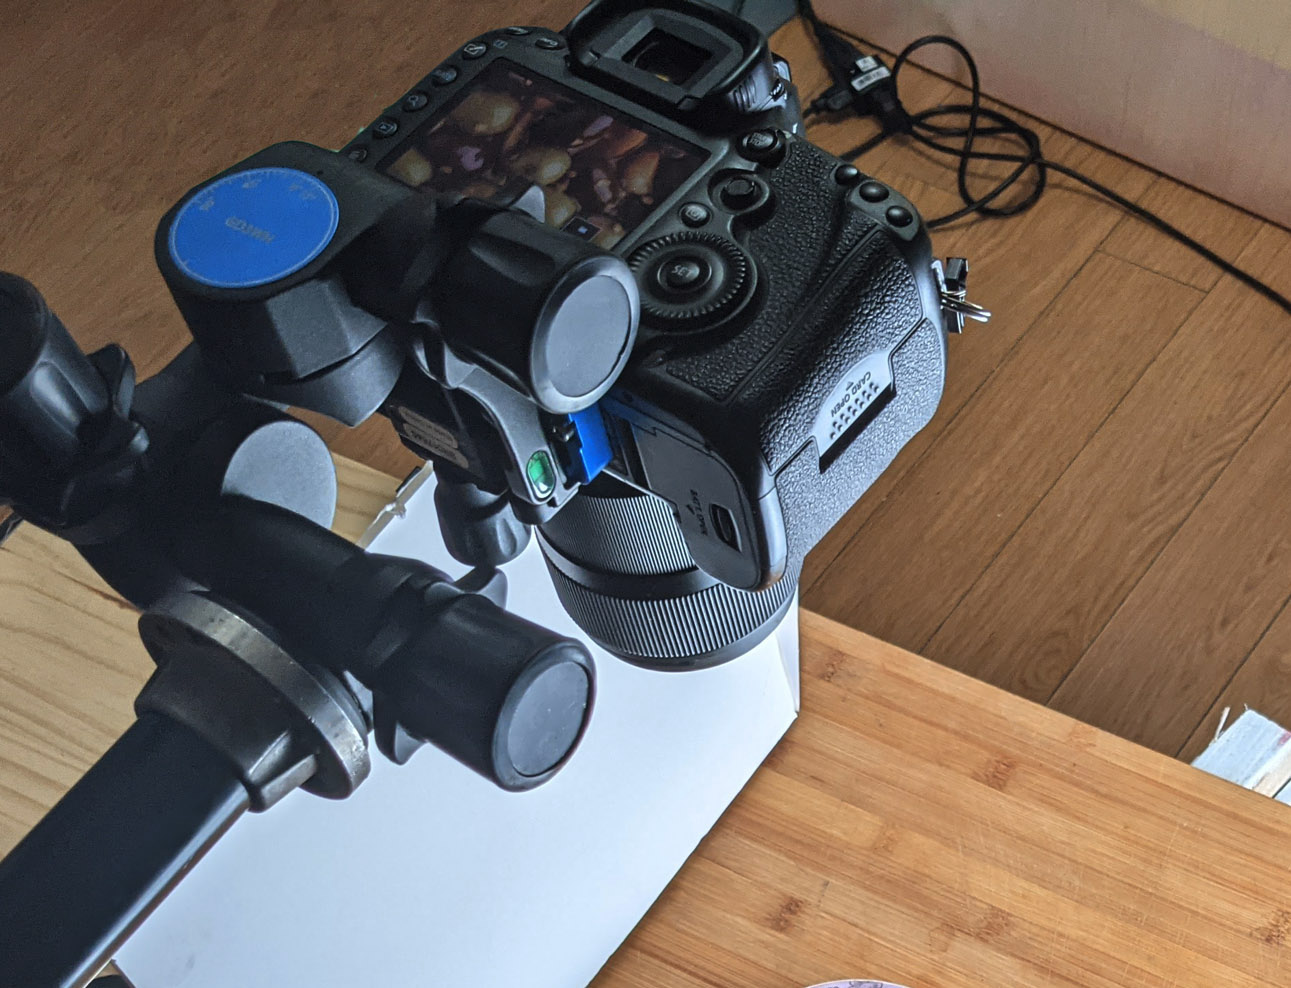
Step 5: Add a bounce card. We cut a piece of foamcore to size, but any stiff white material will work. Foamcore is great because it’s flat and rigid making it easy to position, here we’re holding it in place with a spring clamp.
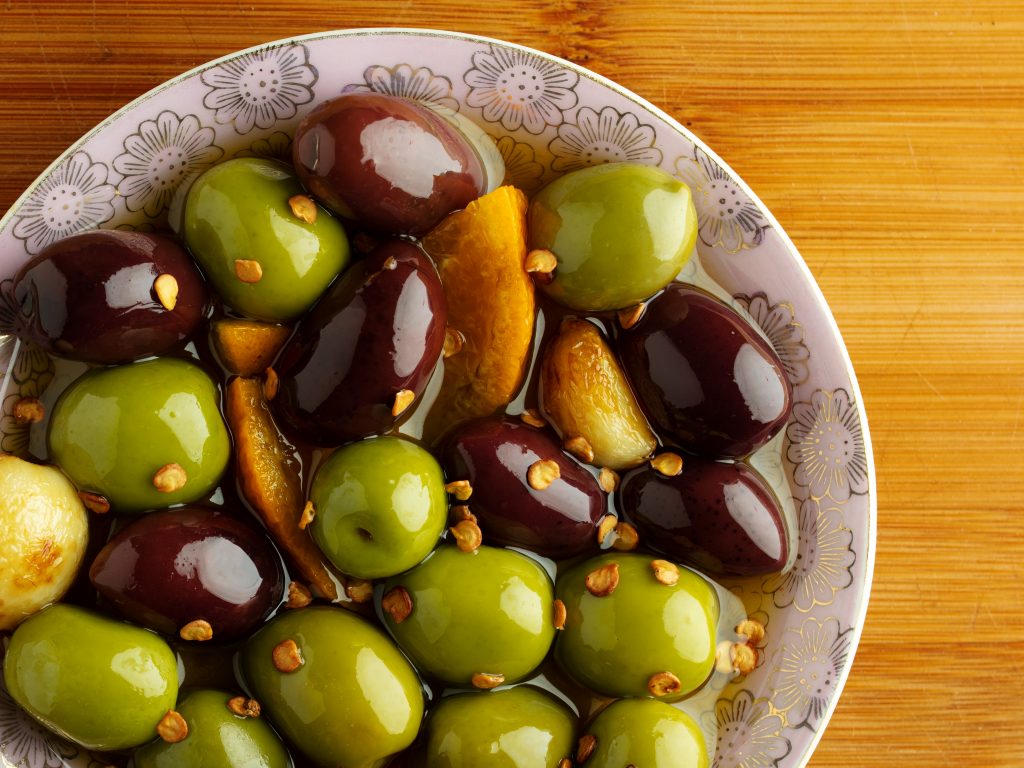
Tip: To get it really glossy use a clean makeup brush to spread oil over the olives just before you snap the picture. Makeup brushes have soft and very fine bristles so they won’t create streaks like a standard kitchen brush can.
Step 6: The bounce card is positioned directly opposite the light to “catch” the stray illumination and reflect it back onto the subject. This brings up the light level on the shadow side of the olives and creates a second reflection in the olives. If you want more contrast in the image move the bounce card further away. If you want the shadows brighter and the reflection larger bring it closer to the subject.
