- PRODUCTS
- CATALOG
- INSPIRATION
- SUPPORT
- CONTACT
The Studio Style Yoke is for rigging your lights in a grid or along any secture speed rail or strong tubular stock. It can be used with any C or CX series light and is completely interchangeable. This is method is very secure. For more information about the safety and versatility of this rigging method please see our video on the topic.
For this setup we’re going to use an adjustable crescent wrench.
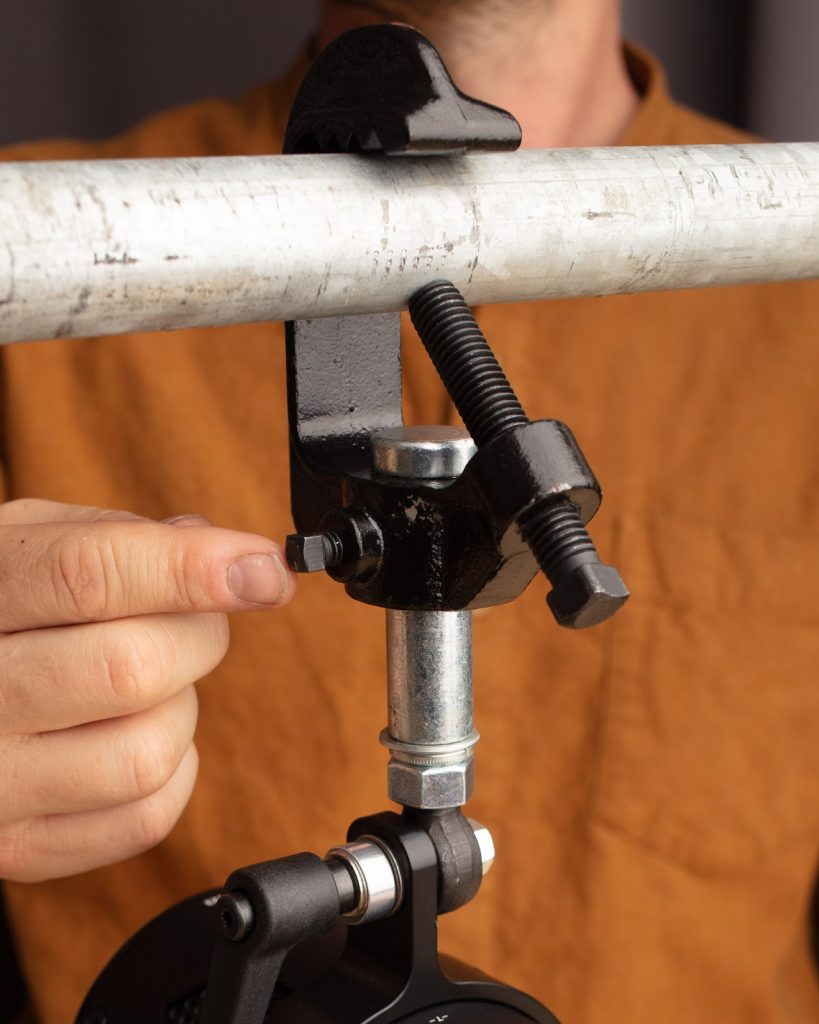
Here is the Studio Yoke. The circular end receives the 100mm lights and the end with a hook-style clamp is for the grid or speed rail you’re attaching it to.
This long nut needs to be loosened so it can fit around the tubular stock.
Just use your fingers here as it’s faster.
Be careful of what’s below you when you’re rigging near the ceiling.
Finger tighten this nut initially.
Then tighten this down with your crescent wrench.
This small kip handle needs to be loosened so we can slide our fixture in place.
Any C or CX series light will work.
Loosen the kip handle until it’s easy to slide the fixture in.
If you meet resistance loosen the kip handle further.
Keep a hand on the fixture while tightening the kip handle.
All set! Now let’s look at the adjustments.

This small square bolt keeps the light from swiveling.
Loosen this bolt to make an adjustment.
Swivel the light into position.
Tighten this bolt to keep it from moving.
Now look at the large kip handle. This allows for adjusting the yoke up and down. You have 180° range of motion.
Keep a hand on the light while loosening the kip handle.
Once you find the right position, tighten the kip handle. Keep a hand on the light while you do this.
That’s it! You can use any number of light modifiers allowing you to add softboxes, reflectors, and more up in your grid. The best part of using the studio yoke is recapturing your floor space — no light stands in the way.