


Using DMX on the C-Series and CX-Series
C-Series Only:
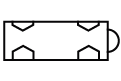
Connect DMX Board: Connect your DMX512-compliant device to the fixture via the DMX “In” Socket on the right side of the Control Panel
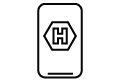
Engage DMX Mode: Flip the DMX Mode On/Off Switch to the up position, the DMX indicator light will turn on. You are now in DMX mode and can use a DMX board to control the light.Your digital display will register value changes via the connected DMX board.
Adjust Starting Address: You will also notice that there is a fifth symbol when in DMX mode – “A”. This indicates the light’s starting address, and its value determines which controls on the DMX board are used to operate the light. The starting address can be any value between 1 and 512. Selecting the one you want can be achieved in two different ways via the control panel’s Right Dial:
- Coarse Adjustment: Turn the right dial in either direction to change the address’ value in increments of 10.
- Fine Adjustment: Press the right dial in slightly, then continue to press in while turning in either direction to change the value by increments of 1.
NOTE: Any values for S, H, D & C that have been provided by the DMX board will persist even after the DMX board has been unplugged. Conversely, if the controls on the DMX board are adjusted post-separation and then the board is reconnected, the light will overwrite the previous ones.
Learn More about CMRX Here
Learn About Hive’s DMX Channels Here
CX-Series Only:
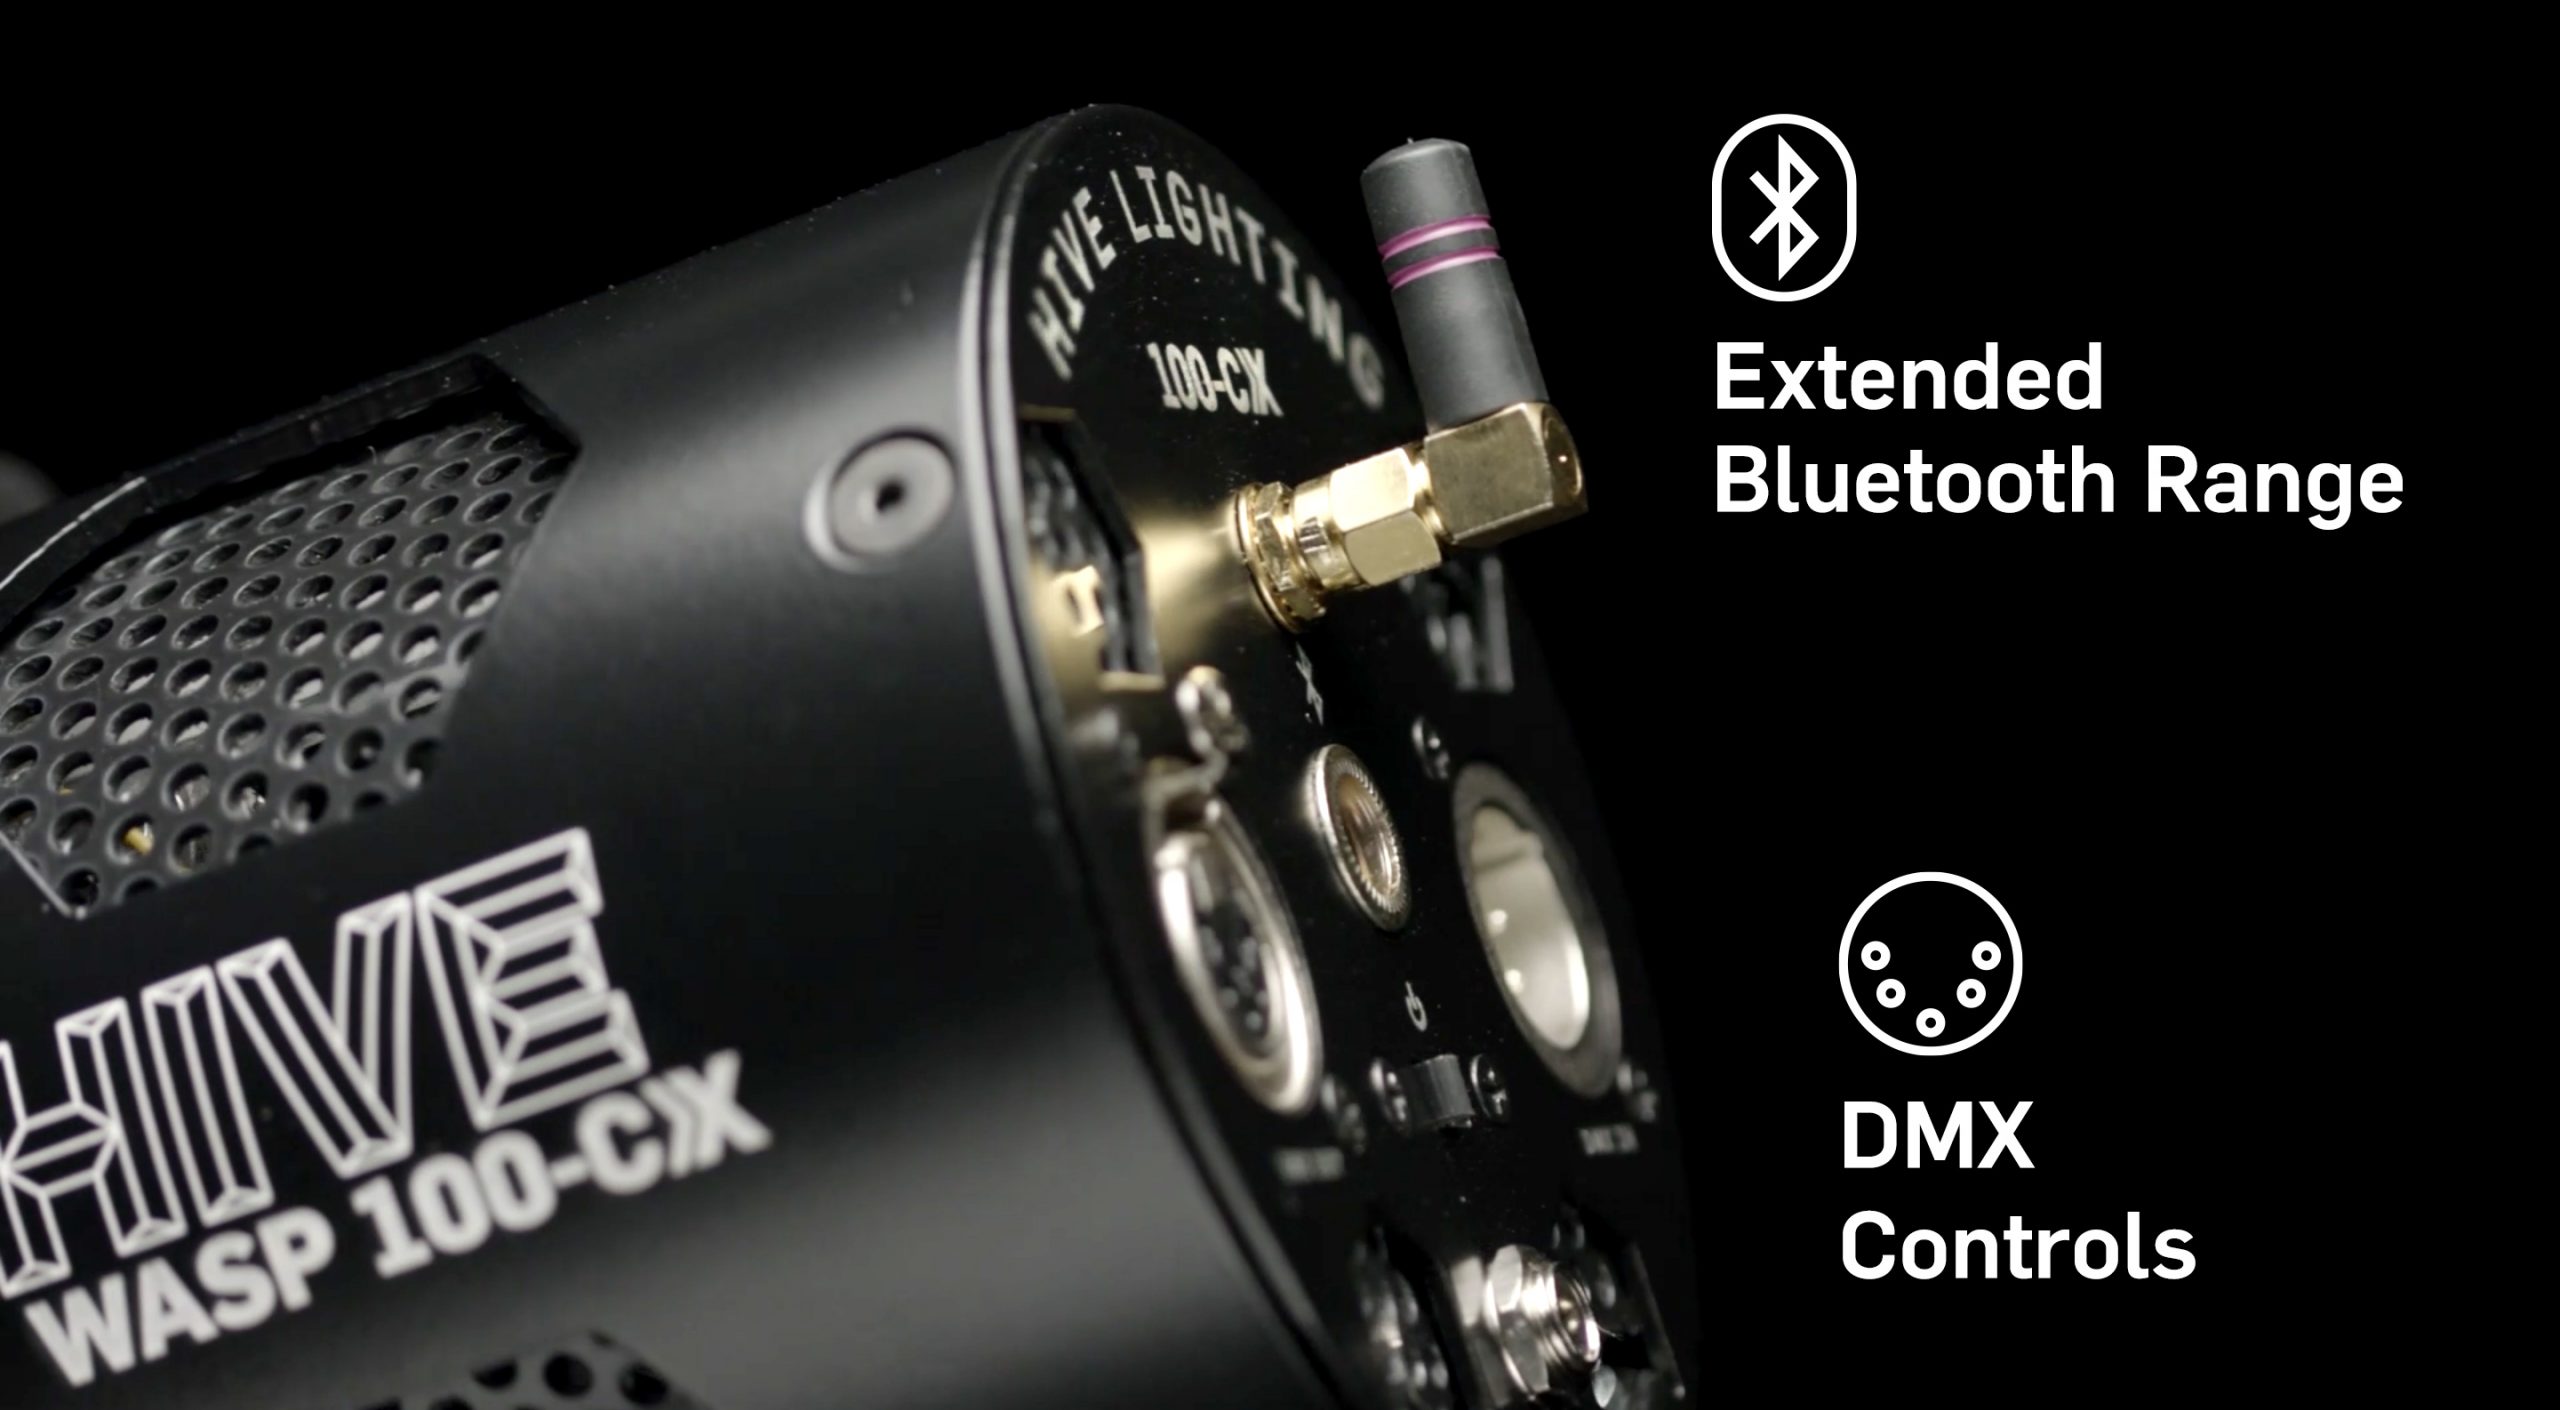
Connect DMX Board: Connect your DMX512-compliant device to the fixture via the XLR DMX “In” Socket on the right side of the Back Plate of the light.
Engage DMX Mode: Once a DMX512-compliant device is attached to a CX light it will immediately respond to any signals sent by the DMX board.
Note: All CX lights are NOT CRMX enabled and will not respond to Wireless DMX unless additional hardware like a CRMX antenna is attached to the light.
Note: All CX lights only offer 4 Channel control (Output -1, Color Temp – 2, Saturation – 3, Hue -4) and default to DMX address 001 when shipped.
Adjust Starting Address: There are two ways to adjust the starting address of a CX light, either through an RDM enabled DMX board or via the Hive SHOT app for Android or iOS.
RDM: RDM stands for remote device management and allows you to adjust the address of the CX fixture remotely. You need an RDM-enabled DMX controller, and you’ll need fixtures that are RDM compatible and compliant, all Hive CX lights are RDM compatible and compliant. Please note if you use DMX splitters, these will also need to be RDM-enabled and compliant as well. Once connected to an RDM-enabled DMX controller please follow the specific instructions of this controller for adjusting the DMX address for your CX light fixture.
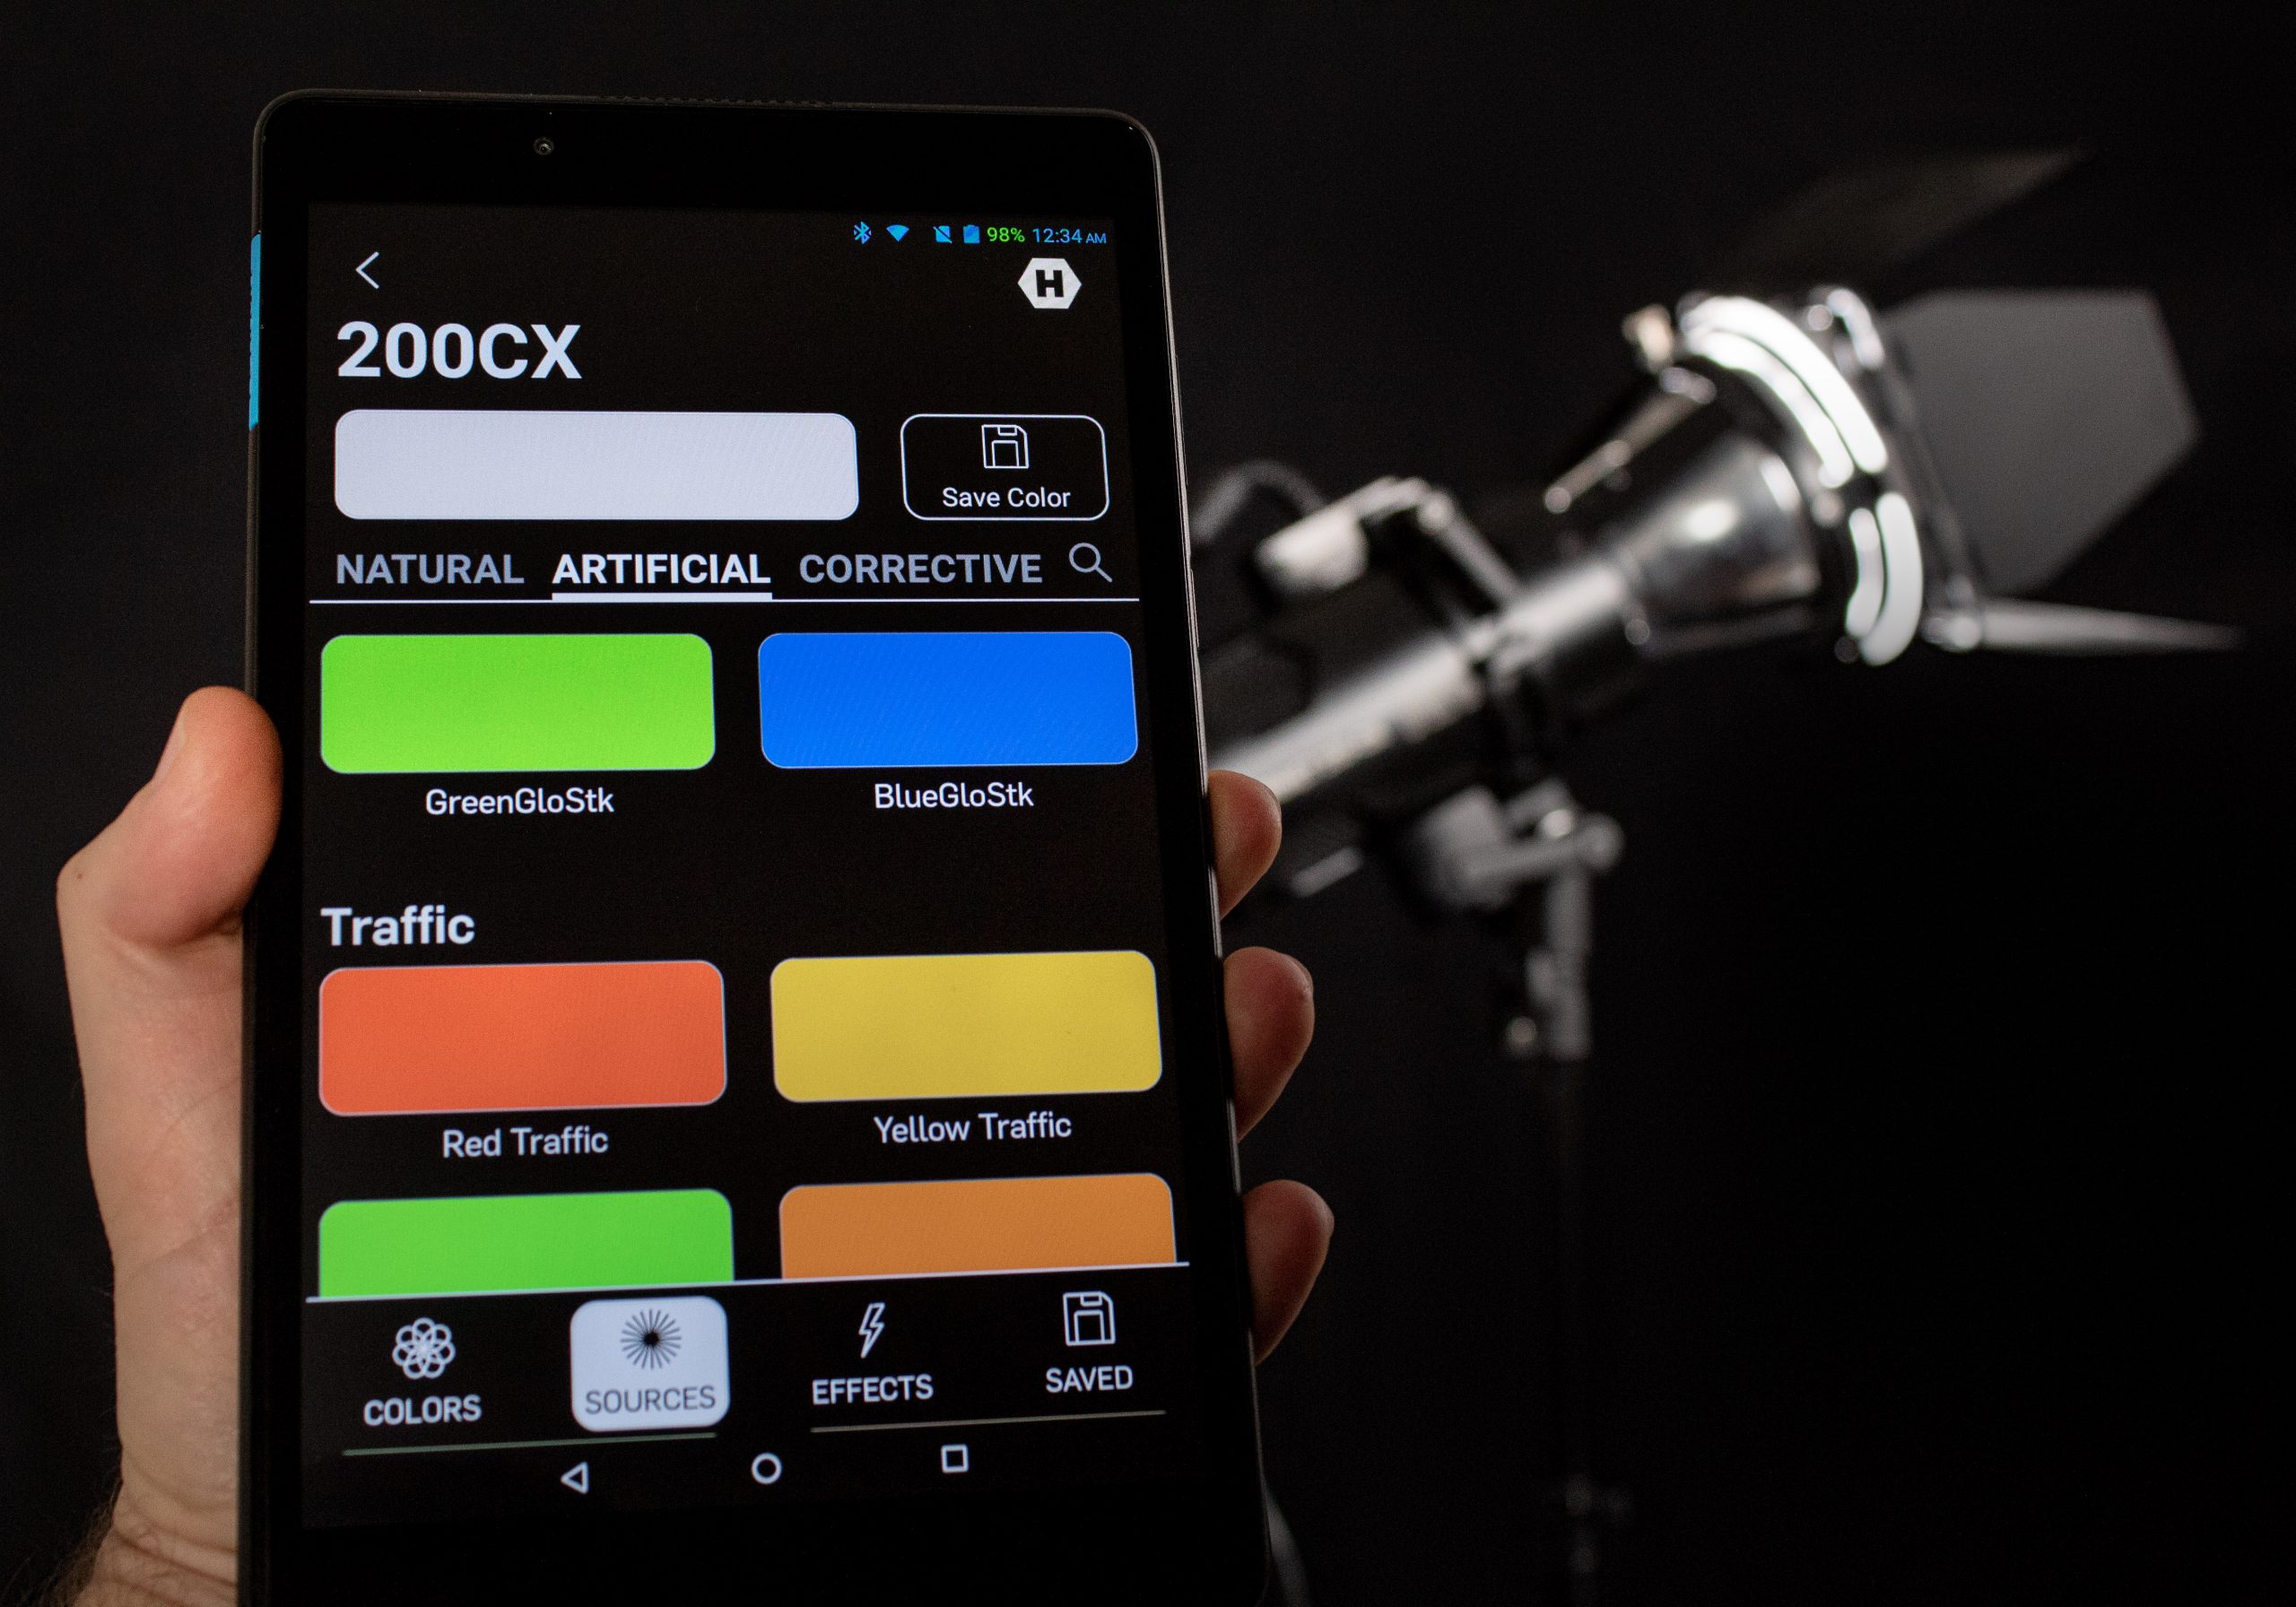
APP: The Hive SHOT app for iOS or Android allows you to adjust the starting DMX address for any CX fixture. Adjust this by entering the SETTINGS menu on your App. Select TOGGLE DMX MENU and then enable the DMX menu by adjusting the slider to turn the menu on. You can then access this menu on the bottom right hand corner of the SHOT app. Once accessed you can adjust the address of the selected light.